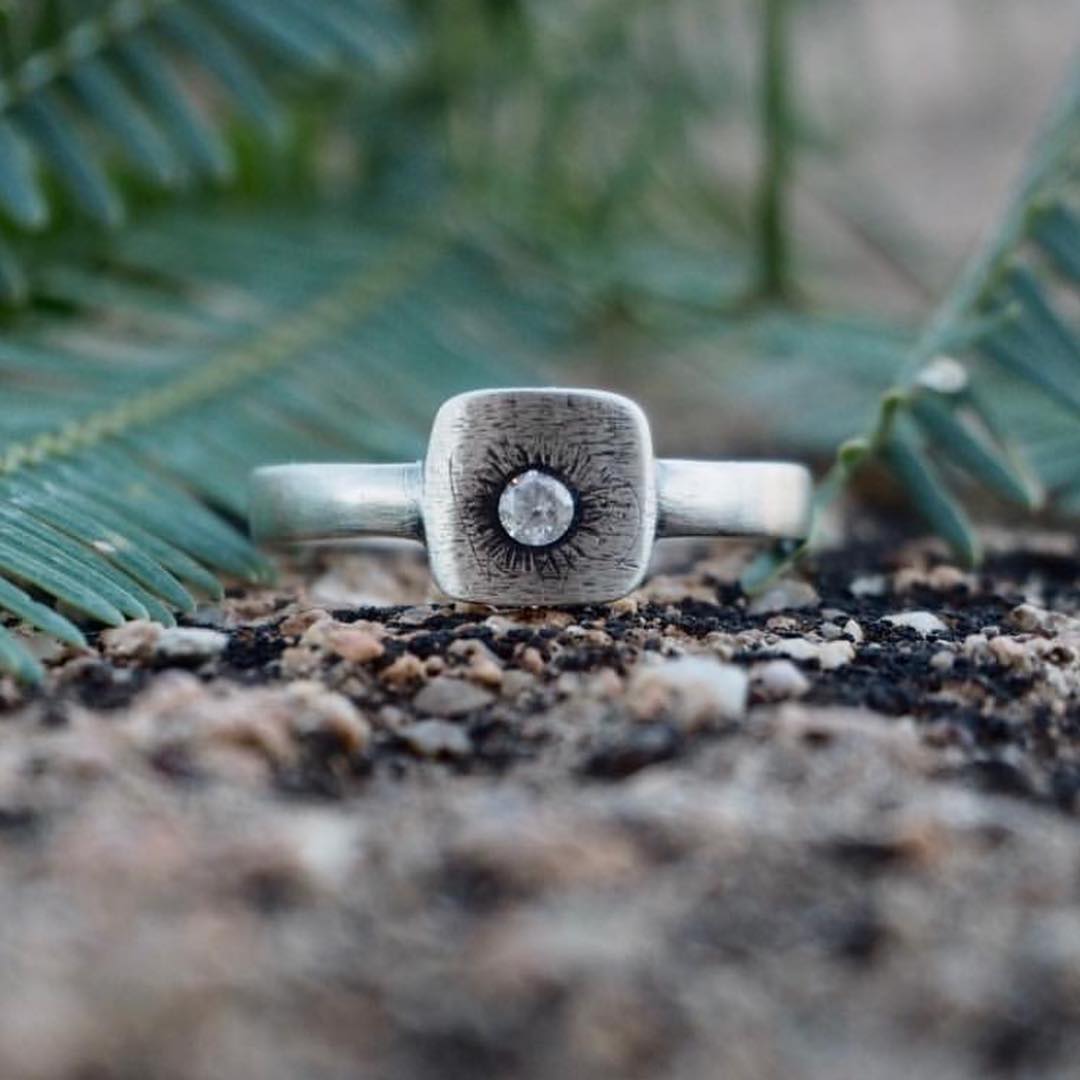
Here is some fantastic advice regarding flush setting (this month’s
#metalsmithchallenge just sayin 😏) from
@lucywalkerjewellery - “Flush setting 101: IF YOU NEED GLASSES WEAR THEM – if you can’t see what you’re doing, you are most likely going to suck. Drill a hole
Use a ball bur (or several) to open the hole to ¾ the size of the stone. Next use a bud bur to open the top of the hole to exactly the same size of the stone – if you make it bigger than the stone – you’ll need to find a larger stone 😉 DO NOT MAKE IT BIGGER THAN THE STONE! Use a setting bur exactly the same size as your stone – drill deep enough with your setting bur so the table of the stone is flush with the metal. DO NOT USE A SETTING BUR THAT IS LARGER THAN YOUR STONE! If you don’t have the perfect size setting bur – which is usually the case, you will want to use the closest size SMALLER bur and ream out the hole – KEEP THE BUR PERPENDICULAR TO THE METAL AND MOVE METHODICALLY, we are not mixing pancake batter 😘 Ensure the stone is a tight fit – if it’s not, select a stone that is slightly larger 0.01mm can make a big difference here! The stone should not slip into the hole, but should require a LITTLE shove with a brass pusher (basically a tapered piece of brass rod in a graver handle) to sit nice and securely in the setting
Use your needle burnisher (broken ball burs in graver handles work well – they should have a smooth rounded and polished end if you value the surface of your stones – and run it around the stone at an angle just off horizontal until the stone is set
Turn over your work and give your stone a nice aggressive poke from the back with your brass pusher to see if you did a good job 😊” Love this and LOVE THE YELLING 🤣 such a clear video and solid advice ✊ what part of flush setting have you found challenging, have you tried it? Tell us about it!! 👇 we are here for you!!
#flushsetting #metalsmith #stonesetting #metalsmithing #jewelrymaking