✨ Comment “send me info” and I’ll DM you a link to Sunstone—plus you’ll save 3% off your order! (That adds up big time on high-ticket tools 💸)...
More →
Back
Tube settings + curved bands = tiny gaps when soldering. Here’s what’s actually working for...
Posted 5 months ago
•
1,098 likes
•
50 comments
Tube settings + curved bands = tiny gaps when soldering.
Here’s what’s actually working for me:
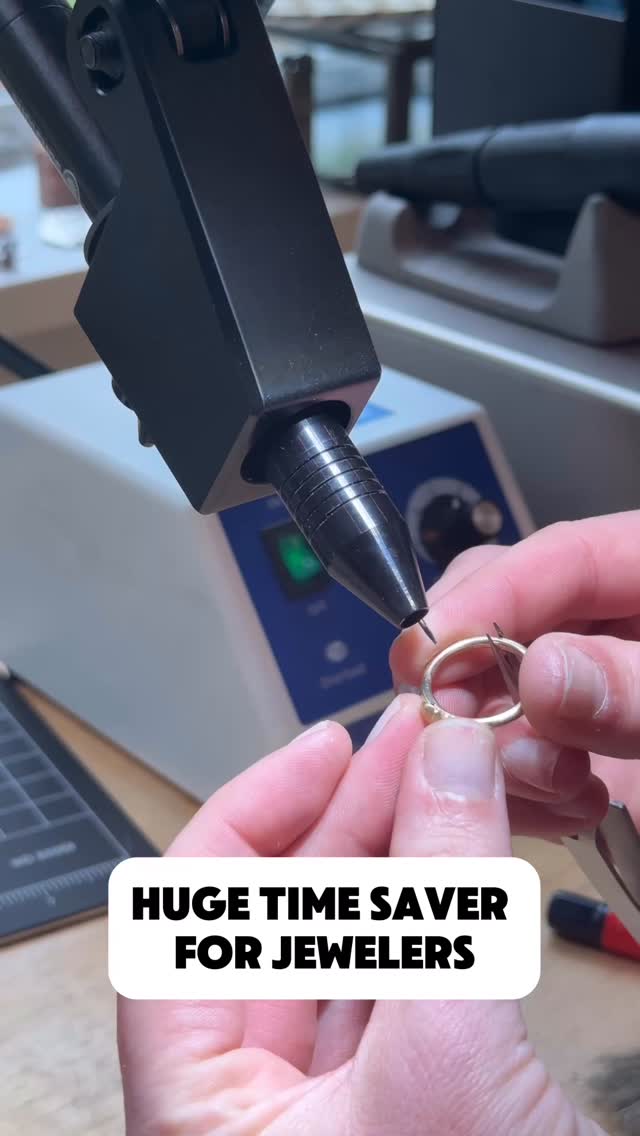
When you place a tube setting on a rounded band, it rarely sits flush, especially a decorative band like this. That gap makes getting a clean solder seam a little trickier.
My fix:
I use a miter jig vise to file a small flat spot right where the tube will sit. Before filing, I mark the area with a Sharpie so I don’t go too wide. That part matters… if the flat spot extends past the setting, you’ll see it, and it’s not cute.
You want just enough surface for the tube to sit perfectly on top. Once it’s flush, soldering becomes so much easier and the seam comes out clean. This technique I also use when soldering a baseplate with a big cabochon, or even a decorative component like a casting.
Final step:
Drill a hole through the band under the setting. This lets you properly clean behind the stone in the ultrasonic later. It’s one of those small steps that makes a big difference in your finished piece.
Clean fit = clean solder = better results every time 🔥
Up next I’m sharing some setting tips, how I secure my work and a new tool from @halsteadjewelrysupplies 👀
#jewelrymakingtips #metalsmithsociety #jewelersofinstagram #benchjeweler #tubesettingtip
Here’s what’s actually working for me:
When you place a tube setting on a rounded band, it rarely sits flush, especially a decorative band like this. That gap makes getting a clean solder seam a little trickier.
My fix:
I use a miter jig vise to file a small flat spot right where the tube will sit. Before filing, I mark the area with a Sharpie so I don’t go too wide. That part matters… if the flat spot extends past the setting, you’ll see it, and it’s not cute.
You want just enough surface for the tube to sit perfectly on top. Once it’s flush, soldering becomes so much easier and the seam comes out clean. This technique I also use when soldering a baseplate with a big cabochon, or even a decorative component like a casting.
Final step:
Drill a hole through the band under the setting. This lets you properly clean behind the stone in the ultrasonic later. It’s one of those small steps that makes a big difference in your finished piece.
Clean fit = clean solder = better results every time 🔥
Up next I’m sharing some setting tips, how I secure my work and a new tool from @halsteadjewelrysupplies 👀
#jewelrymakingtips #metalsmithsociety #jewelersofinstagram #benchjeweler #tubesettingtip
More tips
Here is another use for those pipe deburing tools 😍 from @mi.chi.mi - “I use the deburring tool for any circle cutout in metal. In this case I cut...
More →“DIY washable sanding sticks” made me laugh… but honestly, it’s kind of true. Earlier this week I shared a sanding board I made using 3M...
More →Here’s a clever DIY sander trick from @jinyijewelry_factory 👏✨ They start by rolling sandpaper into a cone, tucking the edges in with round pliers,...
More →