
While there is no absolute formula or answer to what size bezel is needed (because there are so many uniquely cut stones) our friend Jessica ( @rosyrevolver ) put together this little step-by-step guide. It includes considerations and techniques which should help you determine the right height for your stone and assure a great fit!

1. Measure the thickness of the stone’s edge. (Digital calipers recommended).

2. Select a commercially available bezel wire with a width that is no more than one millimeter more than the height of your stone’s edge. If commercially unavailable, you can sand down your bezel later so it’s suitable for your stone, or, use a bench shear to custom cut your own width of fine silver sheet (28g recommended for a standard bezel).

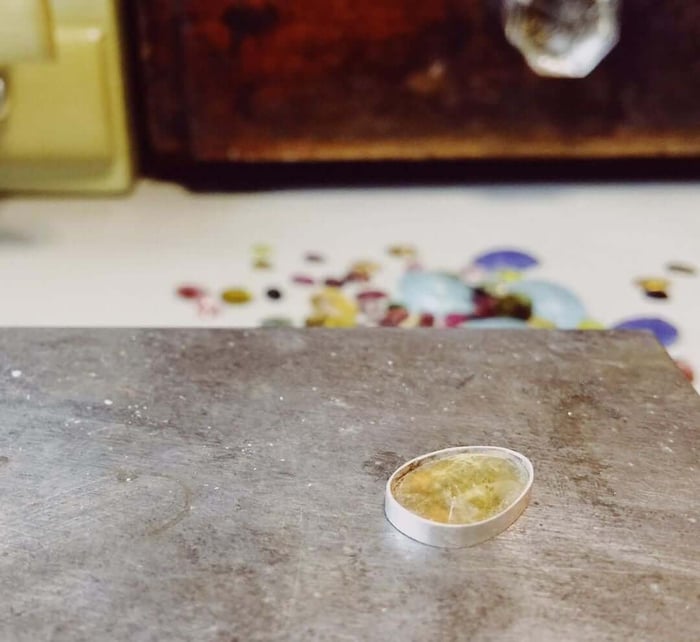
3. When holding the wire up to the edge of your stone, it should be just slightly taller. Best to check this on a perfectly flat surface such as your bench block.
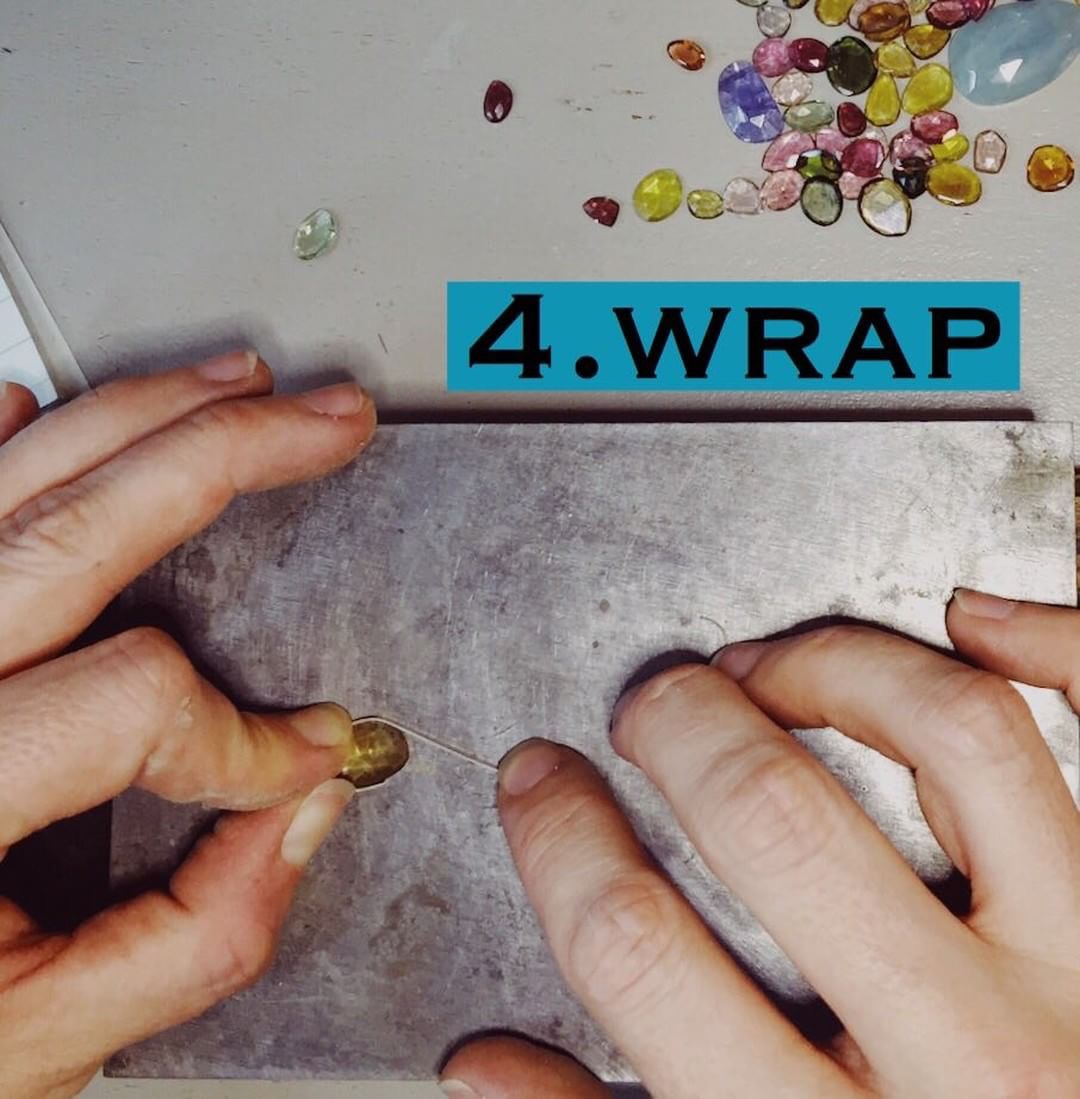
4. File one end of your bezel wire straight. (Miter jigs are great). Using this end & beginning on the flattest/longest side of the stone, wrap it around. Hints: keep the bottom edge of your wire flush against both the stone & bench block, & be careful that your bezel wall remains perpendicular to the bench block- do not begin pushing it over the stone; otherwise, once soldered, the bottom of your bezel may be the right size, but the top won’t be- & you won’t be able to set the stone from the top later.

5. Mark where the bezel wire just overlaps its starting point. File this remaining edge perfectly straight. (Unwrapping bezel and again using the miter jig works well).

6. Solder with hard solder. Clean up any extra solder. (Not pictured)
7. Check the fit. If too long, you’ll need to trim, file & solder again. If too tight, an easy way to stretch the bezel is to use a pair of half-round/flat pliers. Simply put the rounded jaw inside the bezel (this prevents marring the metal) & work your way around the bezel, gently squeezing as you go. Test the fit often, as this moves the metal more than you think!

8. Sand the bottom edge of the bezel to ensure it’s perfectly flat and clean. Check for light underneath when it’s sitting on your bench block.

9. One final fit test as sanding can warp the shape.

10. If your stone is asymmetrical, mark the top edge of your bezel. This will prevent accidentally soldering it to your baseplate upside down. (Ask me how I learned this). 🤔😂
Huge thank you to @rosyrevolver for putting together all these helpful tips and taking these fantastic pictures. If you want to support a fabulous small business be sure to check out @rosy.on.the.rocks where you can purchase gorgeous gemstones from Jessica and her husband David!
Be sure to join our community by following us @metalsmithsociety! You can support the Society Page by checking out our shop below!