Updated in December 2022. This post contains affiliate links with Amazon. Almost all the items are listed with small business PMC Supplies. Items purchased through these links support both Metalsmith Society + PMC Supplies.
Wax carving is an awesome and inexpensive way to create jewelry through the lost wax casting process. It can be done with limited equipment, and you only need a bench pin to work making it ideal for beginners and others who might not have a full studio of equipment or are working out of a small space.
Materials To Work With
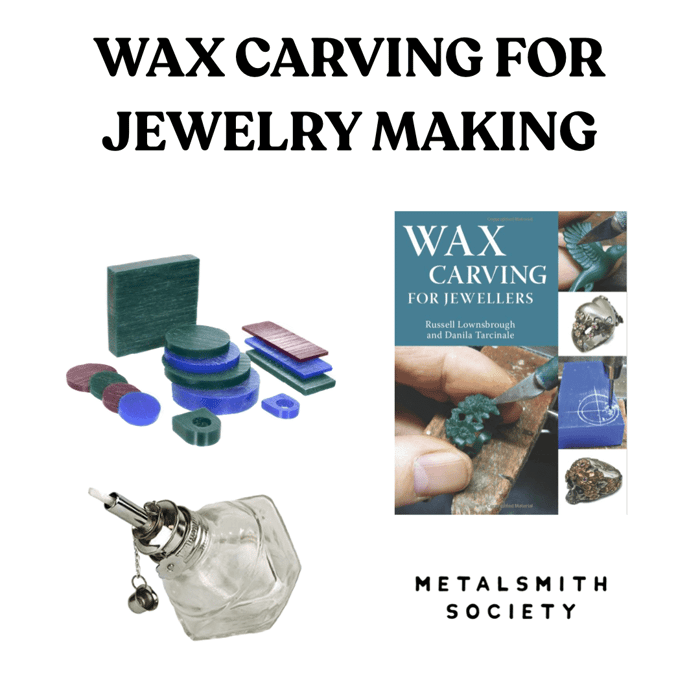
You will need some wax to carve! Wax comes in many different shapes and colors. For those curious about the difference between the colors this is from the manufacturer's website: "Green: A very hard wax, it can't be flexed. Ideal for sharp edges and for intricate carvings and delicate engraving. Purple: General purpose, hard with some flexibility. Blue: Less hard and more flexible than green or purple." I like this set because of the variety of shapes and thicknesses. PURCHASE HERE
Wolf Relief Wax is a GAME CHANGER. You use this hard red wax to attach pieces, create balls and prongs. It is awesome. I dip my wax pen right into this and it's awesome! More on the wax pen in the tools portion! PURCHASE HERE
Tools To Carve Wax For Jewelry Making
You will need a bench pin to work at, especially when you are filing and carving. It's not a bad idea to have a "wax only" bench pin because this stuff gets messy. If you don't have a bench pin you can try this clamp on bench pin. It adjusts between 1/2" to 2-1/4" (be mindful to protect a nice table if clamping any bench pin onto it!) This can be your work area! PURCHASE HERE
A wax file like this 8" Double Ended Half Round is essential. This is the file you will use to quickly shape and remove material. Wax files are much coarser than metal files. This allows you to rapidly remove material and shape your wax. PURCHASE HERE
 It's nice to have some wax needle files as well that can fit into smaller areas. These being wax files are pretty aggressive and won't give you super refined surfaces but helpful to have in your toolbox! PURCHASE HERE
Sandpaper is fantastic for wax work, especially some of those heavier grits. This set comes with 3 sheets of each grit: 120/220/320/400/600/800/1000/1200/1500/2000/2500/3000. You can make sanding sticks especially for your wax work. PURCHASE HERE
Wax carvings often require cutting the wax with our saws. They make special saw blades that are spiraled for wax work but honestly you can use regular saw blades, just make sure you use bigger ones like sizes 1-8. They often provide more control but they take longer to cut than the spiral ones. PURCHASE THE SAW FRAME HERE
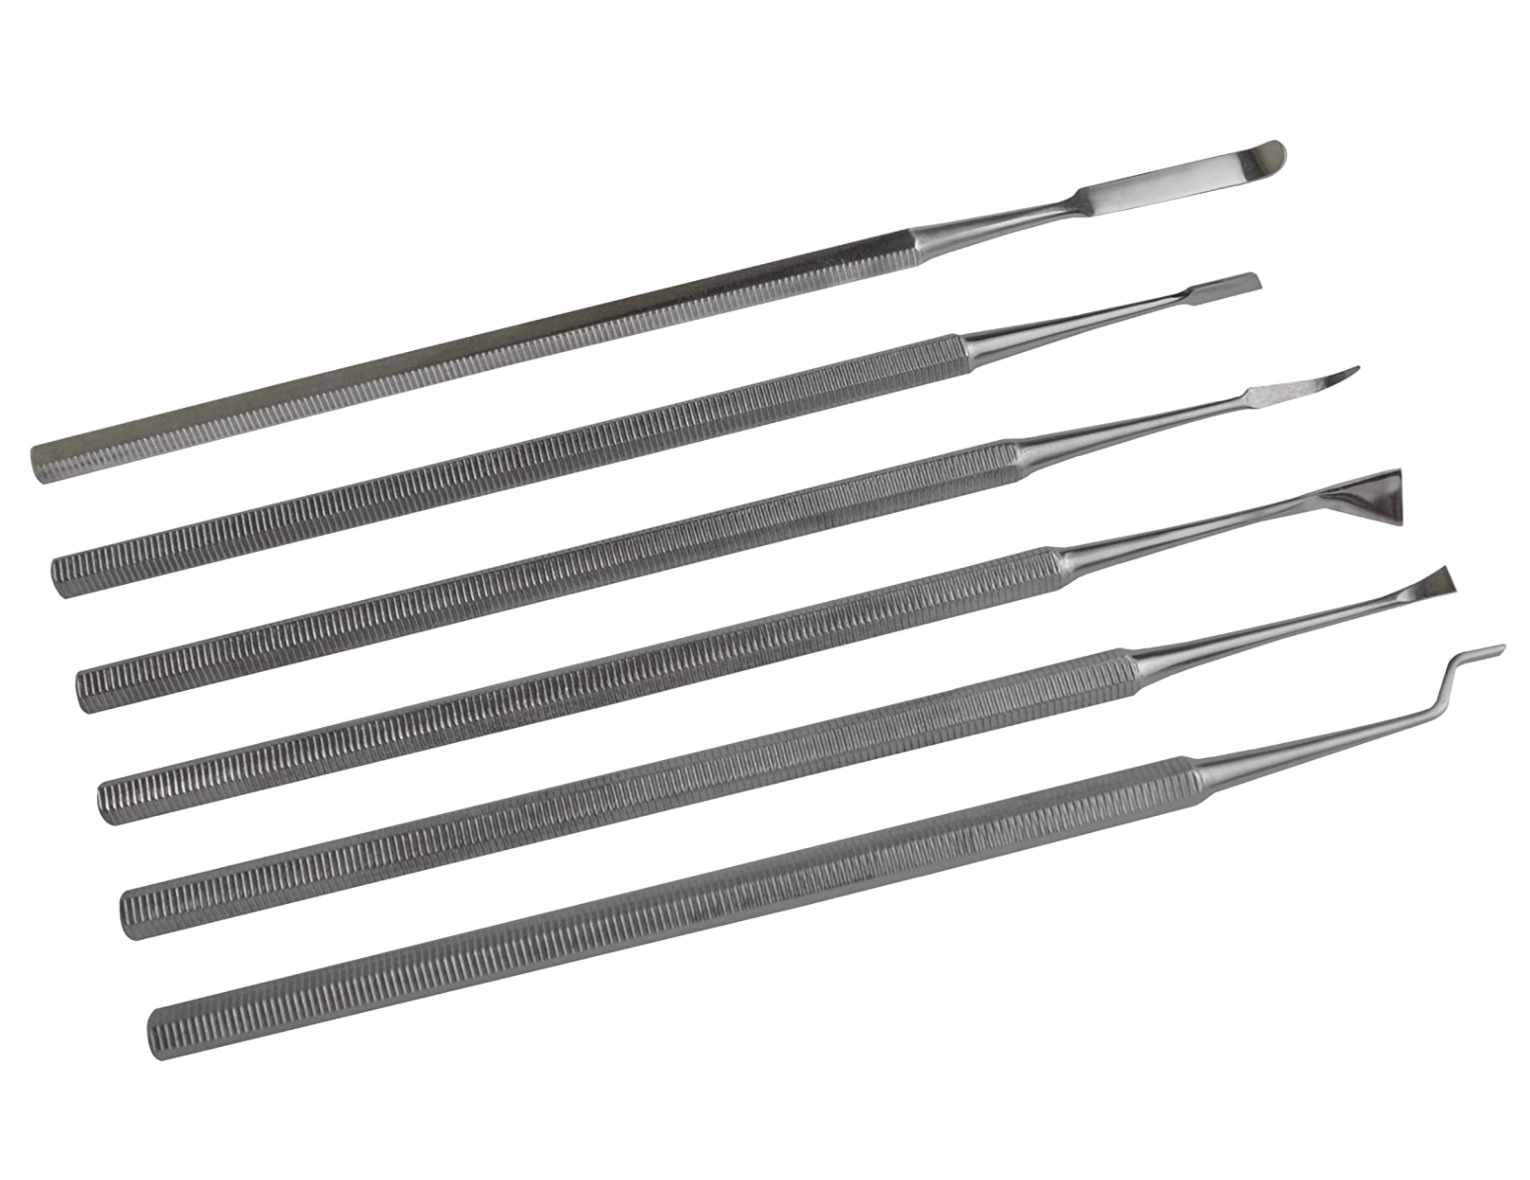
Some of the best wax carving tools are from the dentist! Sometimes you can ask your dentist if they have any old scraping tools and get some for free! These tools are made out of steel and can be used to refine your wax carvings. PURCHASE HERE
 Often we use heat when wax carving, it allows us to attach wax pieces in addition to shaping and building up designs. I learned wax carving with one of these Alcohol Glass Burner lamps. They provide a small flame that you can use to heat a small bit of wax on the dental tools or you can heat the tool and make impressions on the wax. For the best flame, use methyl alcohol fuel. Replacement wicks are available. You then use this lamp to heat steel dental tools or wax carving tools. PURCHASE HERE
Wax pens are my preferred method for heating wax because they give me the most control. If you aren't ready to invest in a plug in model you can get a battery operated style. PURCHASE HERE
I love my Foredom Wax Carver. This is an investment but SO worth it if you are serious about wax carving. I love mine and have used it and taught with it for years! Love that is has variable heat settings and different tips. PURCHASE HERE
It's helping to have a self healing cutting max to do your wax work on! Especially cutting thinner wax sheets with an Exacto knife. I love the measurements and also find it's a great surface to generally have in my studio when working with metal as well. PURCHASE HERE
Your flex shaft is one of your best wax working tools if you do have access to one. You can use sandpaper in a split mandrel to smooth the inside of wax rings. You can also use wax burs to grind details and hollow things out. Wax burs tend to have a more aggressive cut and will rapidly remove material. PURCHASE HERE
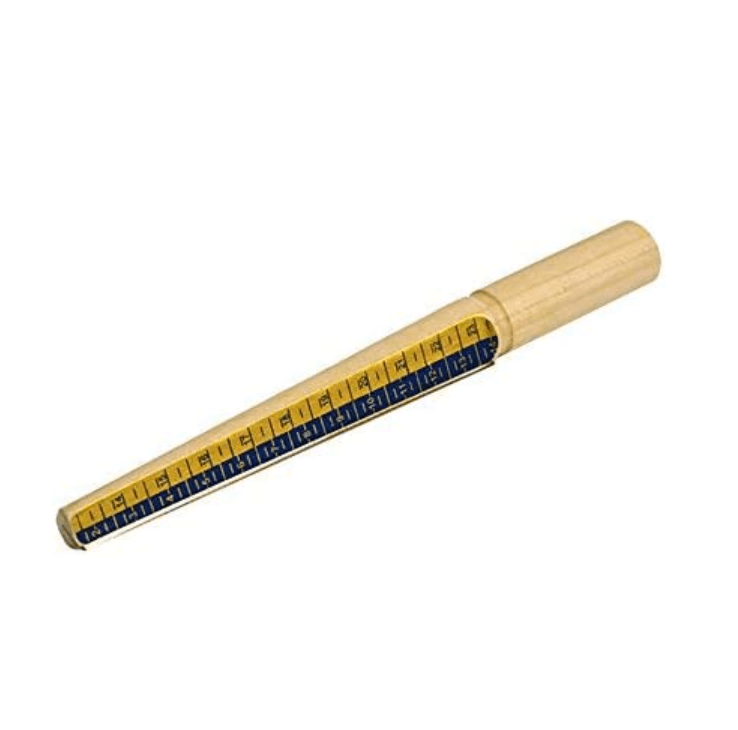
Another useful tool is a wax tube ring sizer. You roate it inside tube ring wax to carve away material until you achieve the desired size. I always air on the slightly smaller side so I don't make my ring too big. PURCHASE HERE

As a jeweler I regularly incorporate wax carving into my jewelry designs at Corkie Bolton Jewelry. I have carved custom wedding bands to cast in gold and I will often carve originals and then create molds from them to incorporate into my designs. Follow my jewelry on Instagram to see my work and support me @corkieboltonjewelry.
Here is a signet ring I created in wax, complete with prongs.
I then had it cast in silver and set this gorgeous London Blue Topaz. Check out more of my work at corkieboltonjewelry.com.
I really hope this list of tools is helpful and if you have any questions don't hesitate to reach out! Please shoot me an email at corkie@metalsmithsociety.com.
If you a beginner definitely check out my FREE BEGINNER'S RESOURCE.
If you'd like to support Metalsmith Society checkout my Patreon Page.
Visit my Pinterest Board with Wax Carving Tips.


