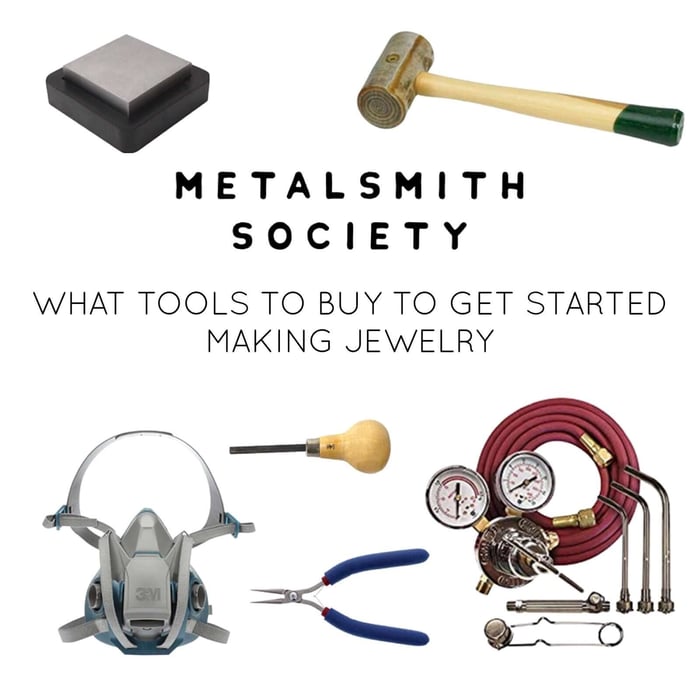

 Since Metalsmith Society's creation in early 2018 I have received regular messages from aspiring jewelers who want to know: what tools do I recommend they buy to get started making jewelry. This is a challenging question to answer if I overthink it, so I won't! I will merely make some recommendations to help get your bench set up and hopefully it will help since there are an overwhelming amount of tools out there! I'm also going to start with a quick plug for my book: Metalsmith Society's Guide To Jewelry Making. In my book I talk in depth about the tools, materials and techniques I recommend to get started making jewelry.
You can order your copy here.
So back to the list of tools, these are just suggestions and for every tool I recommend another ten could also be appropriate. All jewelers acquire their tools over the years, so you can start with these basics and then order things as you need them!

There are many, many torch options. I'm going to recommend getting a Smith acetylene air "outfit" and then go to your local plumbing supply to get a b tank filled. You can solder almost anything as it comes with a #00 tip. I recommend getting a #1 torch tip as well, they are great for soldering larger pieces and annealing! Perhaps you'd rather start with a Butane? Check out my article about choosing a torch for jewelry making!

While there are many surfaces you can solder on I like honeycomb soldering boards. They are lightweight and reflect heat. You will want to place this on top of a heat resistant table top, tiles or one of these soldering boards. I use the soldering board because it allows me a surface to place and pick up solder.

In the past I always recommended a slow cooker to heat pickle, but truthfully this may not be the best option as many of them have metal components that can ultimately contaminate your pickle. Another option is to get a single electric burner like this one and then place your pickle (or even your patina) in a glass beaker on top of this! To prevent evaporation use a silicone lid! Be safe: never add cold water to a hot pyrex, it can crack.

To remove pieces from the pickle you will want a pair of copper tongs! To pickle small elements and save time you can try a silicone tea bag. This coffee filter basket also fits inside the glass beaker and has a handle for easy lifting!
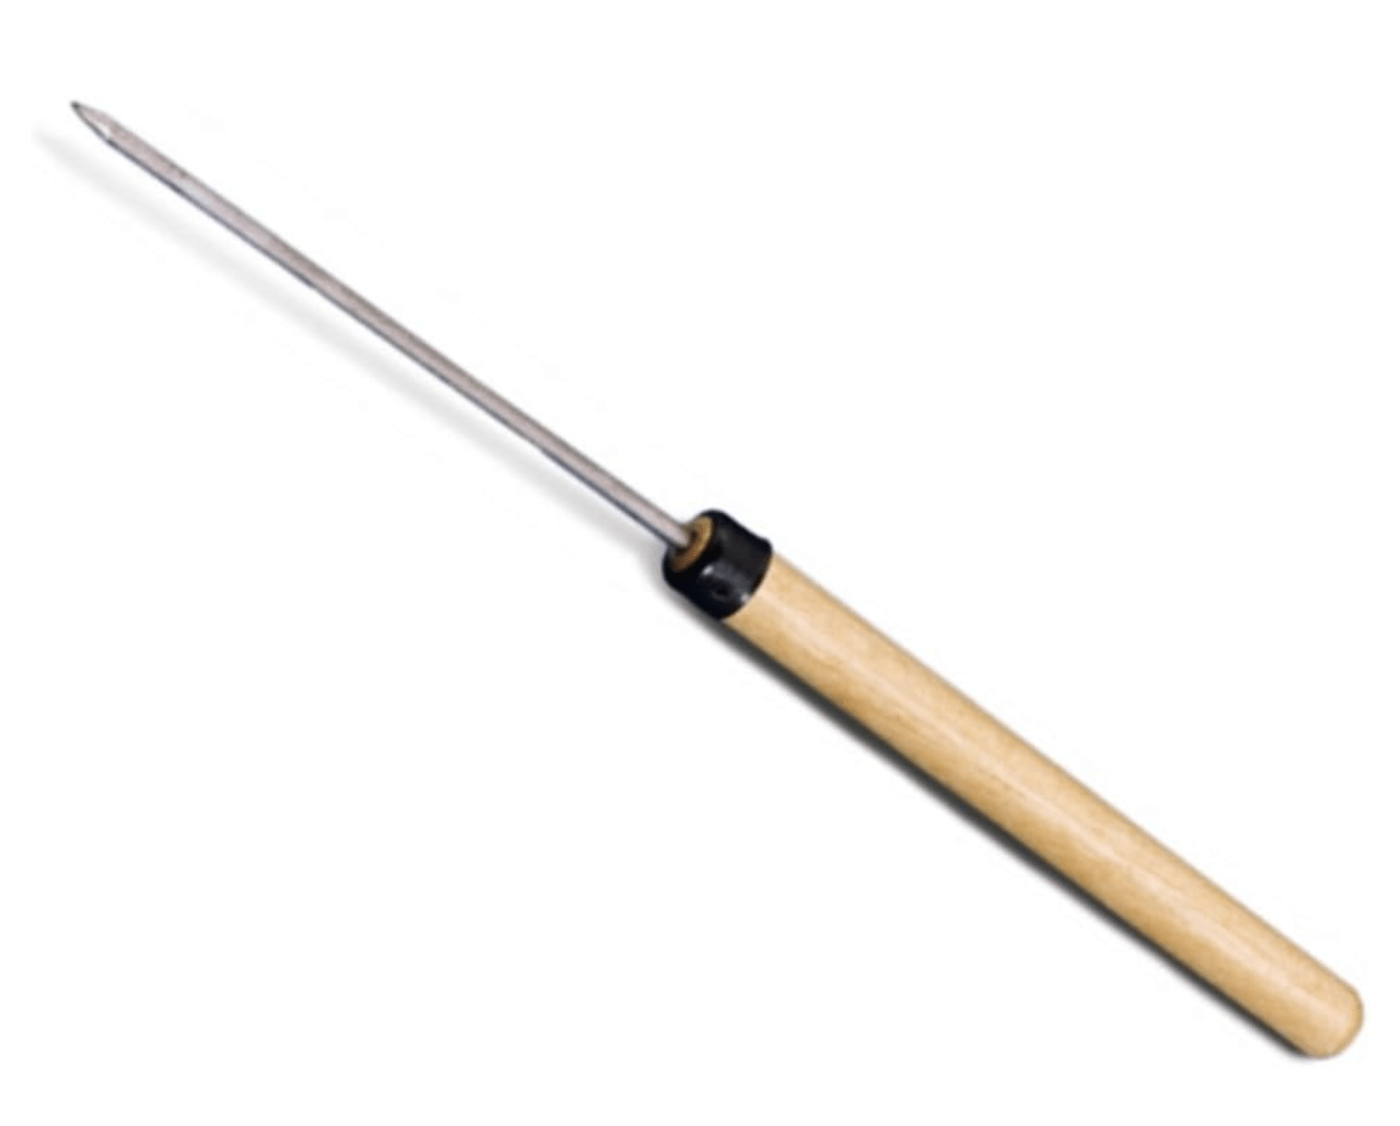
Having a solder pick is an essential. You can use it to pick up and place solder on your work.
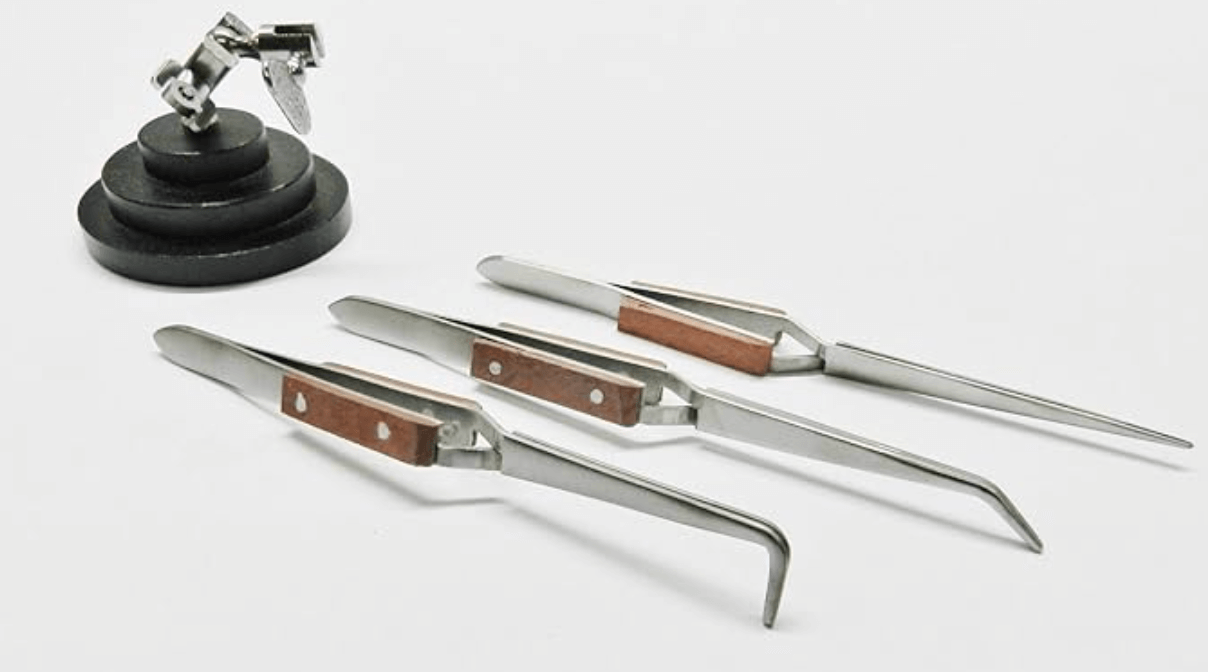
You will also need a pair of cross locking tweezers, and a third hand to go along with them is an investment you won't regret. They are used to hold pieces when soldering.


You will need flux! There are many varieties but I now like to recommend Firescoff Flux after reading the Eco Jewelry Handbook. It is flouride free and doesn't pose the health risks of other fluoride fluxes.
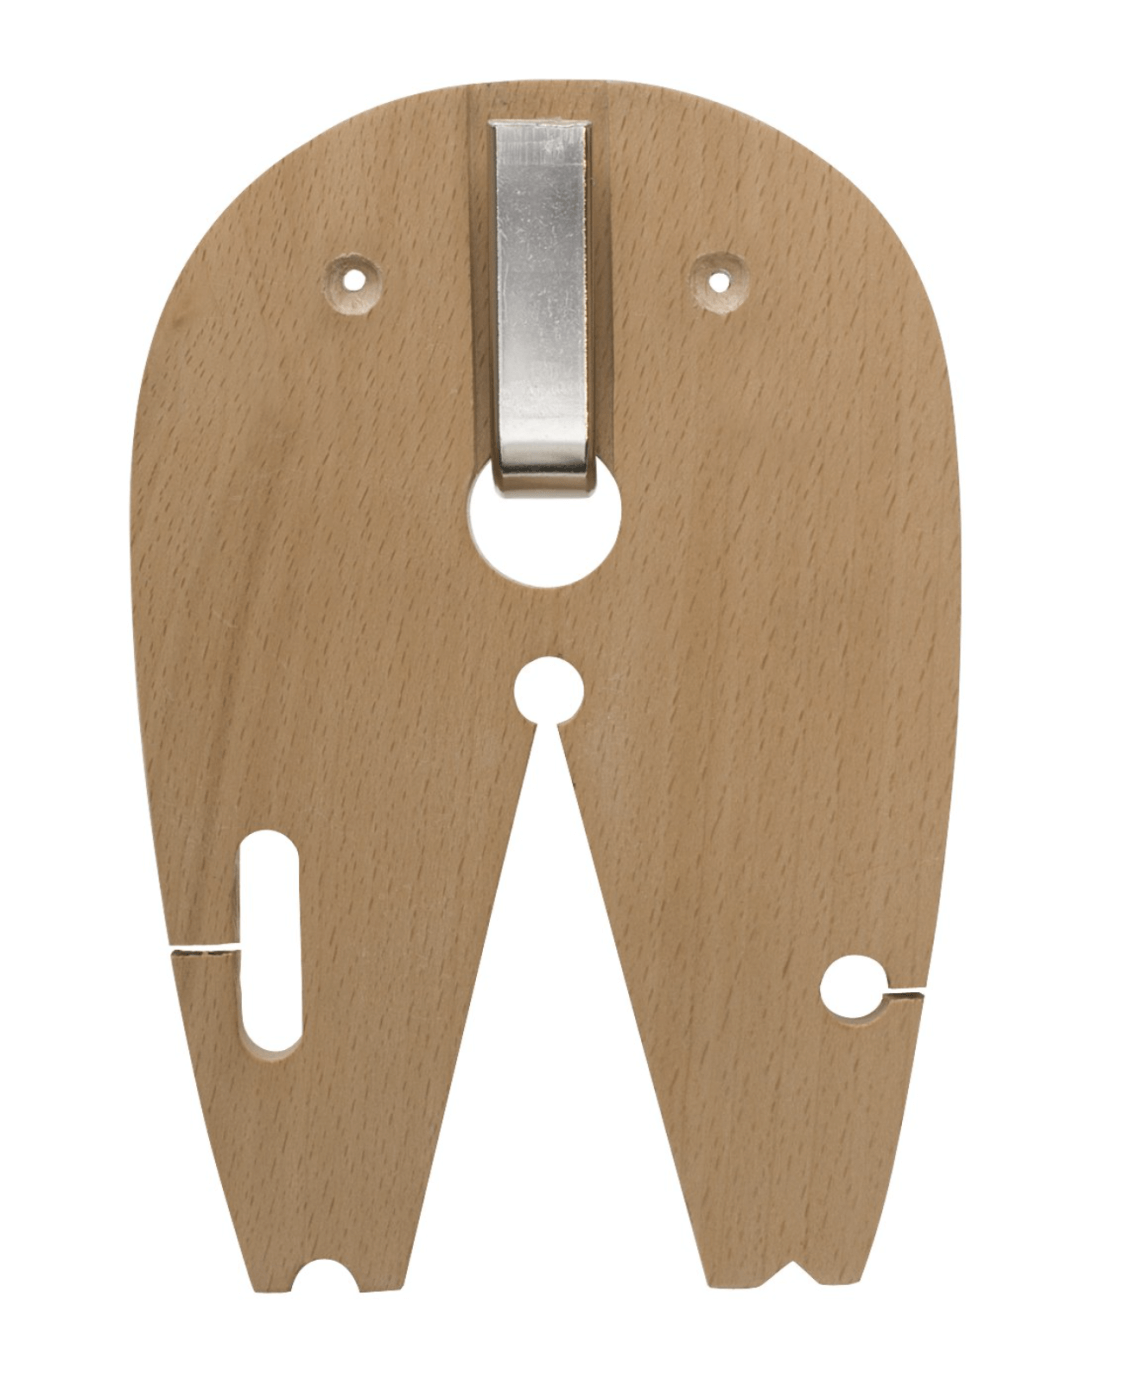
You will need a bench pin! You can purchase a bench where you insert one or you can just use one of these mountable bench pins. I like this one because it comes with slots which are helpful when saw into sheet metal! It's an affordable option for a beginners and because it has a clamp you can move it around to different work tables.


You will need a saw frame and saw blades. There are many brands, some with incredibly cool ergonomic handles, but the german frames work great and are a good value! Saw blades - 6/0 are the thinnest and 6 is the thickest. A size 1 works great when sawing 18-20 gauge sheet.
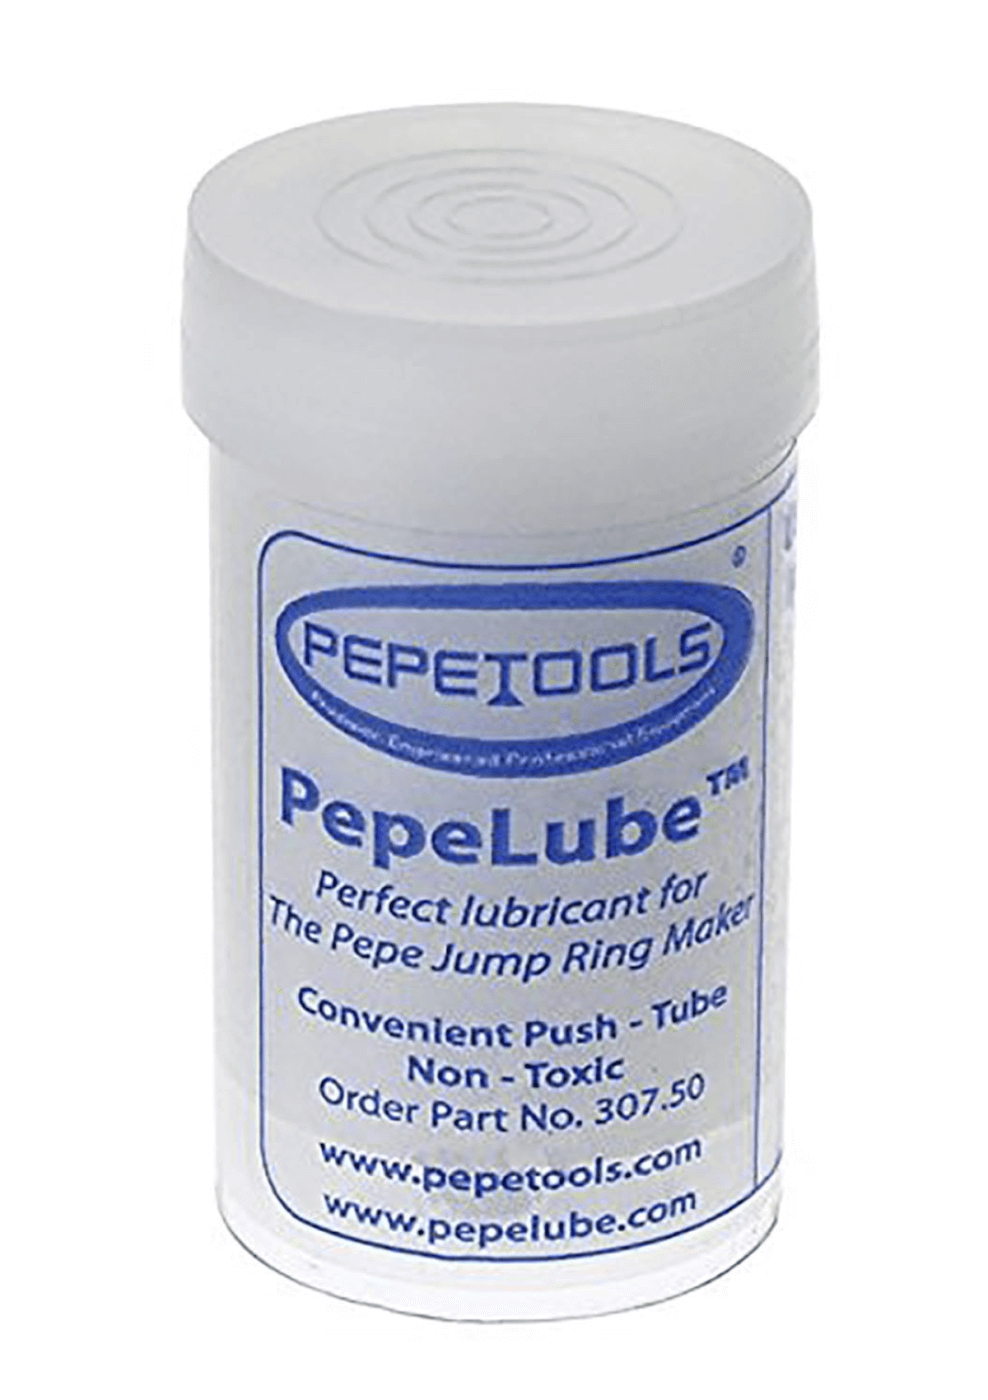
Using some sort of lubrication when sawing is critical! You can also use this lubricant on files and burs. It will help keep your tools in great condition!


You will need files. There are different cuts and shapes and lengths. Investing in a set of needle files is a great idea and a few larger files. These needle files are a #4 cut which is on the finer side. Your flat and half round will get a ton of use!
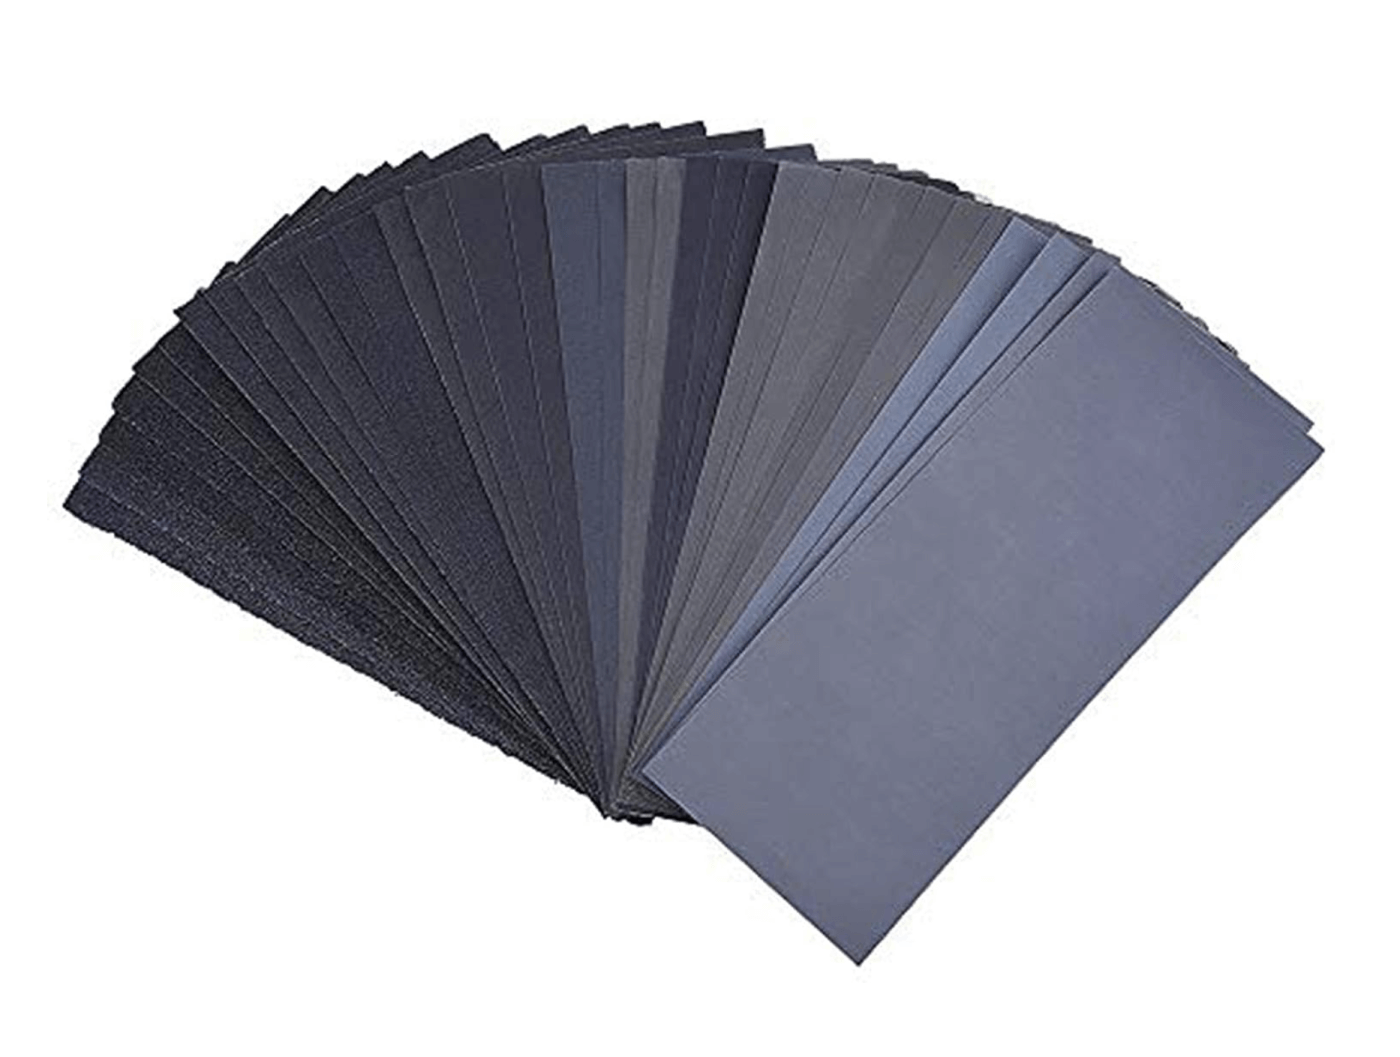
Sand paper is your best friend. This set includes grits from 120 to 3000. Essential!
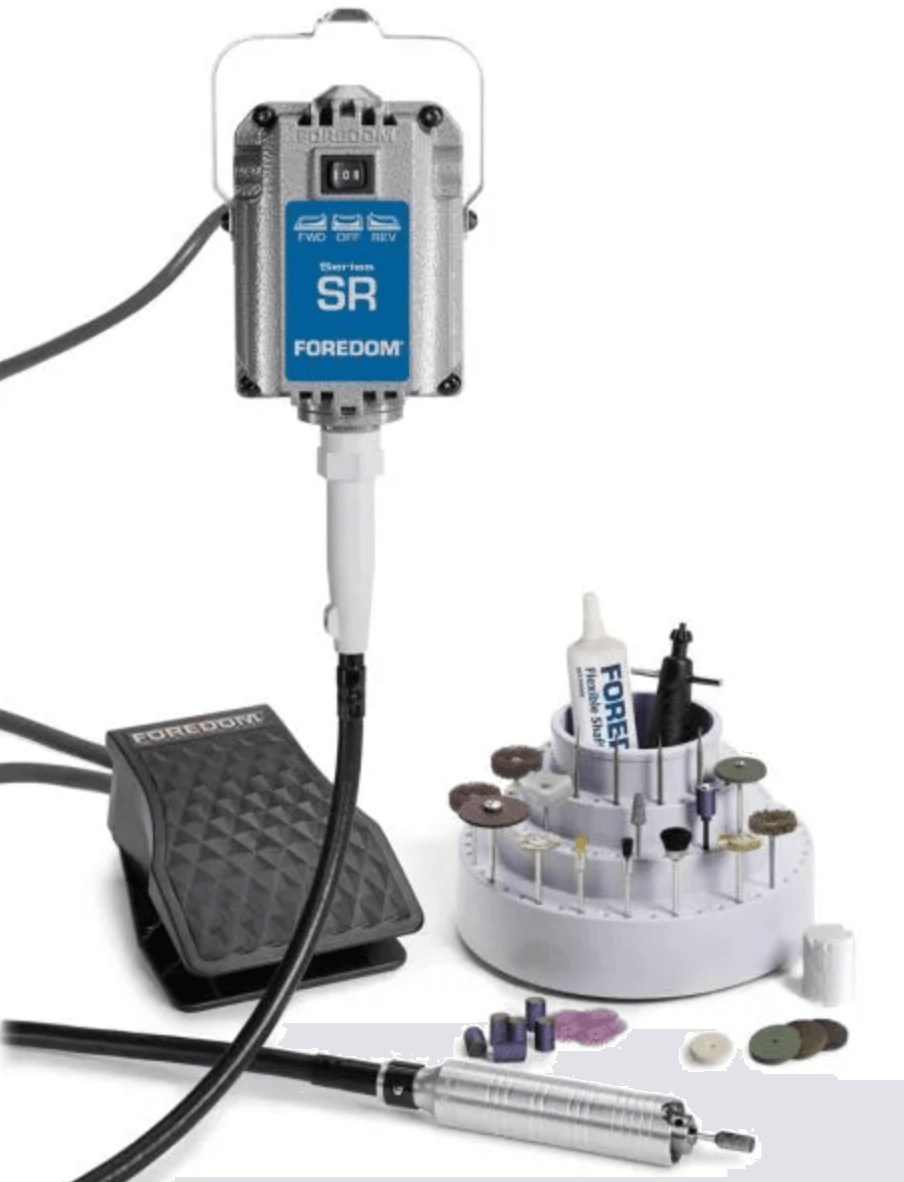
If you are serious about jewelry making, you will ultimately want to invest in a flexshaft. Foredom makes an incredible product and the SR model is nice because it has a reverse feature (this is useful when using setting burs!) With proper maintenance they will last a long, long time. This set also comes with some bits that you can experiment with. I also did a mini series about flexshafts that you can read about on my blog! You will also need a hanger for the flex shaft.

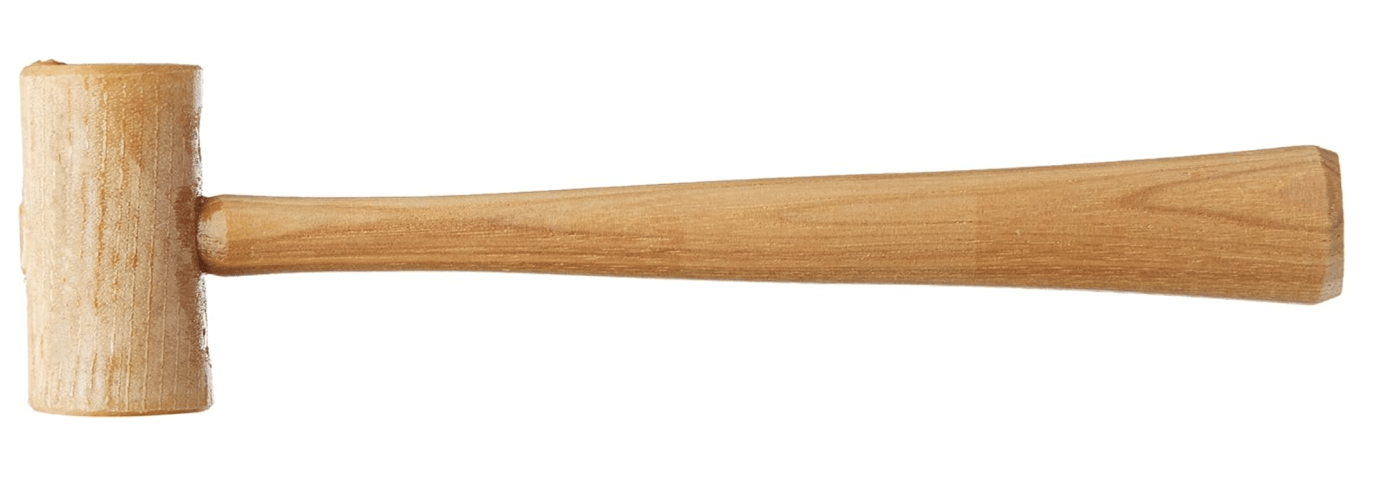
A raw hide mallet will be used for forming, bending and flattening metal. If you were to start with buying one hammer I'd buy one of these.


A steel block of some sort is needed for a surface to hammer on if you plan to do any stamping. I like this one because of the rubber base which dampens the noise created hammering. This is not a very large surface so consider the size of the pieces you will be stamping, I think it works well for most pendants, wires etc.


When you are creating rings a steel ring mandrel is a necessary tool. It will allow you to assess size and you can also hammer rings directly on it. This Pepetools one will last a lifetime and size your rings consistently and precisely.

Pliers are essential. I've owned everything from economy to some really nice ones and my recommendation is invest in a few high quality and they will last a lifetime. These round nose by Tronex will help you form wires, bezels and other elements.

Parallel pliers are amazing for closing rings and other wire elements prior to soldering. Ones like these with nylon jaws will prevent marring. I use mine all the time!
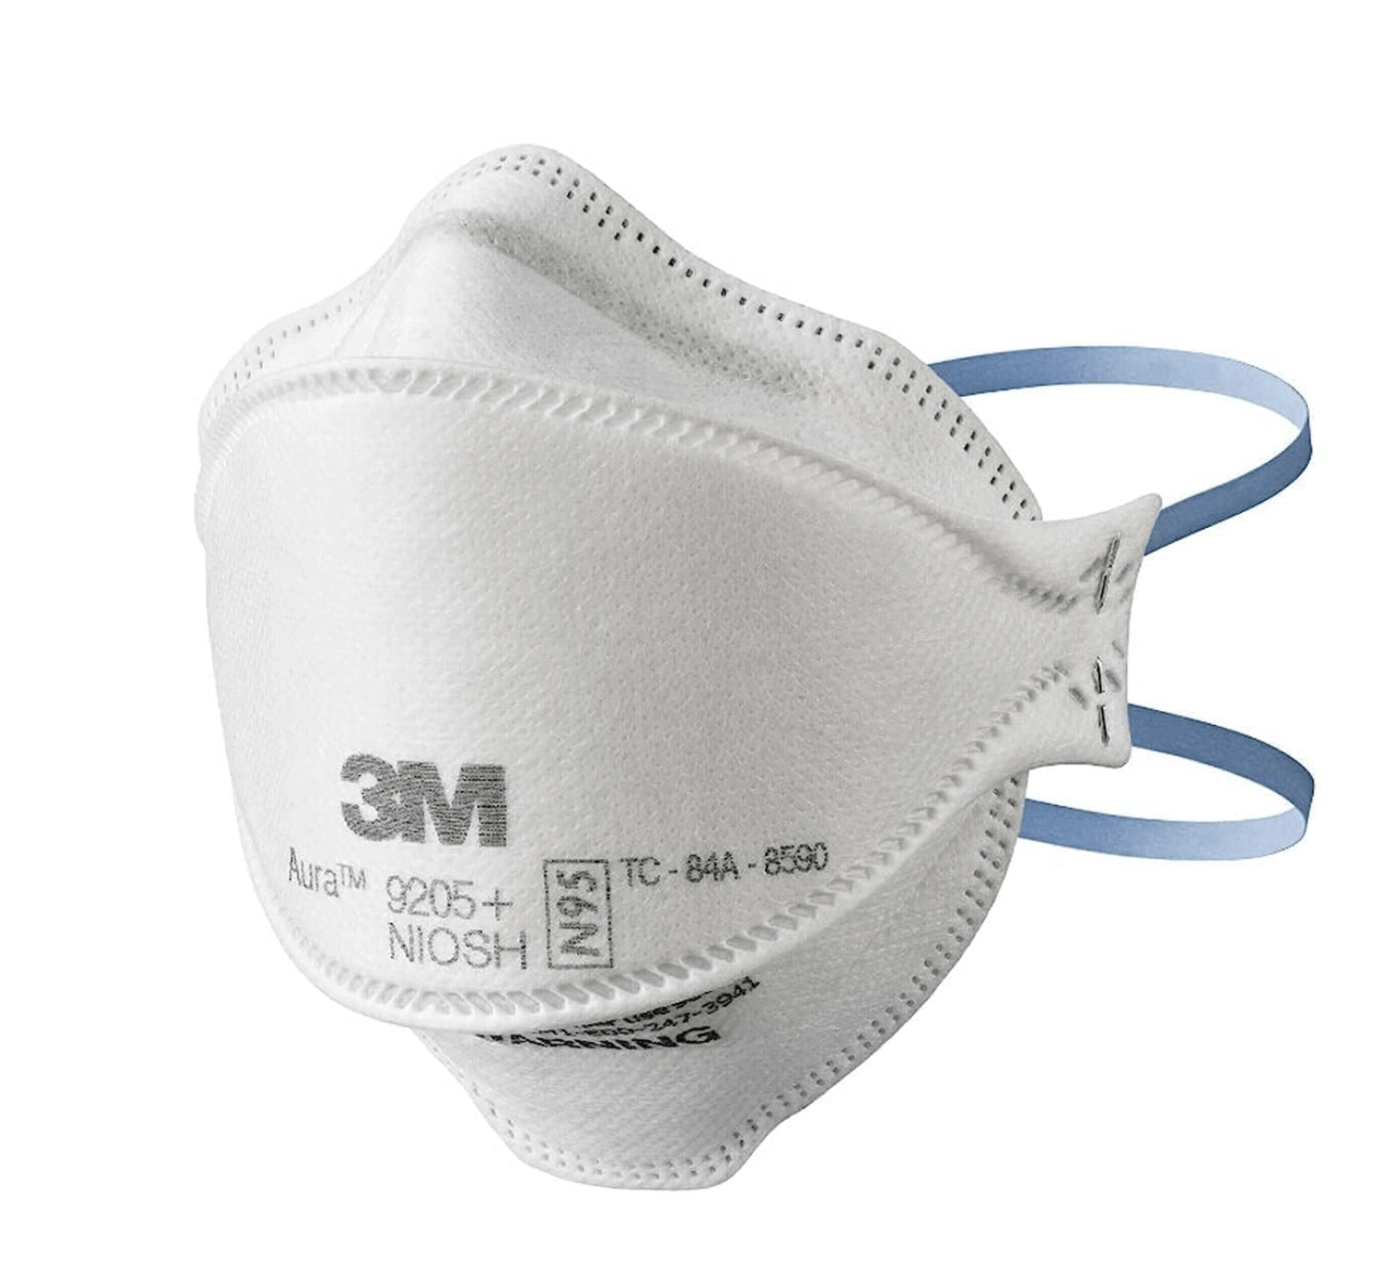
A 3M Aura particulate respirator can be used while sanding and polishing to protect against particles entering your lungs. A separate fume respirator can make your work environment safer. To read more about studio safety check out my other blog article.
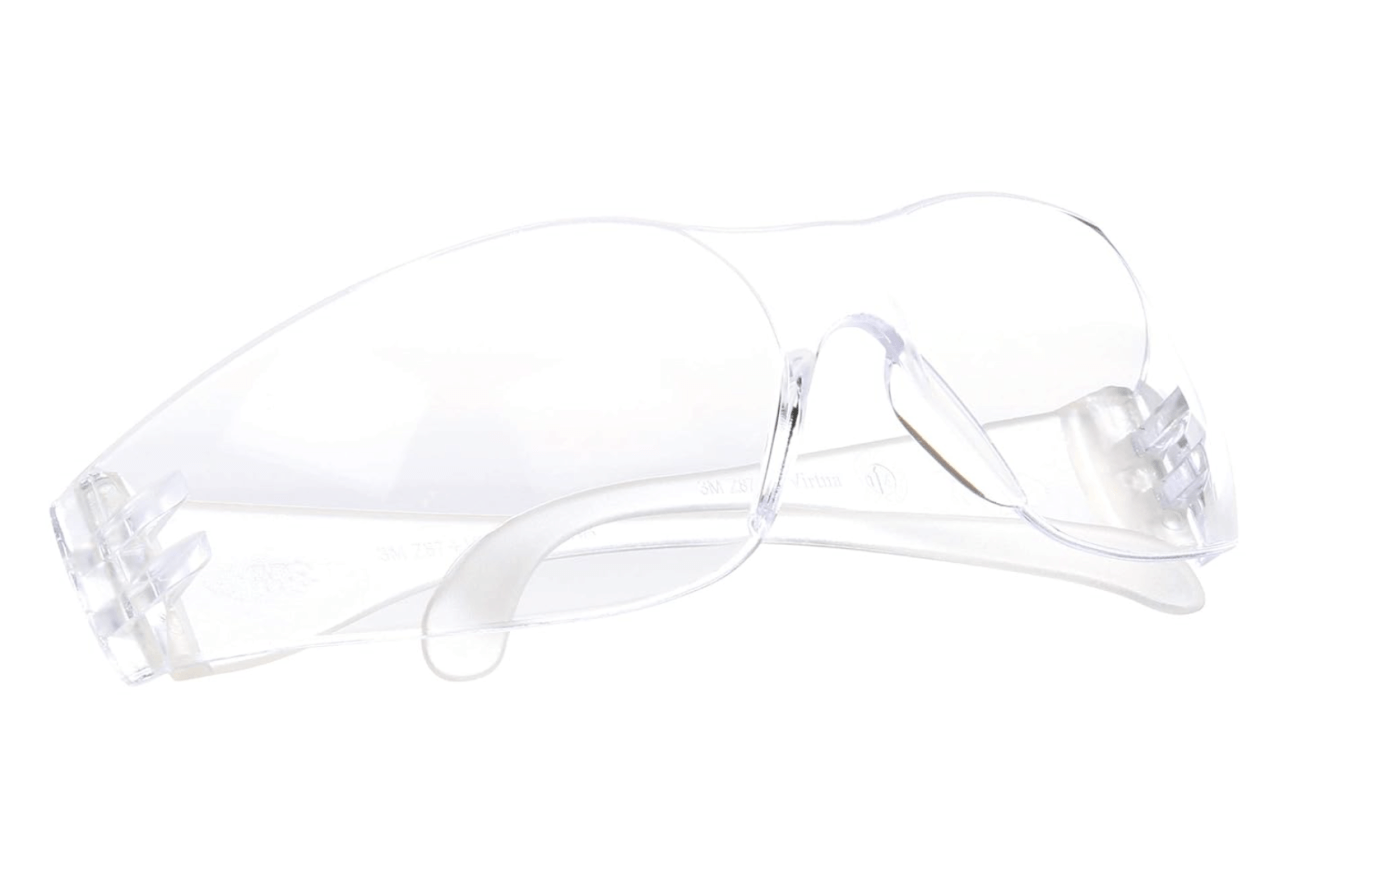
Safety goggles are A MUST. I've had bits of metal fly at my face, tiny silicone particles and splashes of hot flux. Better safe than sorry!
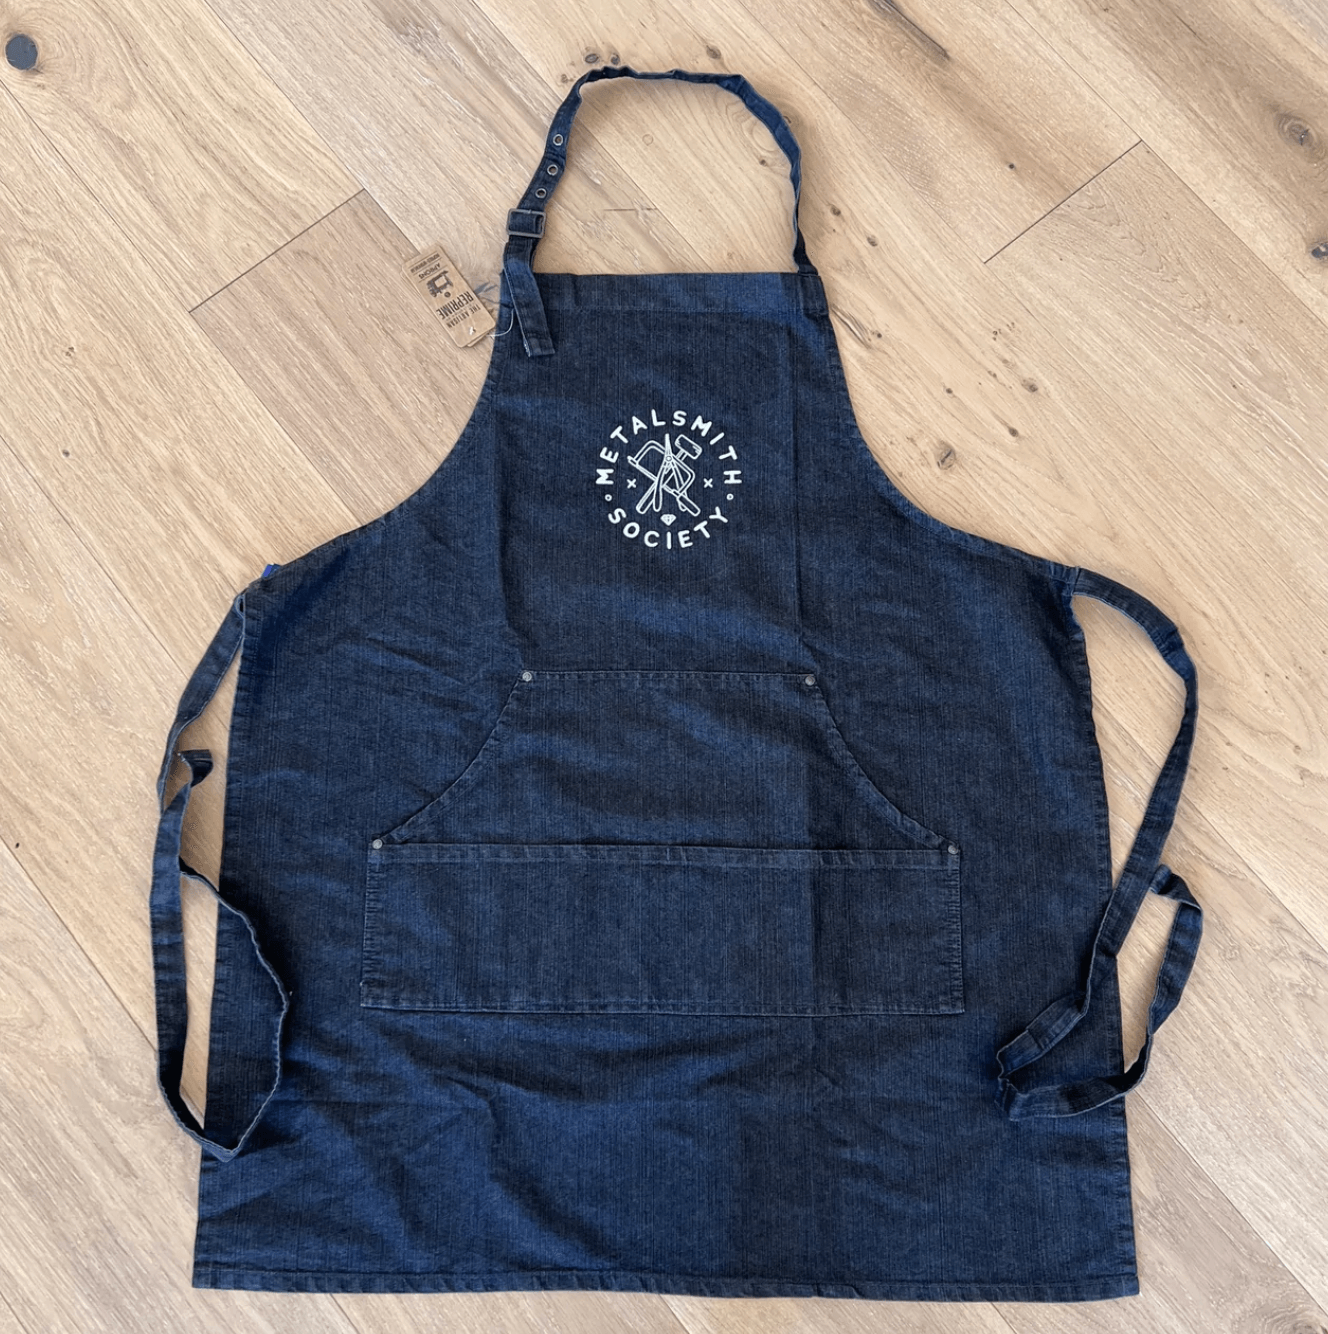
A work apron will protect your clothing and body. Why not buy a Society apron? Your purchase supports this blog and the Society Instagram page.


If you want to be able to experiment with bezel settings you will need a few tools. A bezel pusher like this can be covered in tape to protect your work (from a slip) and used to push a bezel over. You will also need a burnisher of some sort. There are many out there and people have their preferences but agate burnishers are pretty popular.


Get the book Complete Metalsmith by Tim McCreight and read the whole thing. It will explain EVERYTHING you need to get going. The professional version is worth the extra $20! You can also check out my other recommended books!


If you need to cut bezel wire or solder sheet I really like these Joyce Chen Ultimate Scissors. They are in general a fantastic, sharp pair of scissors to have in your studio space. If you are going to be cutting wire, or wire solder you need some excellent flush cutters. I've had cheap ones and they aren't worth it.

When you get into hammering, using a disc cutter etc. you will definitely want to protect your ears! These ear muffs are amazing, and you can easily wear safety goggles with them!
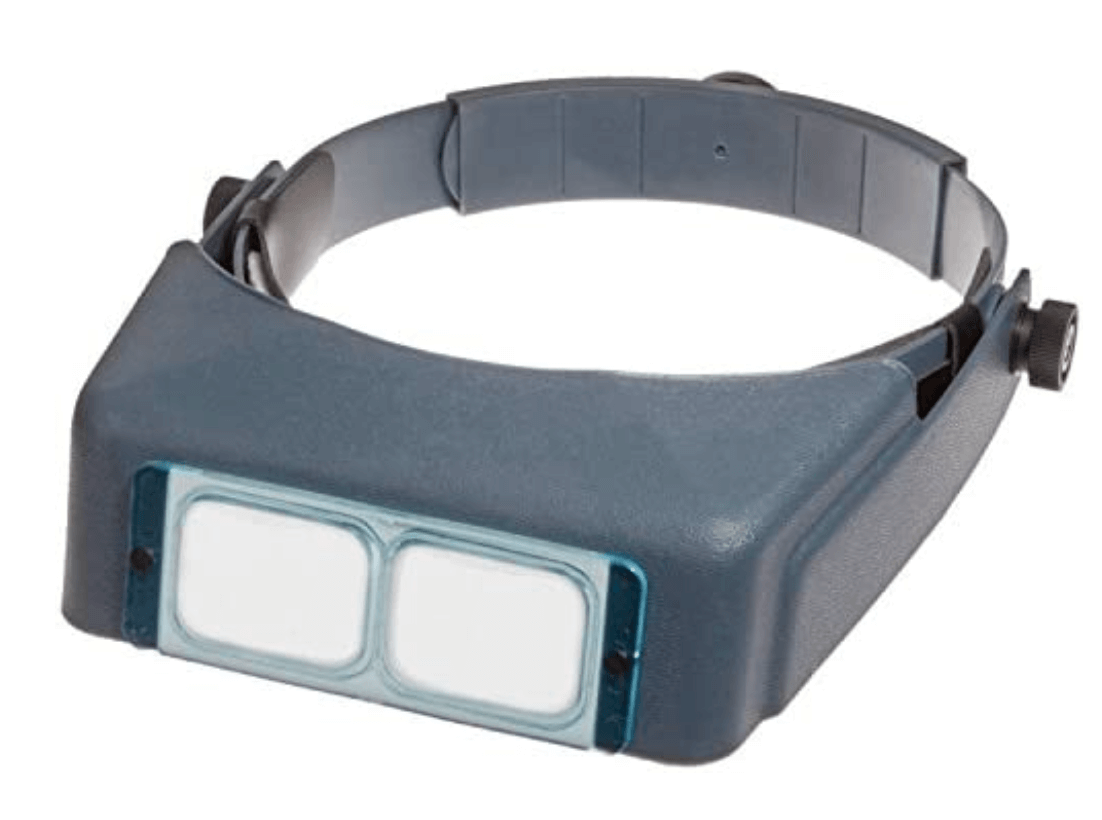
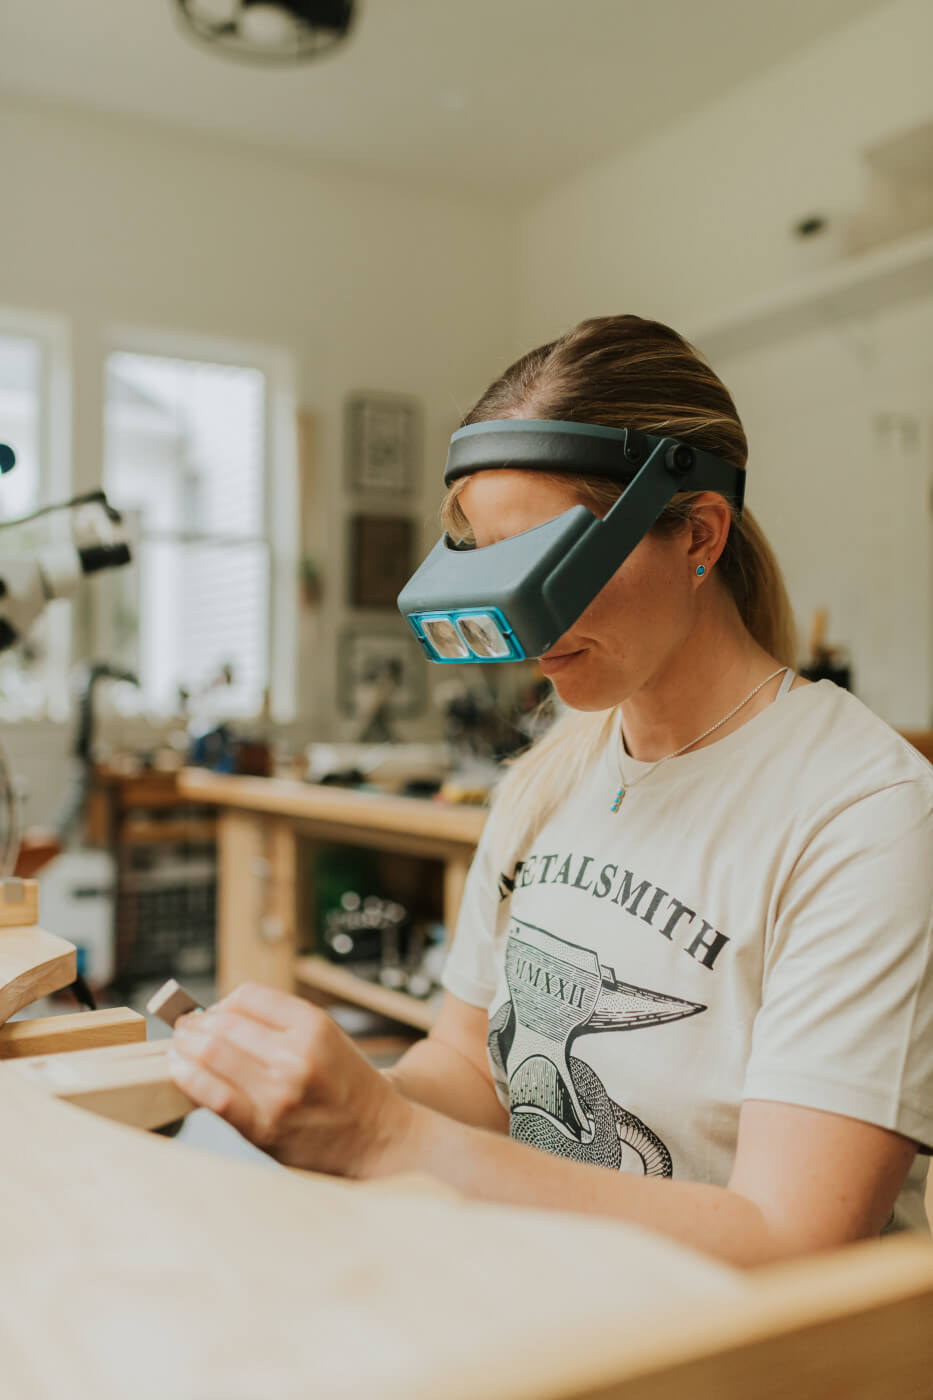
If you are planning to do stonesetting you will likely want to invest in something to help you see your work. The OptiVISOR is one of the best quality magnification headsets you can get. There are cheaper ones out there but the reviews don't seem favorable. They have many different lenses available but I recommend the #5 to start.

3M Painters Tape is an awesome thing to have in your studio. When you get a fresh sheet of silver cover it with tape to protect from scratching, when you are setting stones you can cover your cabochons to help prevent a scratch if you accidentally slip with your burnisher. Very handy stuff.

Tumblers are an awesome tool to apply a uniform shine to your work. I've owned many and I do like the Lortone 3A Tumbler. It's easy to open and close and is made in America. Be sure to check out my article with tips on using your tumbler.

1lb of steel shot media works well in this tumbler! You can also check out my IGTV video on how to get a matte finish with plastic tumbler media.
I could keep going and going, however I think this is a decent list to get started! Most items I recommend are linked to Amazon, should you choose to purchase through the link I will get a little something, something. However these items are available at tons of retailers, and shopping local is always nice.
I also suggest checking out my Books Recommendations page, or go to your local library! Watching instructional YouTube videos is also a great way to learn!

If you'd like further information on other torch options besides the Acetylene check out this article How To Choose A Torch For Jewelry Making.
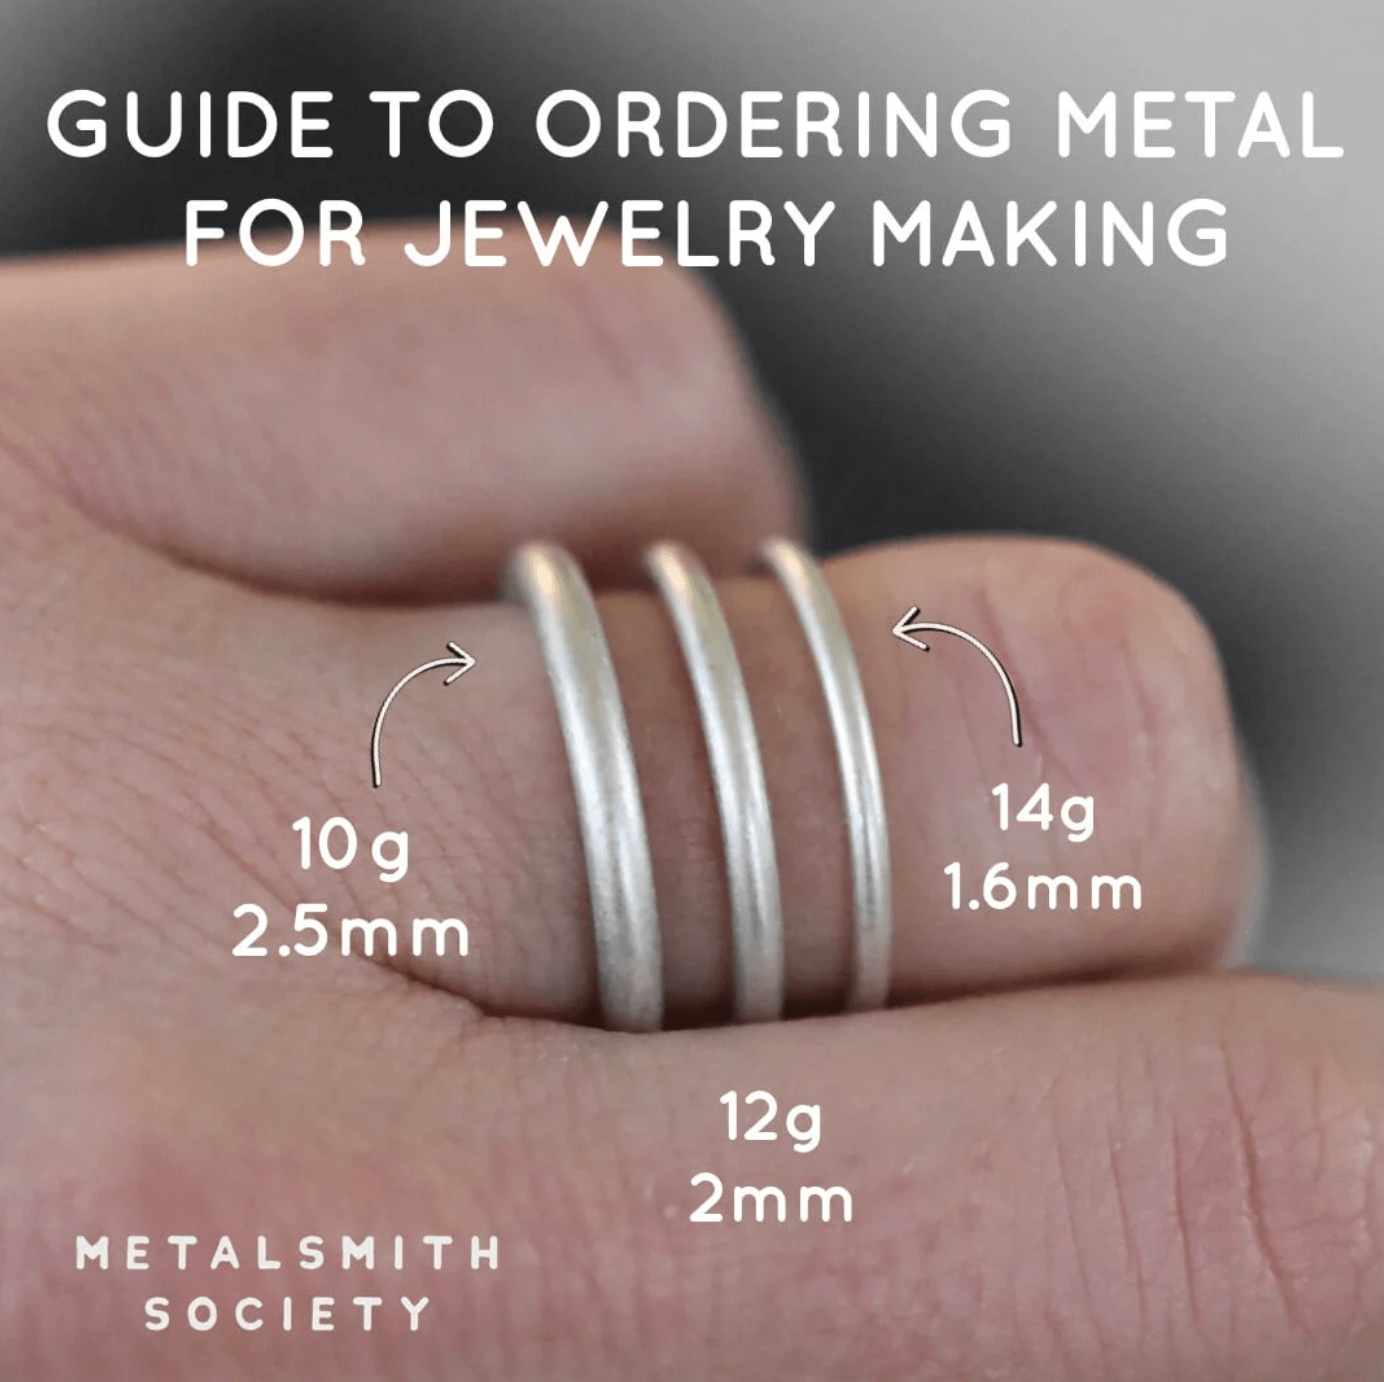
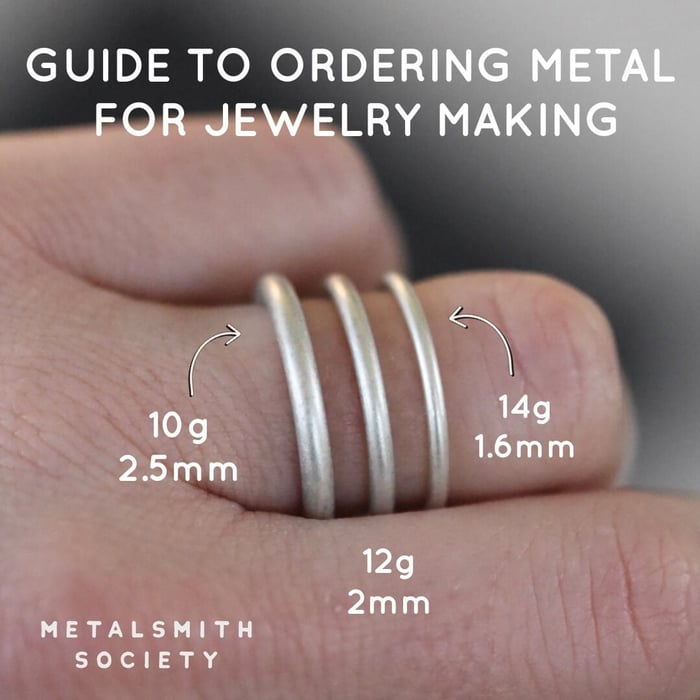
Now that you have some recommendations for tools to get your bench set up there may be follow up questions as to what raw materials are needed. Next you should check out my Guide To Ordering Metal For Jewelry Making!
Support Metalsmith Society
Be sure to join our community on Instagram

Listen to my podcast! On it I discuss tips we have shared. You can find it on apple podcast, spotify or wherever you listen to your podcasts!

If it was helpful, please share this article on Pinterest

Consider becoming a Patreon member! You will get exclusive perks, monthly giveaways and access to a community board where I can answer questions!