
You probably came across this article while searching for stone setting tips for jewelry making beginners—and you’re in the right place. This roundup covers practical advice for everything from fabricating stone settings to the actual stone setting process itself, including bezel and prong settings. All tips are sourced from the Metalsmith Society community, and whether you're just getting started or looking to build confidence at the bench, these beginner-friendly ideas will help you set stones with more ease and success.
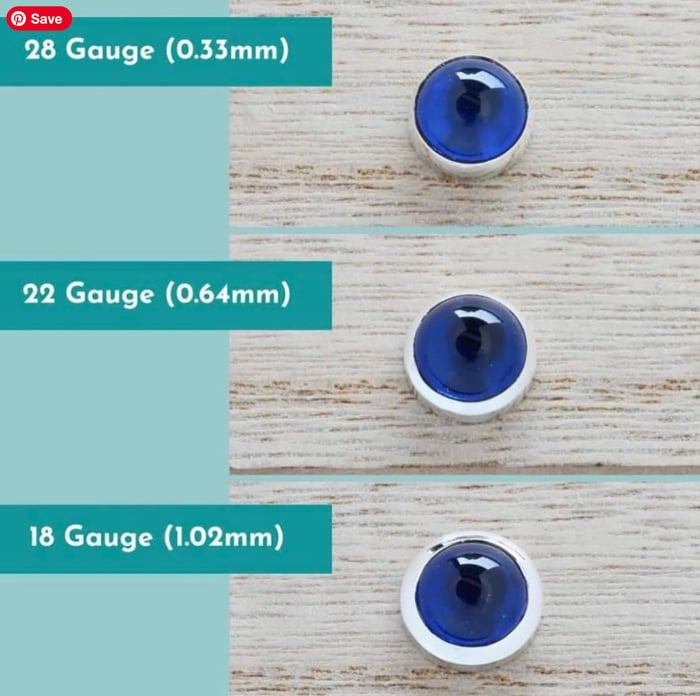
How Thick Should My Bezel Be?
Here’s a super helpful share: @lucywalkerjewellery put together this fantastic visual guide to bezel thickness! 💎
"For smaller stones, 28 gauge (0.33mm) works beautifully, but for chunkier pieces you might prefer something sturdier, like 22 gauge (0.64mm) or even 18 gauge (1.02mm). Just remember—the thicker the bezel, the more specialized your tools and techniques will need to be. With thin bezels like 28 gauge, setting is simple—no need to cut a chamfer, and you can push it right over with a bezel rocker or burnisher.”
Click on the image to head over to Instagram and see the original tip
Using Floss to Prevent Your Stone from Getting Stuck
Shared by @earth_to_chandra
Here’s a clever trick: place dental floss under your stone when test-fitting it in a bezel. That way, if it gets stuck, you can lift it right out—no stress, no scratches!
Click on the image to head over to Instagram and see the original tip—and while you’re there...
✨ Want more tips like this? Join our community over at @metalsmithsociety—we’ve been sharing thousands of jewelry-making tips since 2018!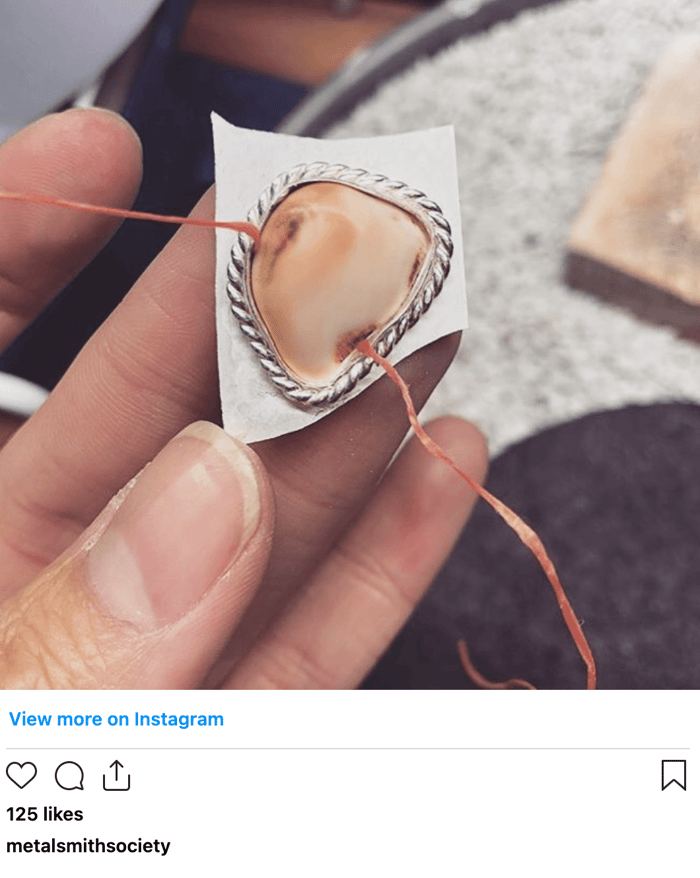
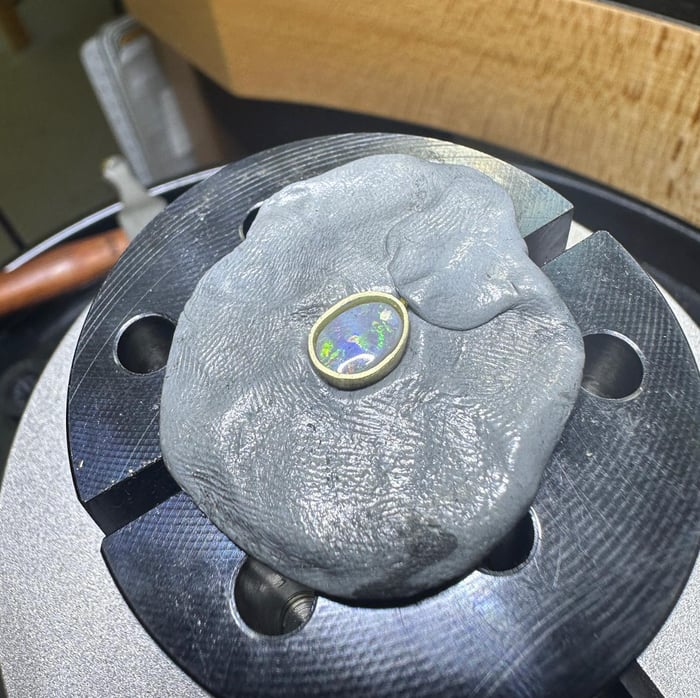
Holding Your Piece Securely For Stone Setting
Here’s a tip for getting your best stone setting results: make sure your work is held securely! 🔒
Holding your work securely and specificaly using a thermoplastic like Thermo-Loc® keeps your work from moving, allows you to put pressure, allows you to use both hands and keep them steady, and protects your piece. If your piece has delicate parts or a backplate larger than the setting, Thermo-Loc® is an especially great option since it supports and protects the entire piece while you set or polish. If I slip while pushing my bezel I won't accidentally scratch another part of my piece.
I highly recommend grabbing the Thermo-Loc starter set from @grstools! 🙌 It includes a Teflon mat (perfect for placing your Thermo-Loc on while you gently heat it with a craft heat gun) and a full pound of Thermo-Loc—enough to last you forever! 🔥 SHOP HERE.
Click on the image to head over to Instagram and see the original tip
Making Small Round Bezels from Tubing
Shared by @weatherbeatendesigns (who has since changed their IG handle)
Need to make a tiny round bezel? Tubing to the rescue! Using pre-cut tubing is a great way to quickly create clean, consistent bezels for small stones—no need to saw and solder a bezel wire into a perfect circle.
Click on the image to see the original tip on Instagram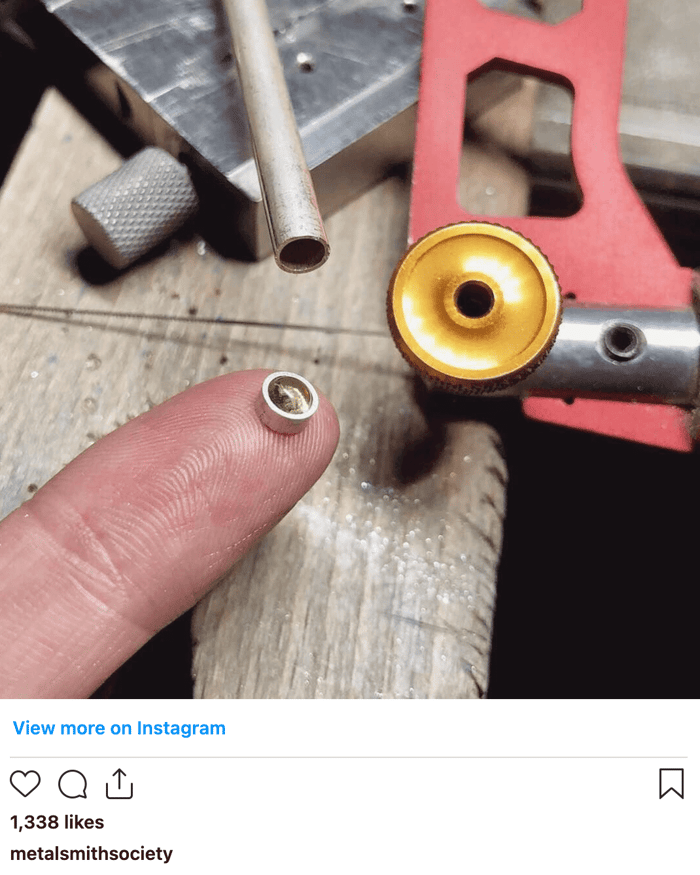
Using a Watchmaker’s Knife for Setting A Bezel In A Tight Spaces
Shared by @kayinemmetals
Here’s another clever hack for bezel setting in tricky spots: use a watchmaker’s knife! It's super thin and perfect for wiggling a bezel fully closed in tight or dimensional settings.
Click on the image to see the original tip on Instagram.
Protecting Your Piece While Setting
Shared by @hannah.lynn.jewelry
This is a genius use of alligator tape—not to protect your fingers, but your metalwork! 💎🔨
Click on the image to see the original tip on Instagram.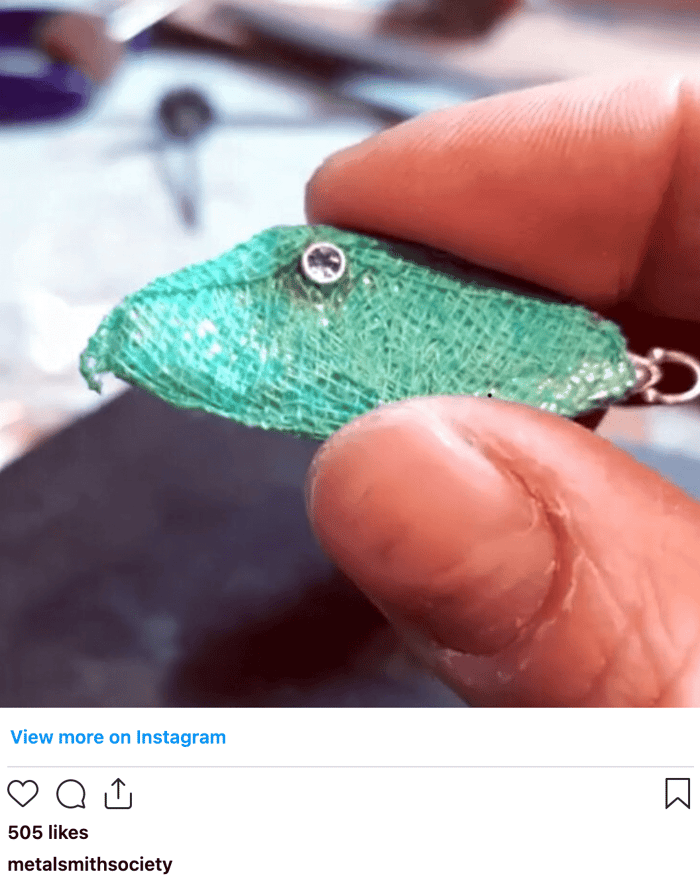
Keeping Your Stone from Shifting While Setting
Shared by @aimeesutanto
Here’s a super handy tip to keep your stone from jumping around while you bezel set: use a skinny piece of Blu Tack to temporarily hold it in place during the initial tapping of the bezel wall.
Click on the image to see the original tip on Instagram.
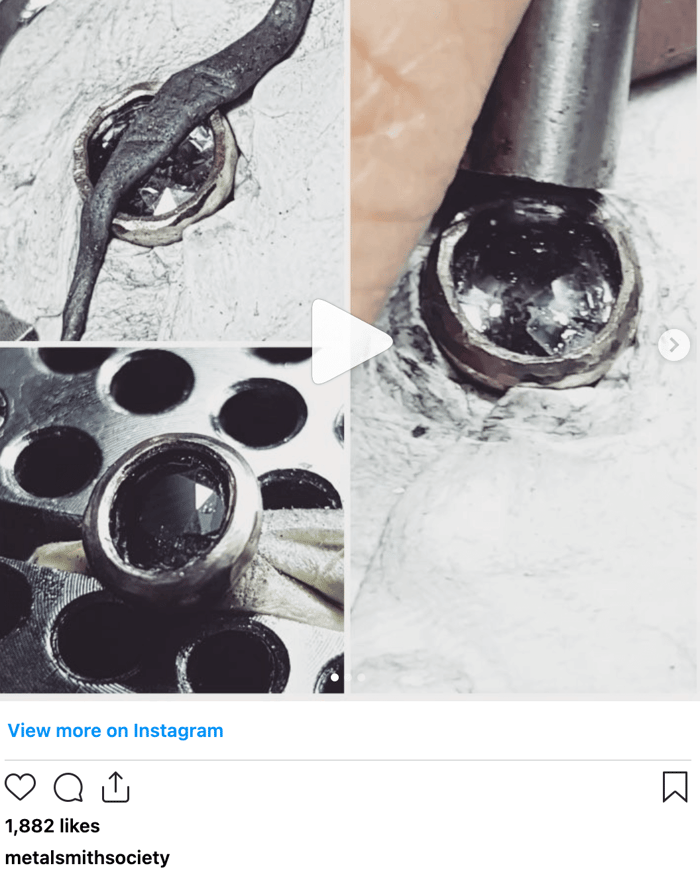
Check Your Bezels After You Solder
Check for gaps with this soldering tip from @baystateopals! 💡
“Even experienced jewelers sometimes have solder that doesn’t flow completely when attaching a bezel to a backplate. It can be tricky to see where more solder is needed. We use a flashlight with a pointy tip and shine it into the bezel—this lights up any gaps so you know exactly where to re-solder. When no more light shines through, you’re done!”
Click on the image to see the original tip on Instagram:
Positioning Prongs for Soldering with a Soft Solderite Brick
Struggling to keep prongs upright while soldering? @sweetbellajewelry uses a soft Solderite brick to get the job done with ease.
Simply press your prongs into the surface of the soft brick to hold them in place while you solder. It’s a simple trick that gives you control over spacing and alignment—especially helpful for custom layouts or uneven surfaces.
Click on the image to see the original tip on Instagram.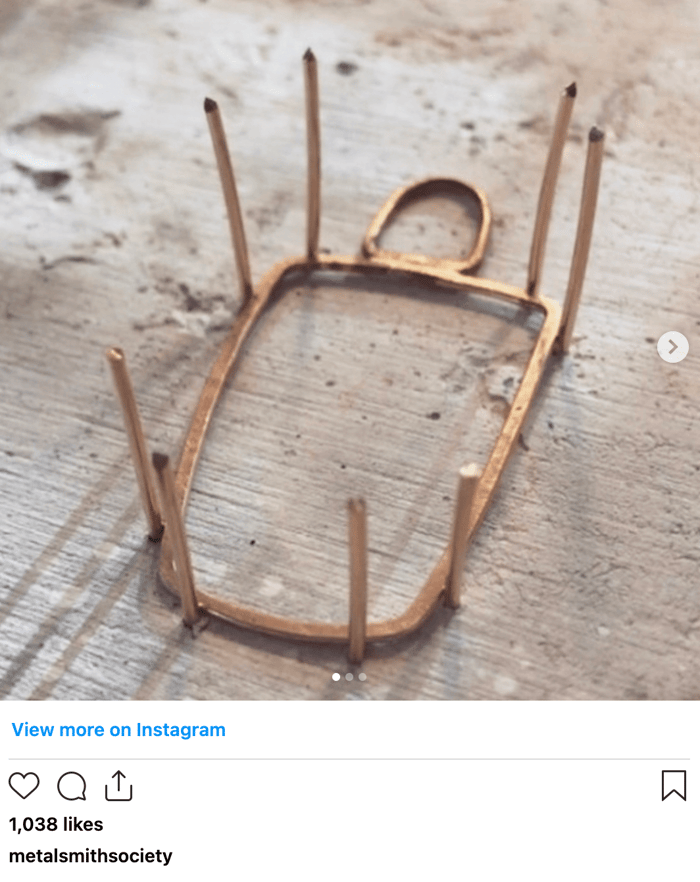
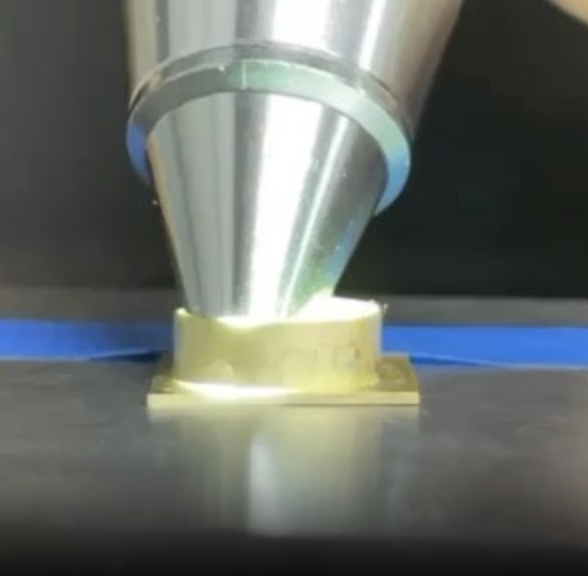
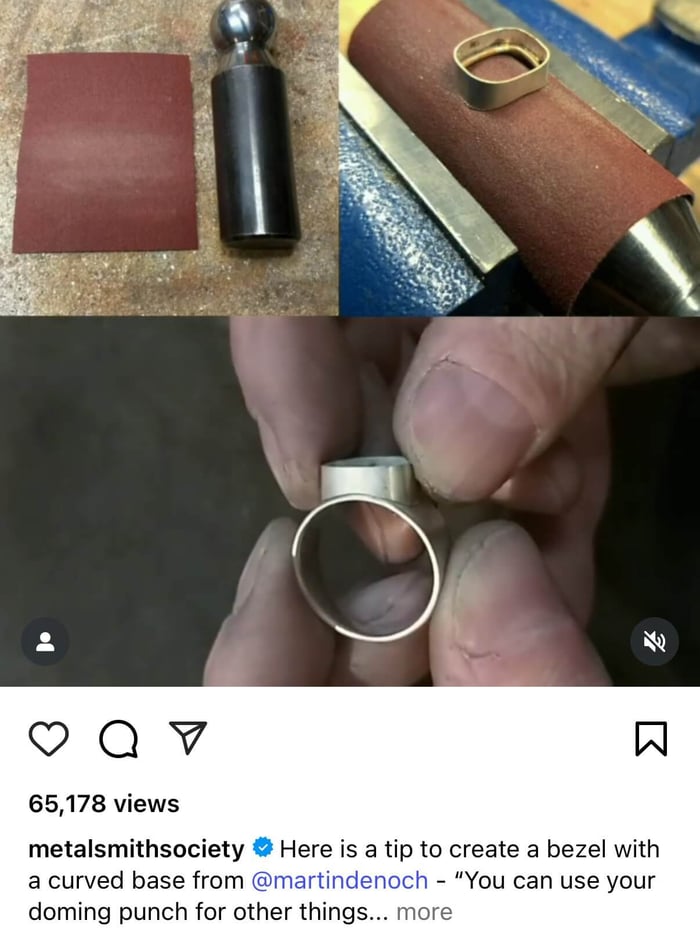
Creating a Bezel with a Curved Base
Shared by @martindenoch
Need to fit a stone with a curved back? Try this clever trick: use a doming punch to shape the base of your bezel!
“You can use your doming punch for other things than intended!” says @martindenoch. By making your bezel slightly taller than needed, you can sand the bottom against the doming punch to match a curved surface—great for cabochons that aren’t perfectly flat.
Click on the image to see the original tip on Instagram.
Prong Setting for Cabochons or Rose-Cut Stones
Shared by @lucywalkerjewelery
Love this visual tutorial on how to create a prong setting for a cabochon or rose-cut stone—such a clear and approachable method! Huge thanks to @lucywalkerjewellery for letting me share it. Can’t wait to give this one a go! 🙌
Click on the image to see the original tutorial on Instagram.
Hope You Found These Tips Inspiring!
Looking for more? Head over to tips.metalsmithsociety.com and check out the Tip Search Page—just type in keywords like “prong” or “flush setting” to uncover hundreds more community-sourced tips.

Articles like this wouldn’t be possible without the incredible support of our community. If you’ve found value here, consider joining me on Patreon!

When you become a Patreon supporter, you’ll get access to exclusive perks like:
✨ Bonus educational content and giveaways
🎥 Behind-the-scenes videos from my bench
💬 A private community space to ask questions + share wins
💝 Discounts from my favorite jewelry suppliers
Every pledge helps keep the tips flowing and supports my mission to make metalsmithing education accessible and fun for all. Thank you for being here 💛