This post contains affiliate links. If you purchase through one of my links I may earn a small commission at no extra cost to you. Thank you for supporting Metalsmith Society!
When you're first starting out making jewelry setting up a space to create can feel overwhelming! What tools are necessary? What safety equipment do I need. I wrote this article for all my makers out there looking for tip on setting up a jewelry making space or studio. Personally I've worked in a tiny NYC apartment bedroom, a cramped kitchen, and eventually a full dedicated studio, so I can tell you: the size of your space matters a lot less than how thoughtfully you set it up. Let's walk through it!
Let's Talk About Your Bench
The single most important investment you can make is a proper jeweler's bench — one with drawers, a bench pin, and a catch drawer. It keeps your essential hand tools organized and gives you a sturdy, comfortable surface to work from. I've worked on a lot of benches over the years, and for someone starting out I'd point you toward the Grobet USA Enclosed Solid Wood Workbench from Gesswein ($495).
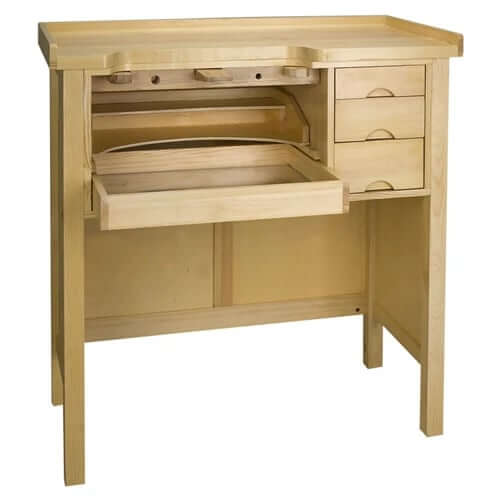
It's good quality, solid wood construction, and comes in at an affordable price. Fair warning: it requires assembly — but here's the thing, benches that ship unassembled cost significantly less to ship. It's a little sweat equity that saves you real money. Shop it here.
Outside the US? The Durston Superior Jeweller's Bench is an excellent option — Durston ships worldwide to over 50 countries direct from their UK headquarters, so no matter where you're making, they've got you covered. It's hardwood construction, comes largely pre-built (legs attach in about 15 minutes), and has been part of their award-winning lineup since 1961. A true buy-it-for-life bench. https://www.awin1.com/cread.php?awinmid=19746&awinaffid=726361&ued=https%3A%2F%2Fdurston.com%2Fproduct%2Fdurston-professional-wooden-bench-jewellers-benches%2F
Not ready to invest in a bench yet? I've been there! You can actually get started with a table you already own by using a bench pin that clamps right on to it. Just be aware that this style of bench pin can put indentations in a softer table, so make sure it's not one you're precious about. It's not as sturdy as a proper bench, but it's a completely reasonable option for the jeweler on a budget. I like this Bench Pin and Anvil from Gesswein as a great place to start.
Before you buy, ask yourself:
- Is it sturdy? Your bench needs to handle the force of sawing, hammering, and general fabrication without wobbling.
- Is it comfortable? You'll be sitting here for hours. Get the height right, and pair it with a chair that has adjustable height. Blocks under the bench legs work great for raising it if needed.
- Does it have enough storage? Drawers, hooks, and shelves aren't a luxury — they're essential for keeping your workflow from turning into chaos.
- How's the lighting? Precision work requires bright, adjustable light. Don't skimp here.
- Is there room for dust collection? If you're running a flex shaft for grinding, sanding, and polishing, a dust collector keeps your lungs safer — and the metal dust you collect can be sent to a refiner for money back. (I wrote more about refining [here](INTERNAL LINK NEEDED).)
Here are some important considerations for your bench before we move on. Is it sturdy and stable? A jeweler's bench should be sturdy and stable, able to withstand the weight of tools and equipment, and the force required for various jewelry-making techniques. Are you comfortable? Your bench should be comfortable to sit at for extended periods of time, with an appropriate height. You can lift your bench onto blocks if needed and having a chair with adjustable height is also very helpful. Do you have enough storage? You need ample storage for tools, equipment, and supplies, including drawers, shelves, and hooks. This keeps tools organized and easily accessible during the jewelry-making process.
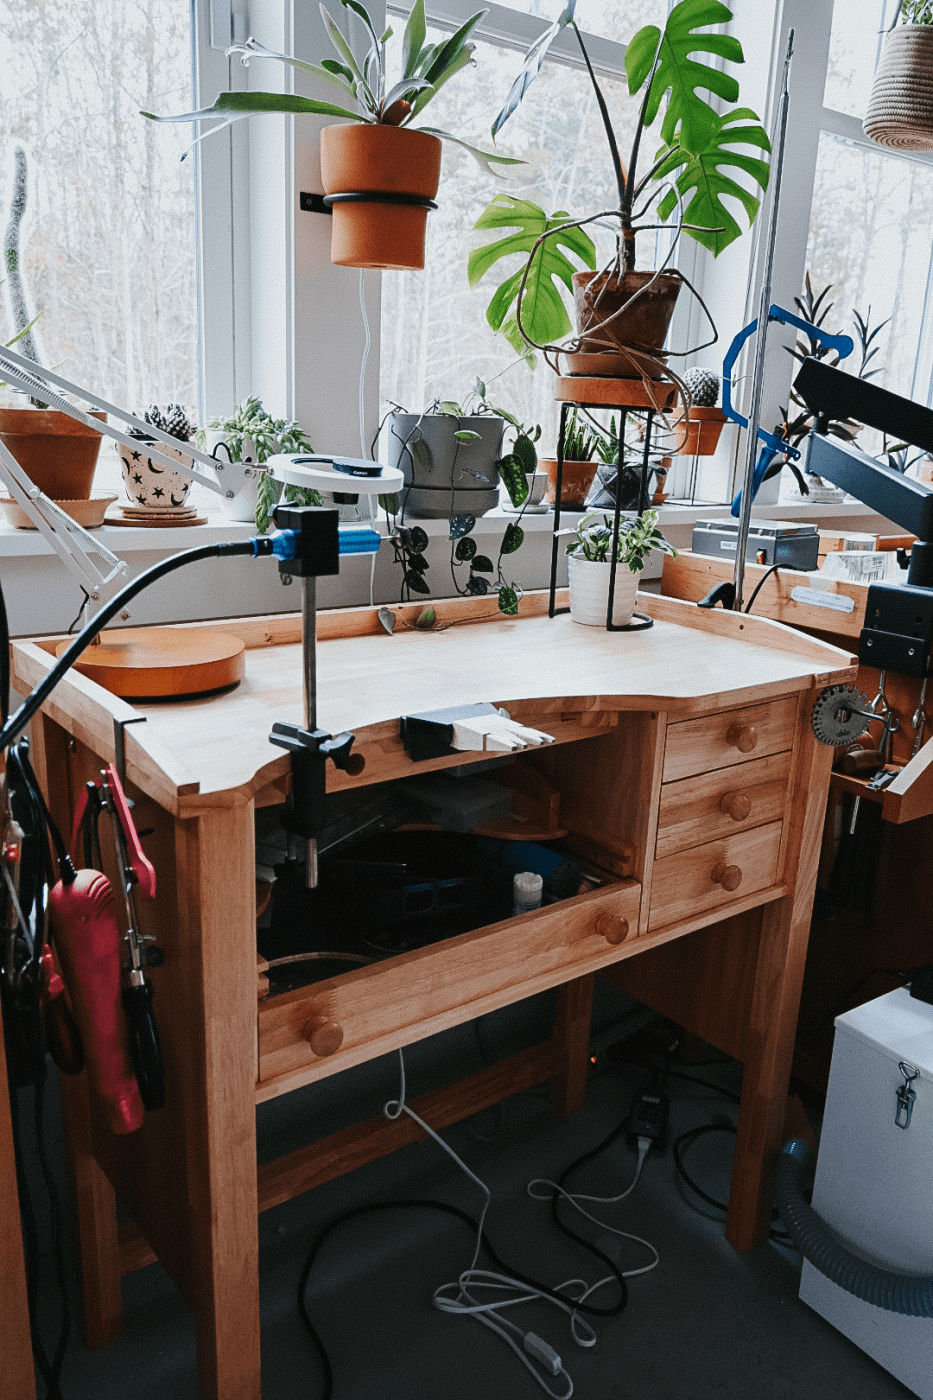
CREATING A SOLDERING STATION ON YOUR BENCH
Back when I only had one bench I had to do all the things at that bench: from designing to fabrication to soldering! I kept all my soldering tools in the corner of my bench. In some ways doing this is a great time saver because you can solder something, throw it in the pickle pot and get right back to working at your bench pin.
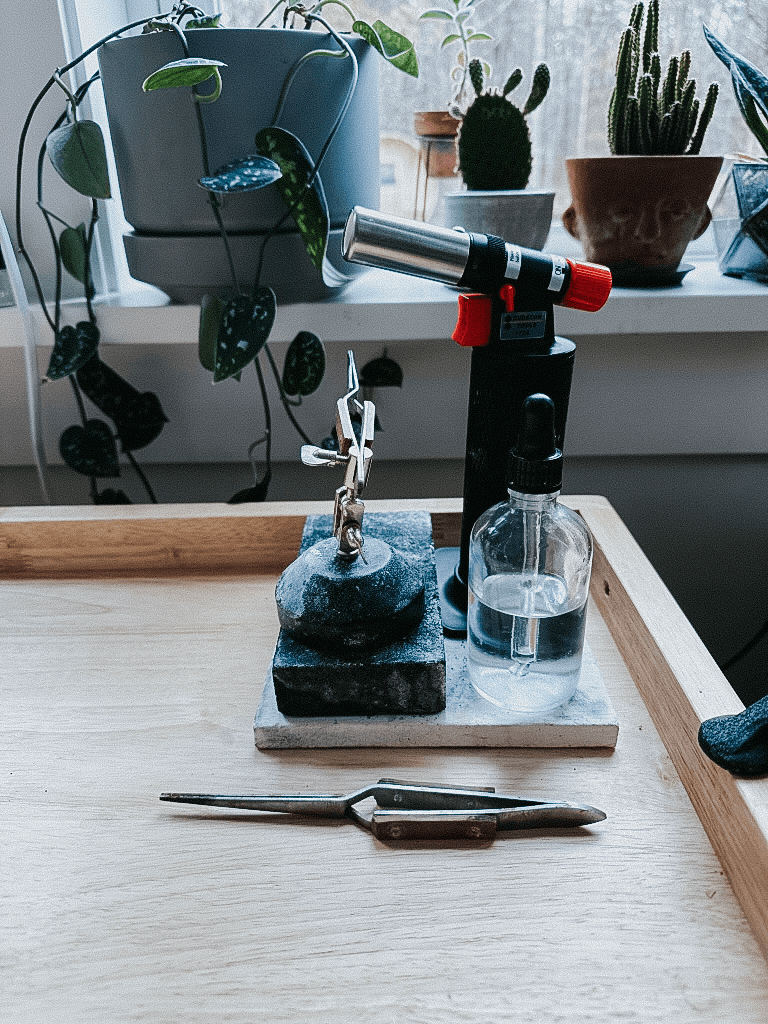
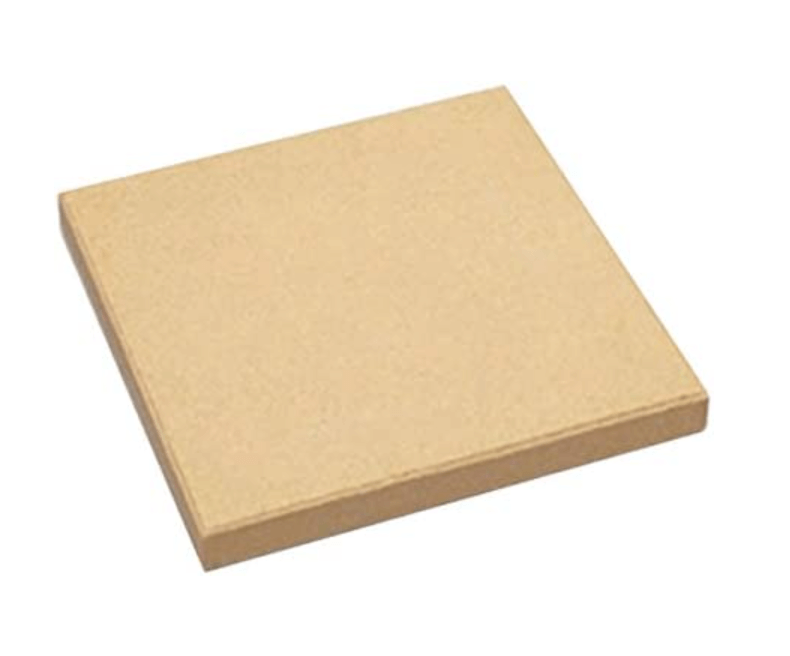
Here are some important considerations when setting up your soldering area whether it's on your main bench or another table. You will want to have a surface beneath the surface you plan to solder on. I highly recommend a Silquar™ High-Heat Block as a base. These ceramic boards are heat-reflective, non-combustible and can withstands temperatures up to 2,000°F. If you are using a butane torch a Solderite board with another block on top can work as well!
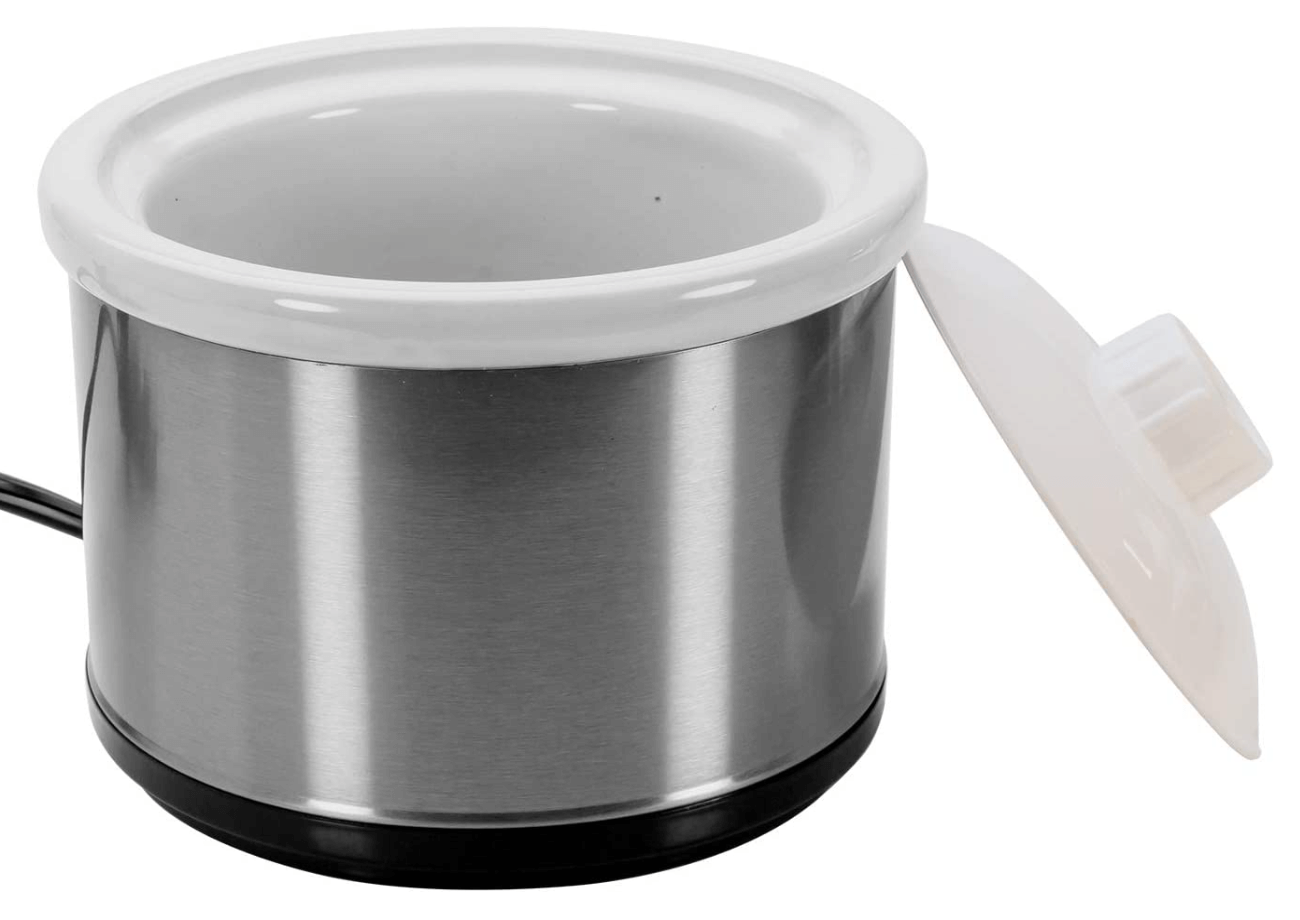
While I don't have it featured in the photo above a small pickle pot sitting right on top of your bench will work. This 16 oz pickle pot won't take up too much space on your bench.
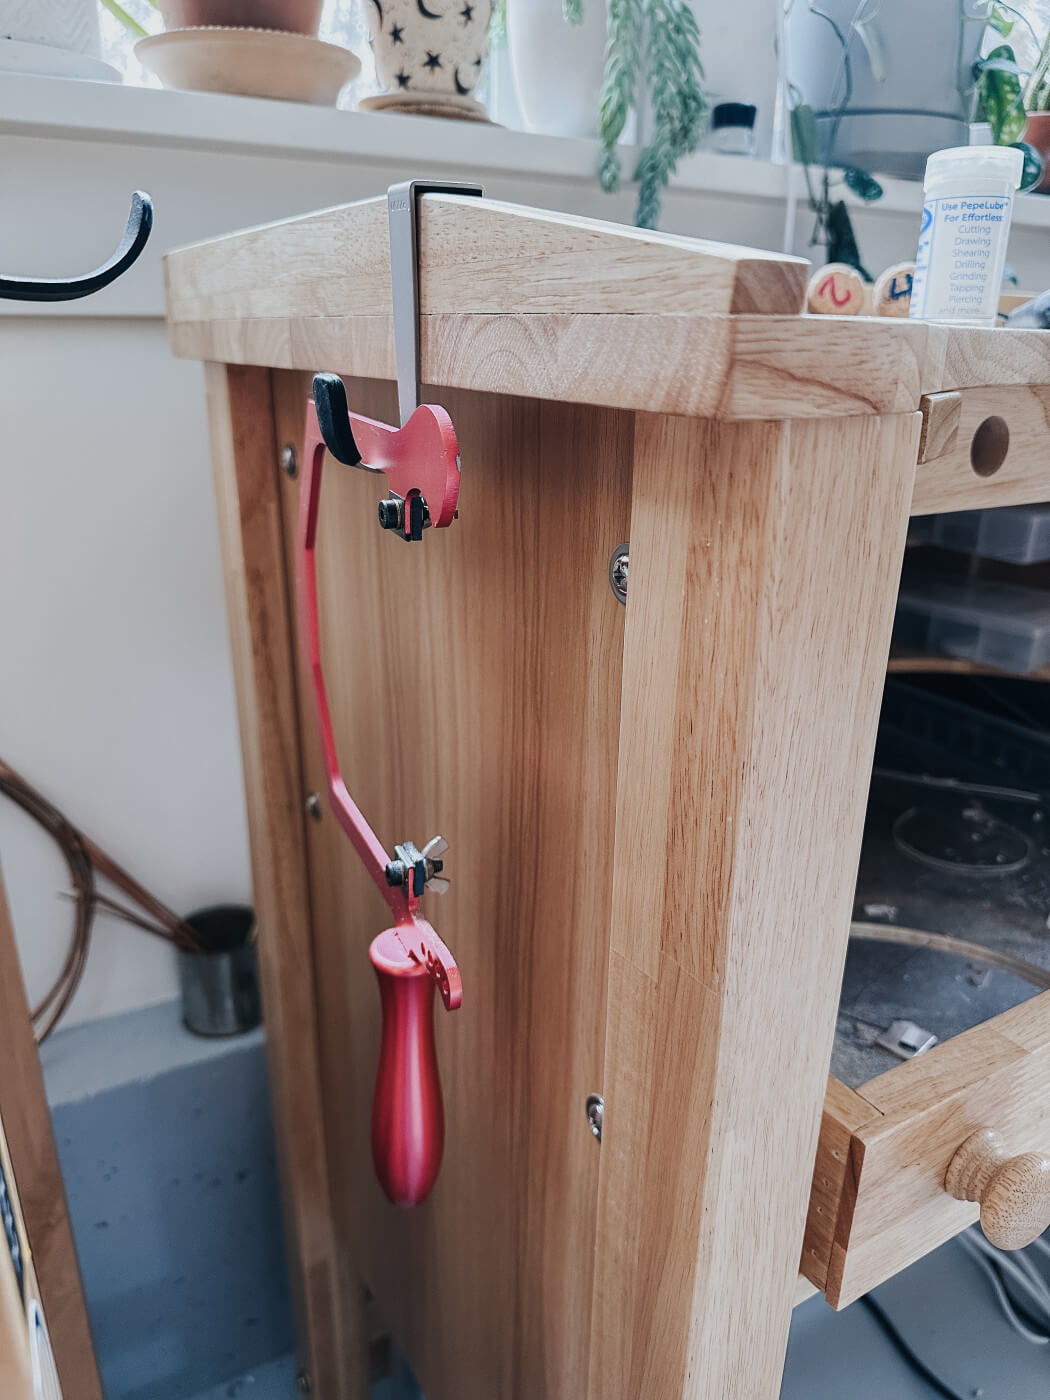
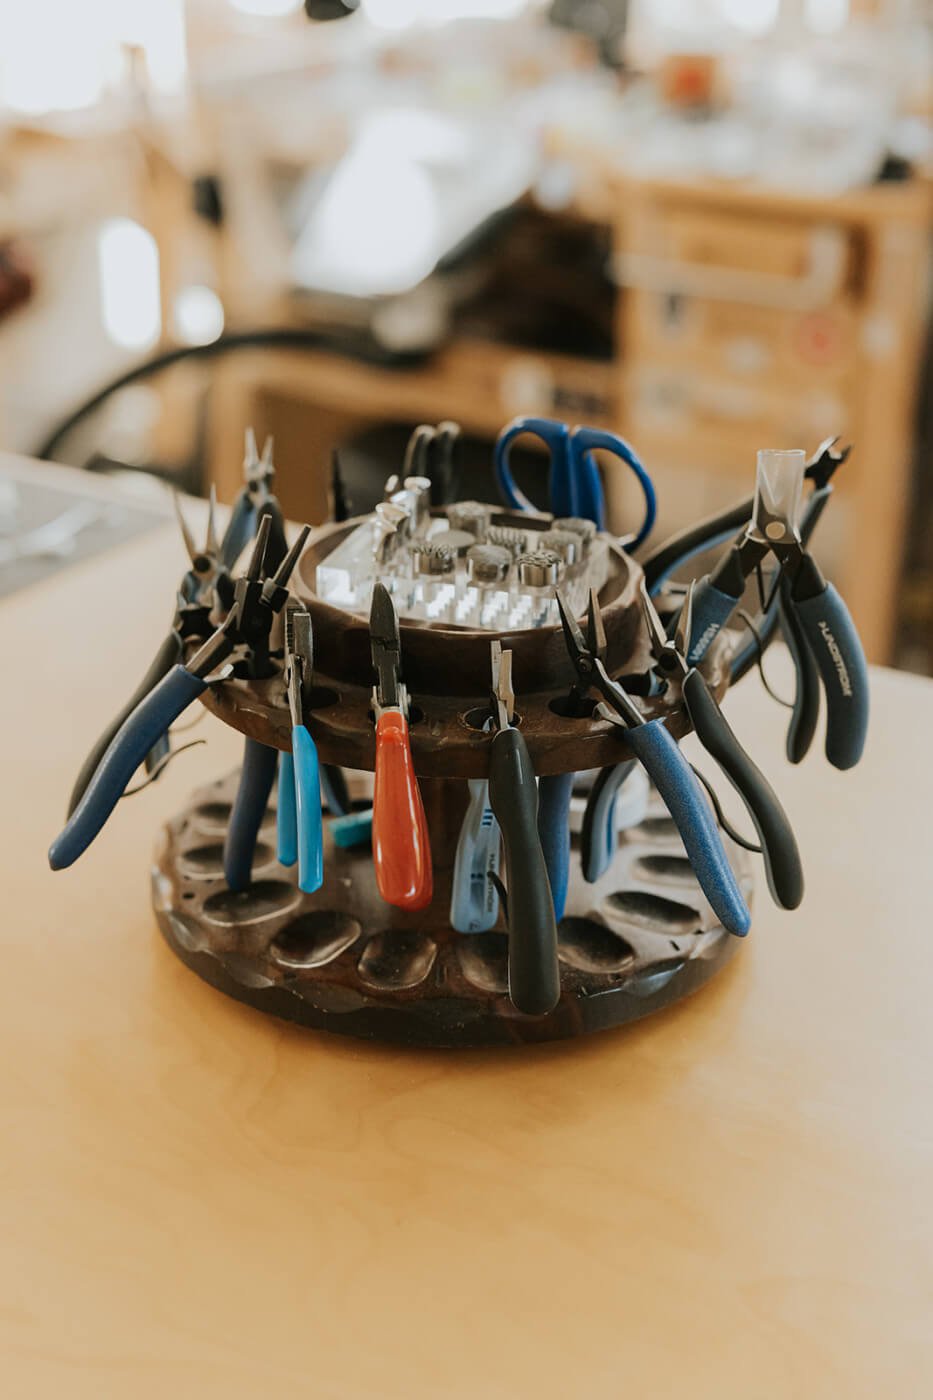
Lastly if you are rocking a single bench look for every opportunity to organize and store tools. Magnetic knife holders can be mounted to the sides of your bench to hold bits for your flex shaft and other small tools. I am also a huge fan of "over-the-cabinet" type hooks that you hang off the side of your bench to hold your saw frame and other tools! Measure your bench prior to ordering!
HAVING A SEPARATE SOLDERING STATION
If you are able to have an additional bench or table dedicated to soldering then go for it. It's nice to be able to have everything set up all the time. You can keep your pickle pot on top of that bench, you can also have a small tabletop kiln. My soldering bench happens to be in a darker corner of my studio and I like that because it helps me see the metal turning colors when I'm annealing and soldering and I'm better able to gauge temperatures. I also like to have that area next to my sink so I can quickly rinse pieces without having to walk across the room. Storage is just as important at your soldering station, I like to fully maximize the drawers, sides of the bench and even underneath for storing bits and tools.
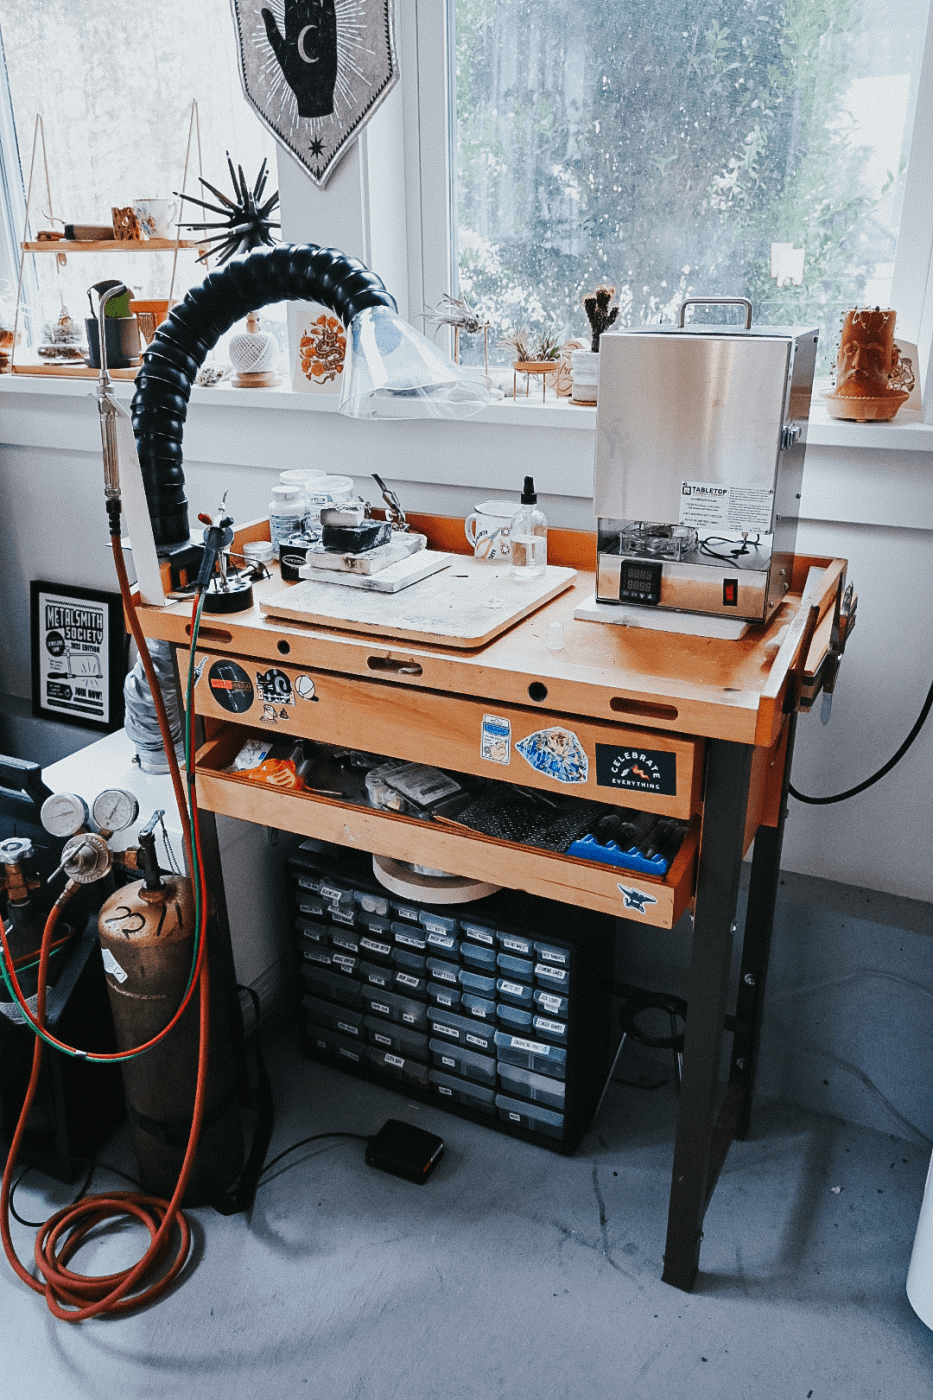
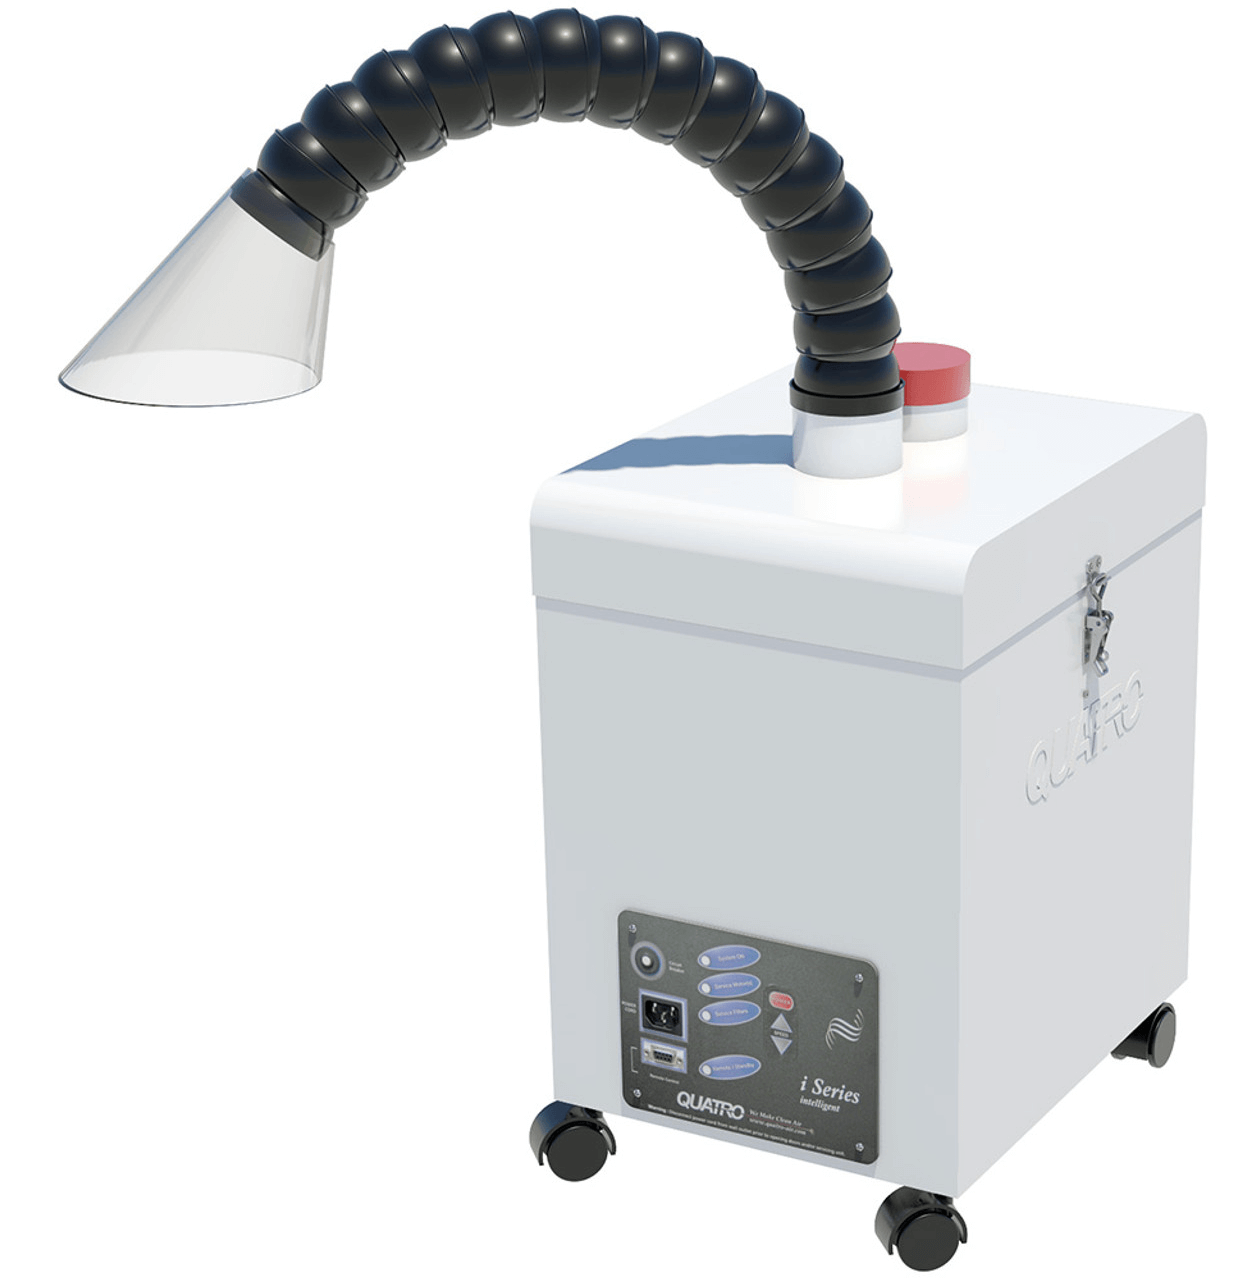
I get asked all the time about fume extraction, it's very important for your safety. Minimally you can purchase a smoke absorber like this one. What I use is more of investment, the Quatro SolderPure. It returns clean air into your workplace, making outside ventilation unnecessary. To me this one time purchase to ensure my soldering station is a healthier space for me to work in was well worth it!
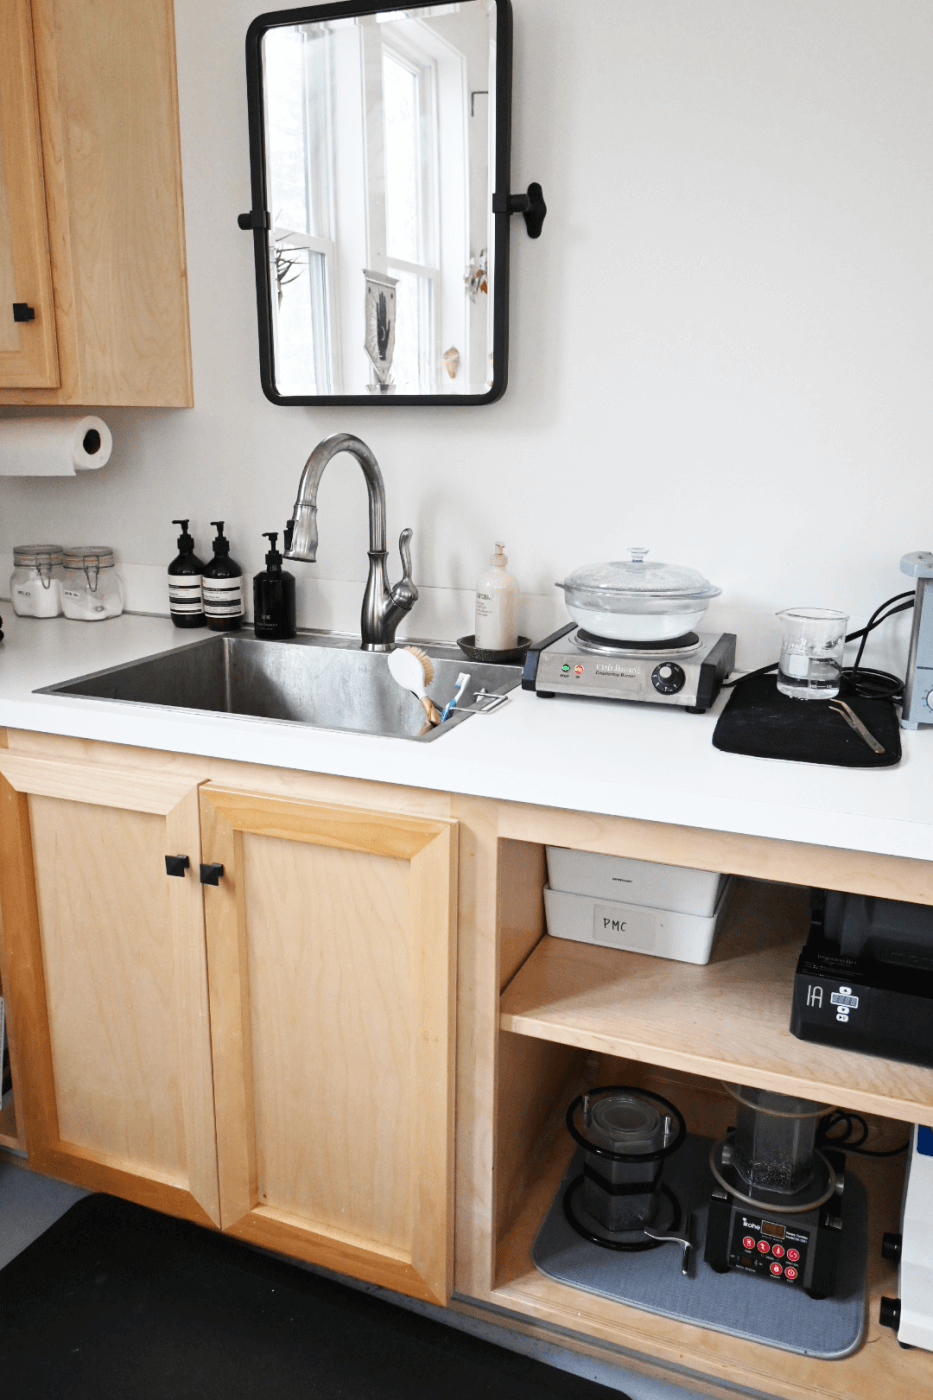
SINK AREA
If you are designing your ideal workspace you want to include a sink with a big countertop! This is where I keep all my tumblers, my pickle pot, my chemicals (stored safely!) I also like having a mirror so I can try on jewelry pieces and see how they are looking as I am designing and creating.
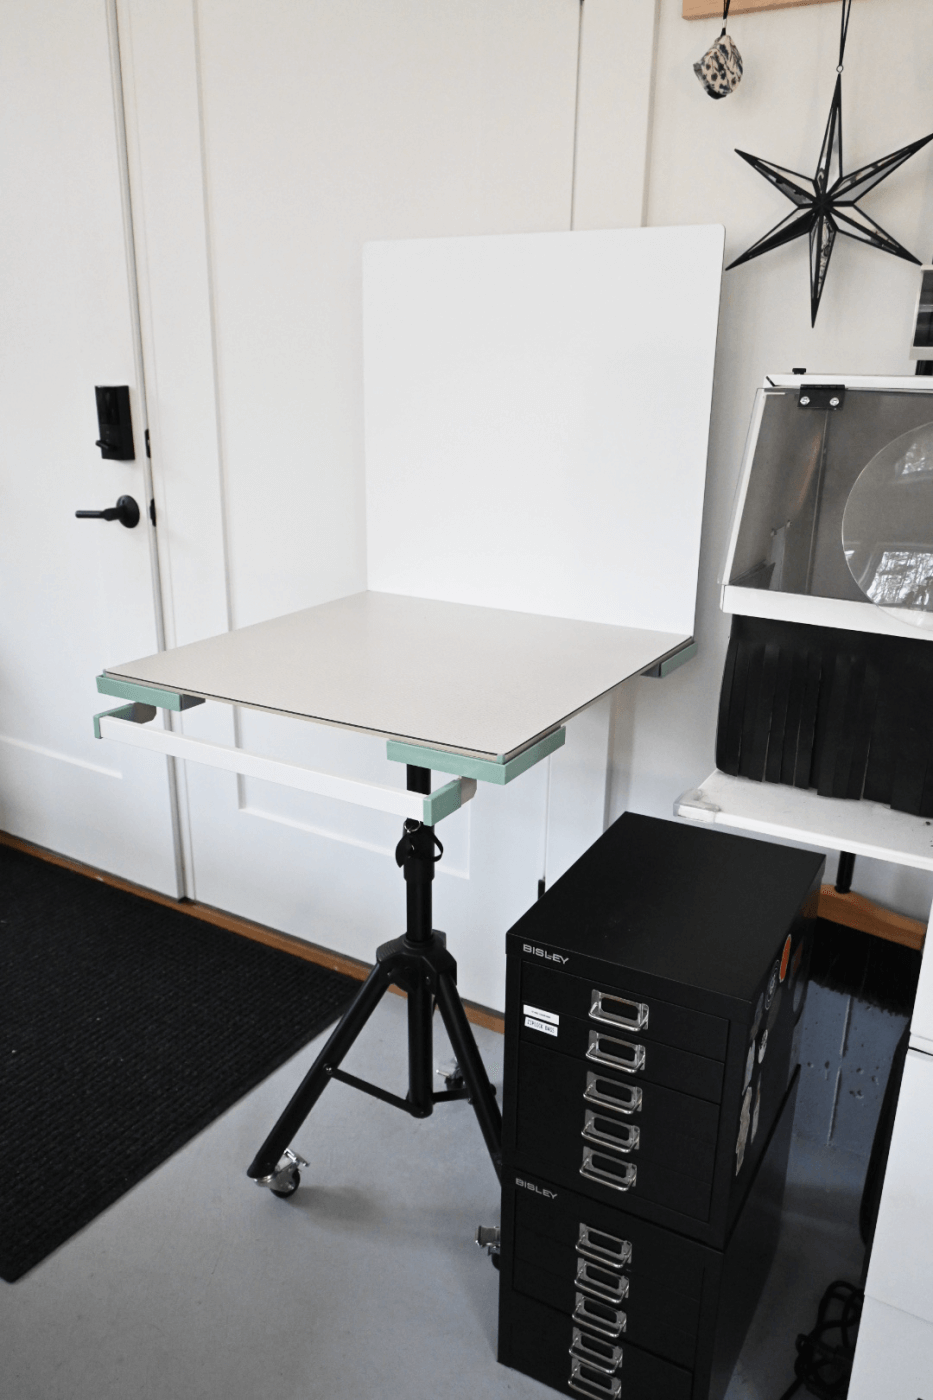
PHOTOGRAPHY AREA
If your space is small I do recommend using something like Replica Surfaces as a backdrop because when they are not in use you can tuck them behind a bench or in a closet! I have the Studio from Replica Surfaces and it is essential a mobile photography station. Sometimes I wheel it into my garage or even outside on an overcast day. Some folks use a light box or other backdrops, it's nice to have the dedicated area and then you can schedule some time every week to bulk photograph your jewelry for Instagram content and for your website and marketing! You can find Replica Surfaces here and save 12% with my code: Photos12
STORAGE
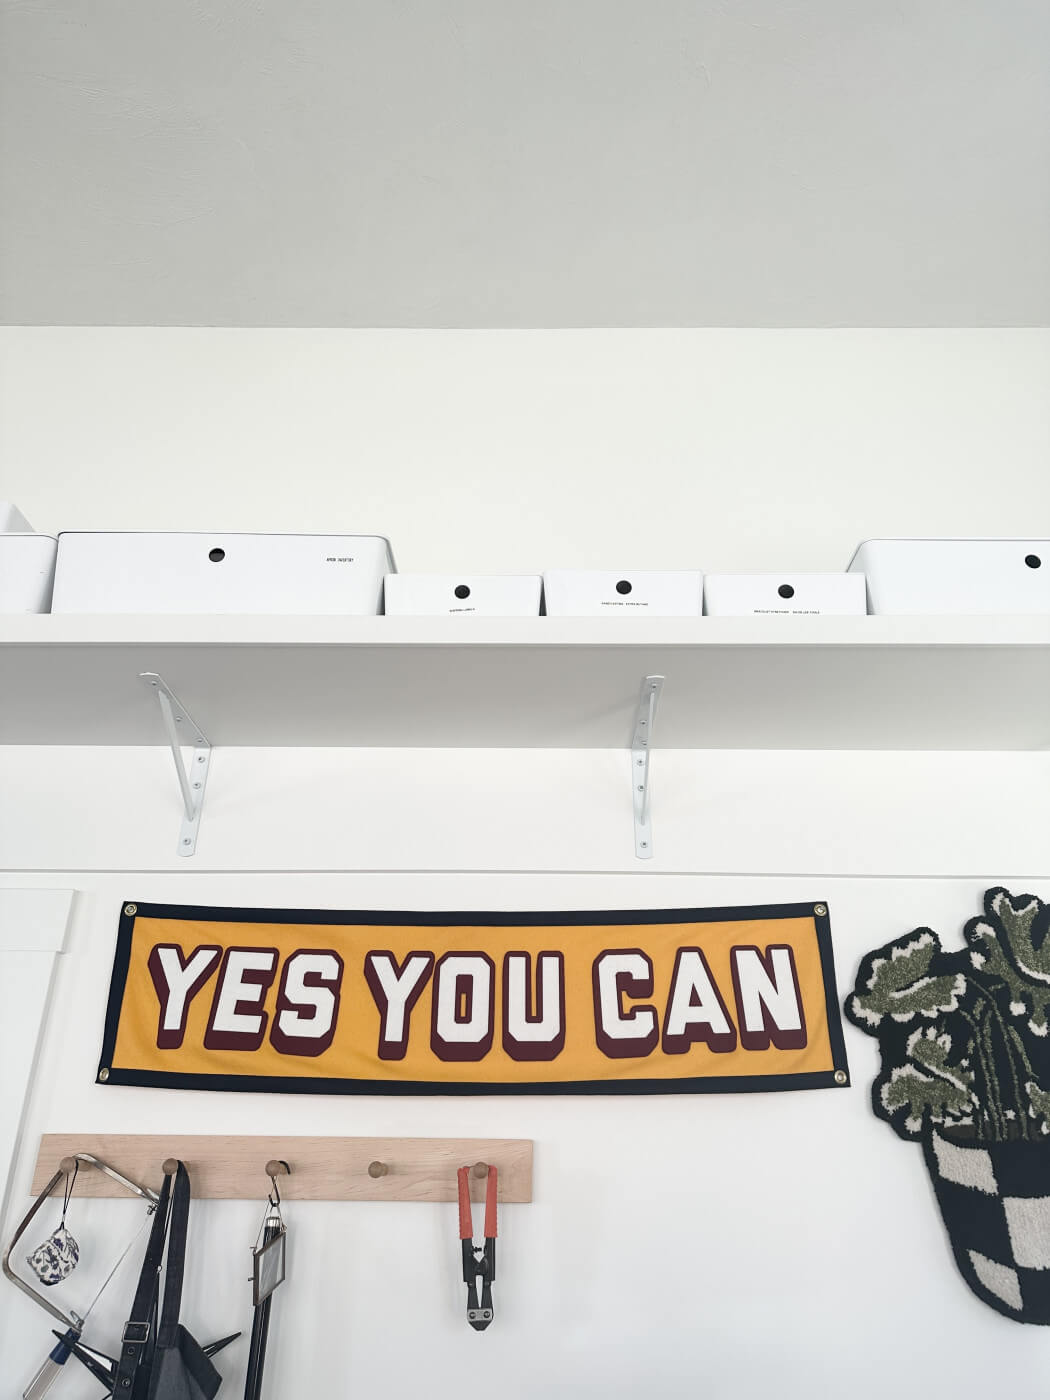
Proper organization and storage of your jewelry making tools is essential for maintaining a safe and efficient working environment. One of the first steps is to declutter and remove any tools that are no longer needed or used. I like to categorize tools by type and look for storage to keep them accessible. Having all your necessary tools and supplies within reach is crucial for productivity. Shelves are fantastic for storing packaging, tools you use less frequently and bulk items. When designing my studio I had a shelf built across an entire wall and it helps me keep my workspace free from clutter. There are an endless amount of storage bins out there, I got mine from Ikea and they are the Kuggis style.
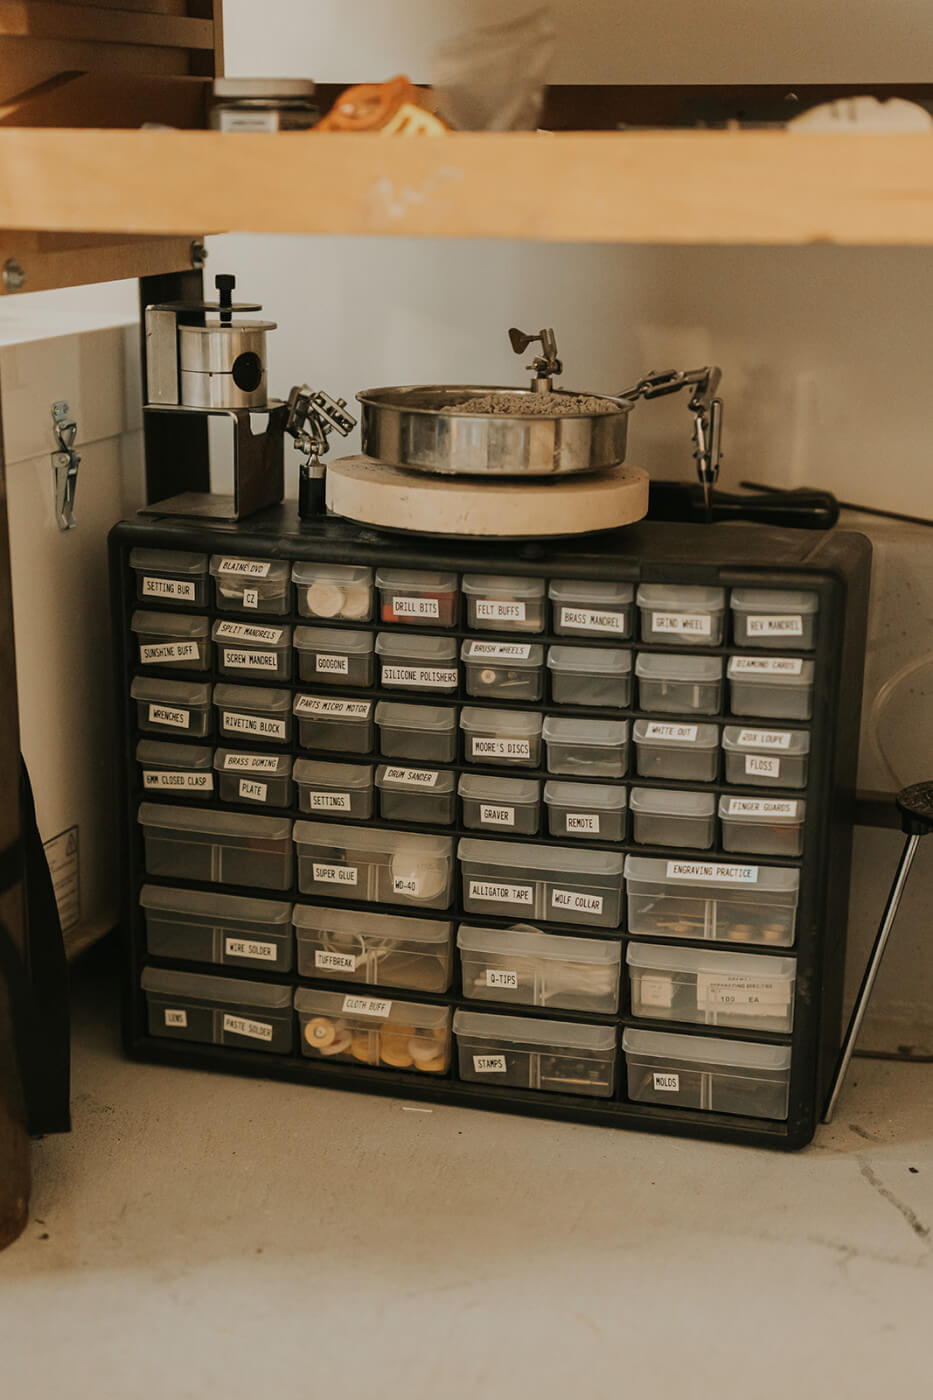
Pegboards are an awesome solution if you have the wall space, invest in something durable since you'll be hanging tools on it! Some other organizers I have had for years and really love, the Akro-Mils 44 Drawer Plastic Parts Storage Hardware and Craft Cabinet shared years ago by our community member @adornedsmithingco it is great for flex shaft bits and other small tools!
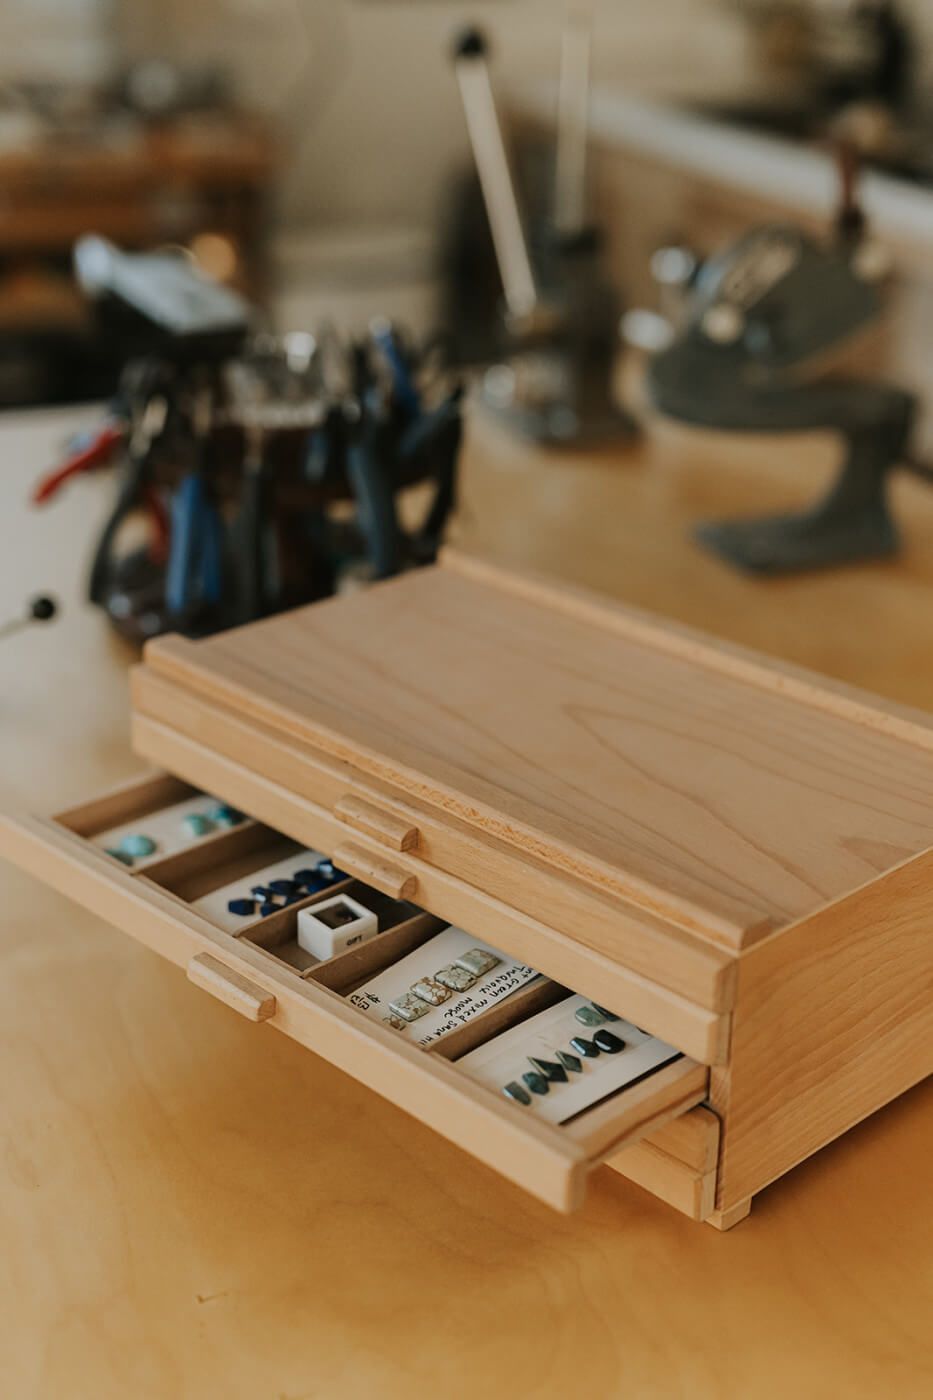
The (now famous) U.S. Art Supply 4 Drawer Wood Storage Box used for jewelry inventory or cabochons shared by @dangbravegirl I additional attach my stones to white index cards and label their cost, dimensions and type of stone.
I'm also a huge fan of going to your local second hand store to find fantastic storage solutions, like this rotating silverware holder I found.
Storage of your metals and wires is also very important. I shared one of my favorite's in my book, that was suggested by a bunch of member's of our community: using a hanging file folder to organize sheet metal and wires! Some folks use a wall hanging file folder to organize materials as well!
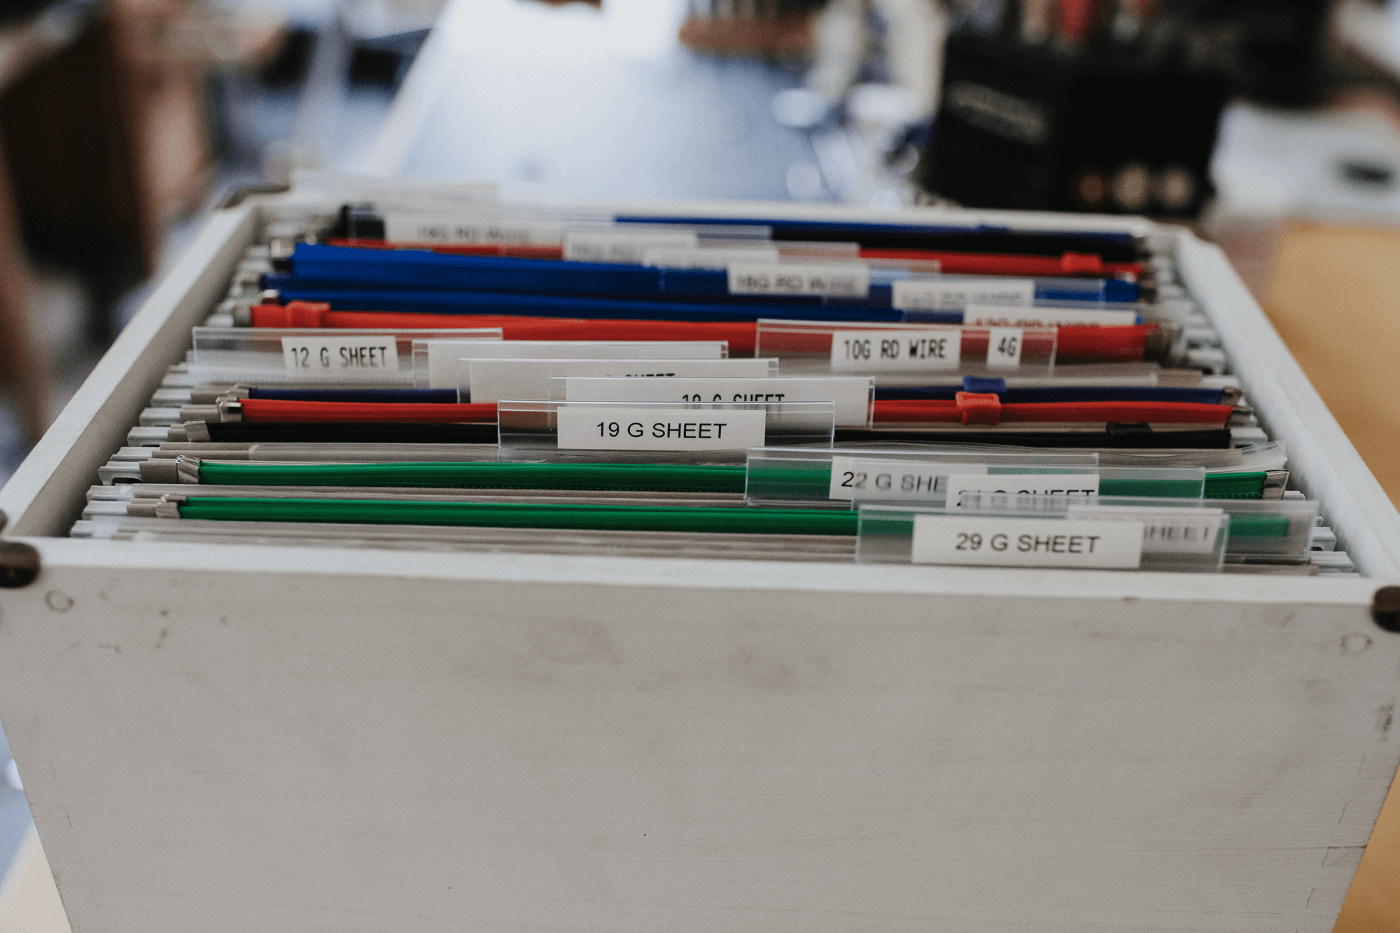
Lastly I recommend labeling EVERYTHING. Your precious metals, your stones, your small tools. This ensures that everything is easy to find and put away in its proper place. By taking the time to organize and store your tools and equipment properly, you can create a more efficient and enjoyable working environment.
Do you have a storage system or tip you'd like to share with us?!? Please email it to me at tips@metalsmithsociety.com
Find more organizing ideas on my Pinterest:

If you found this content helpful considering supporting my work by becoming a Metalsmith Society Patreon. Patreons get exclusive promo codes, a monthly giveaway and exclusive content for just $5 a month!