Over the years I have coached several people on using Printful to create merch for their small businesses. Who doesn't love passive income?!? I thought it was time to write down a guide to getting started and some of my top tips for creating and running a successful Printful store.
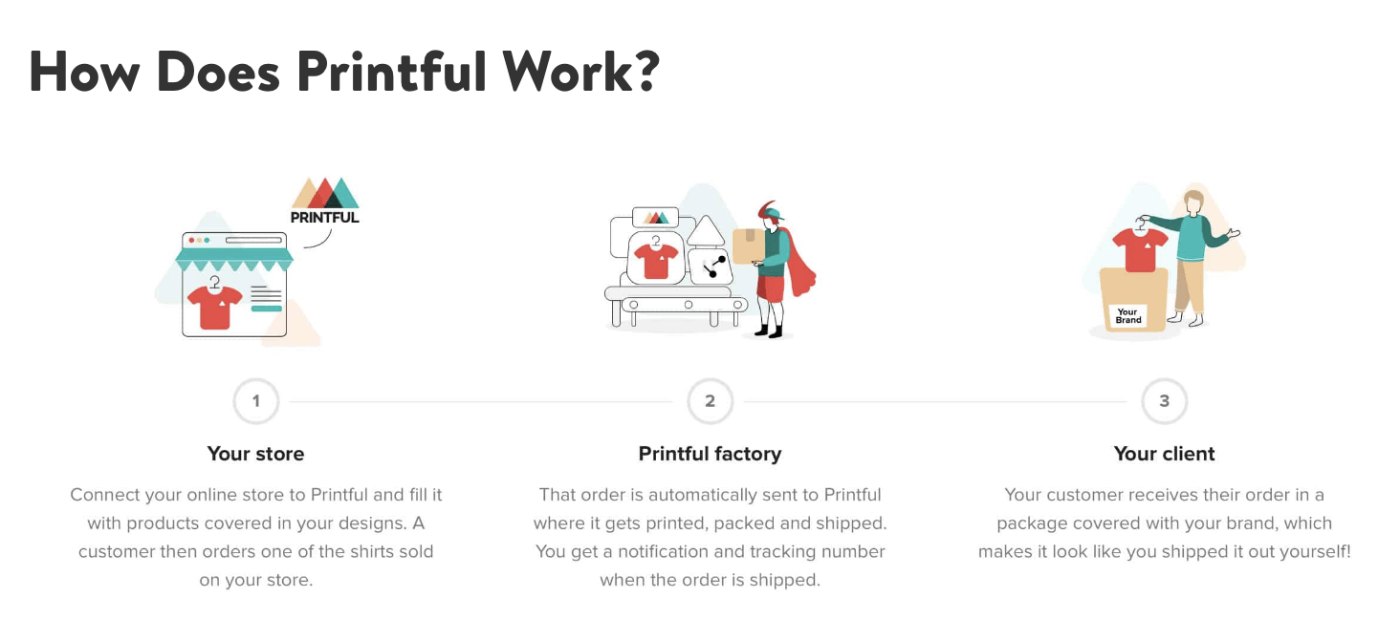
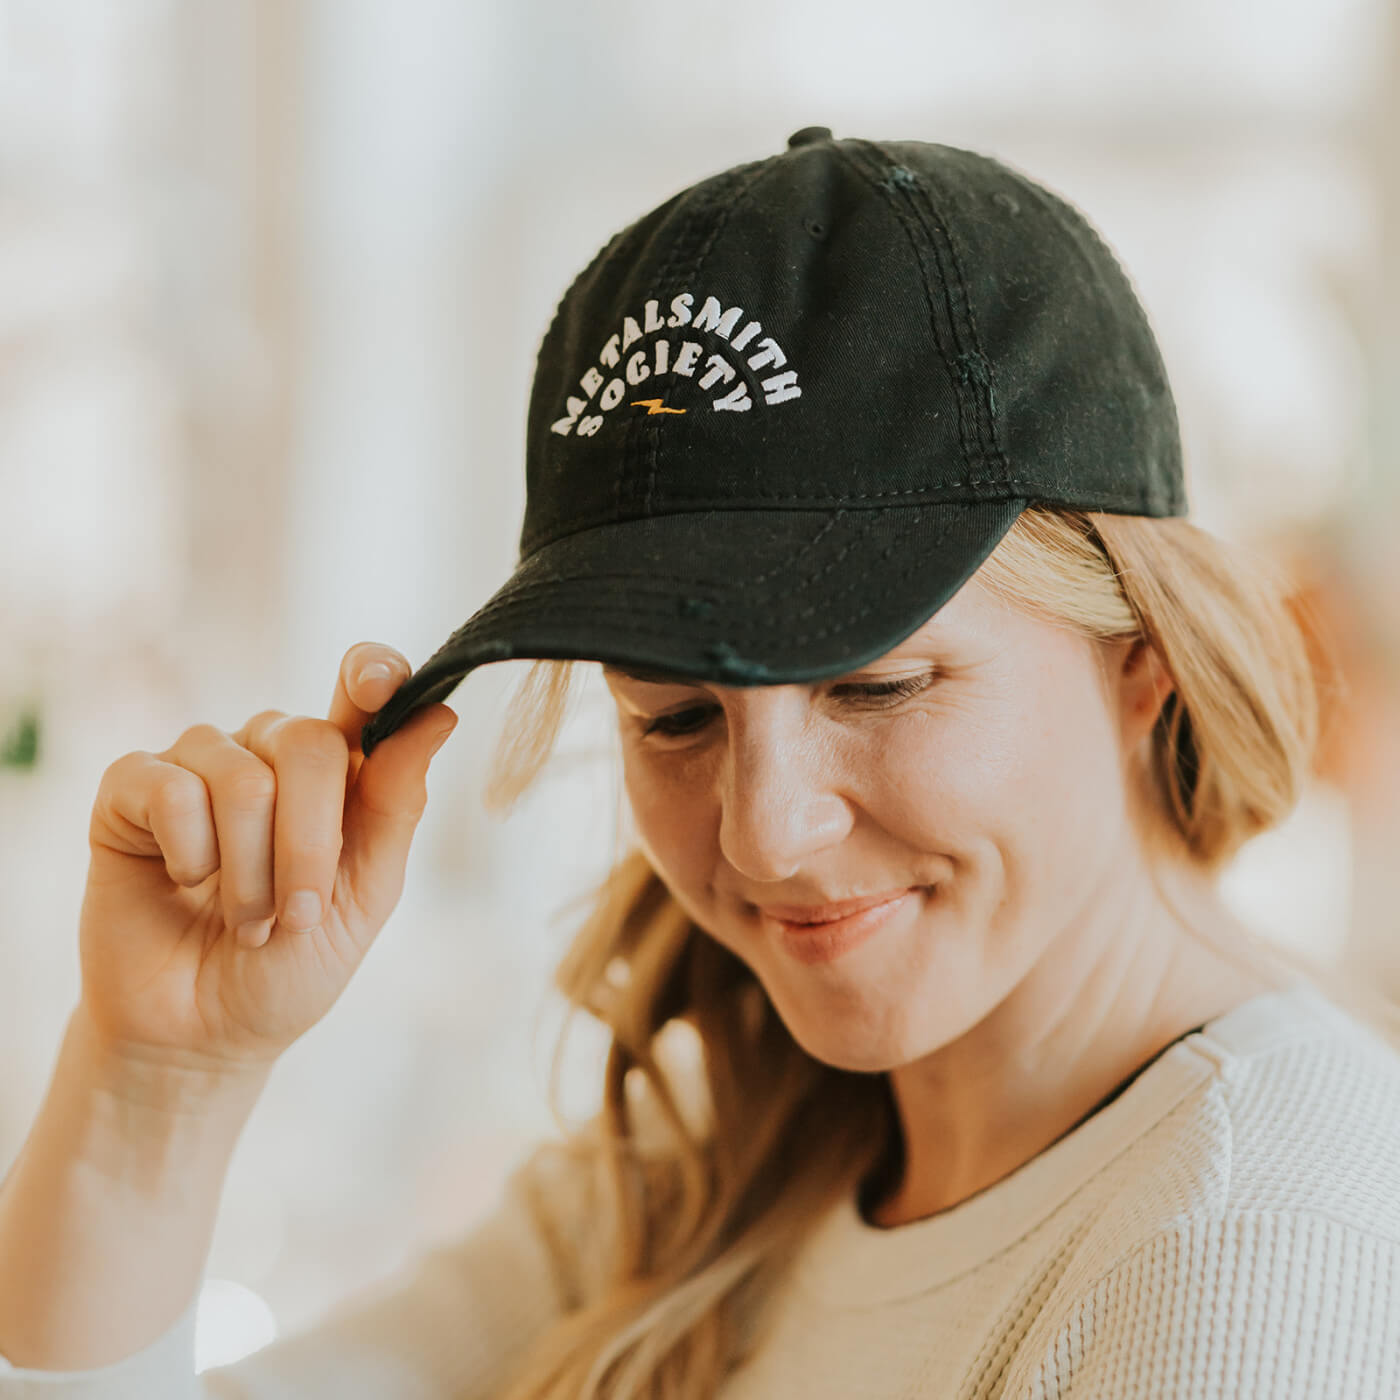
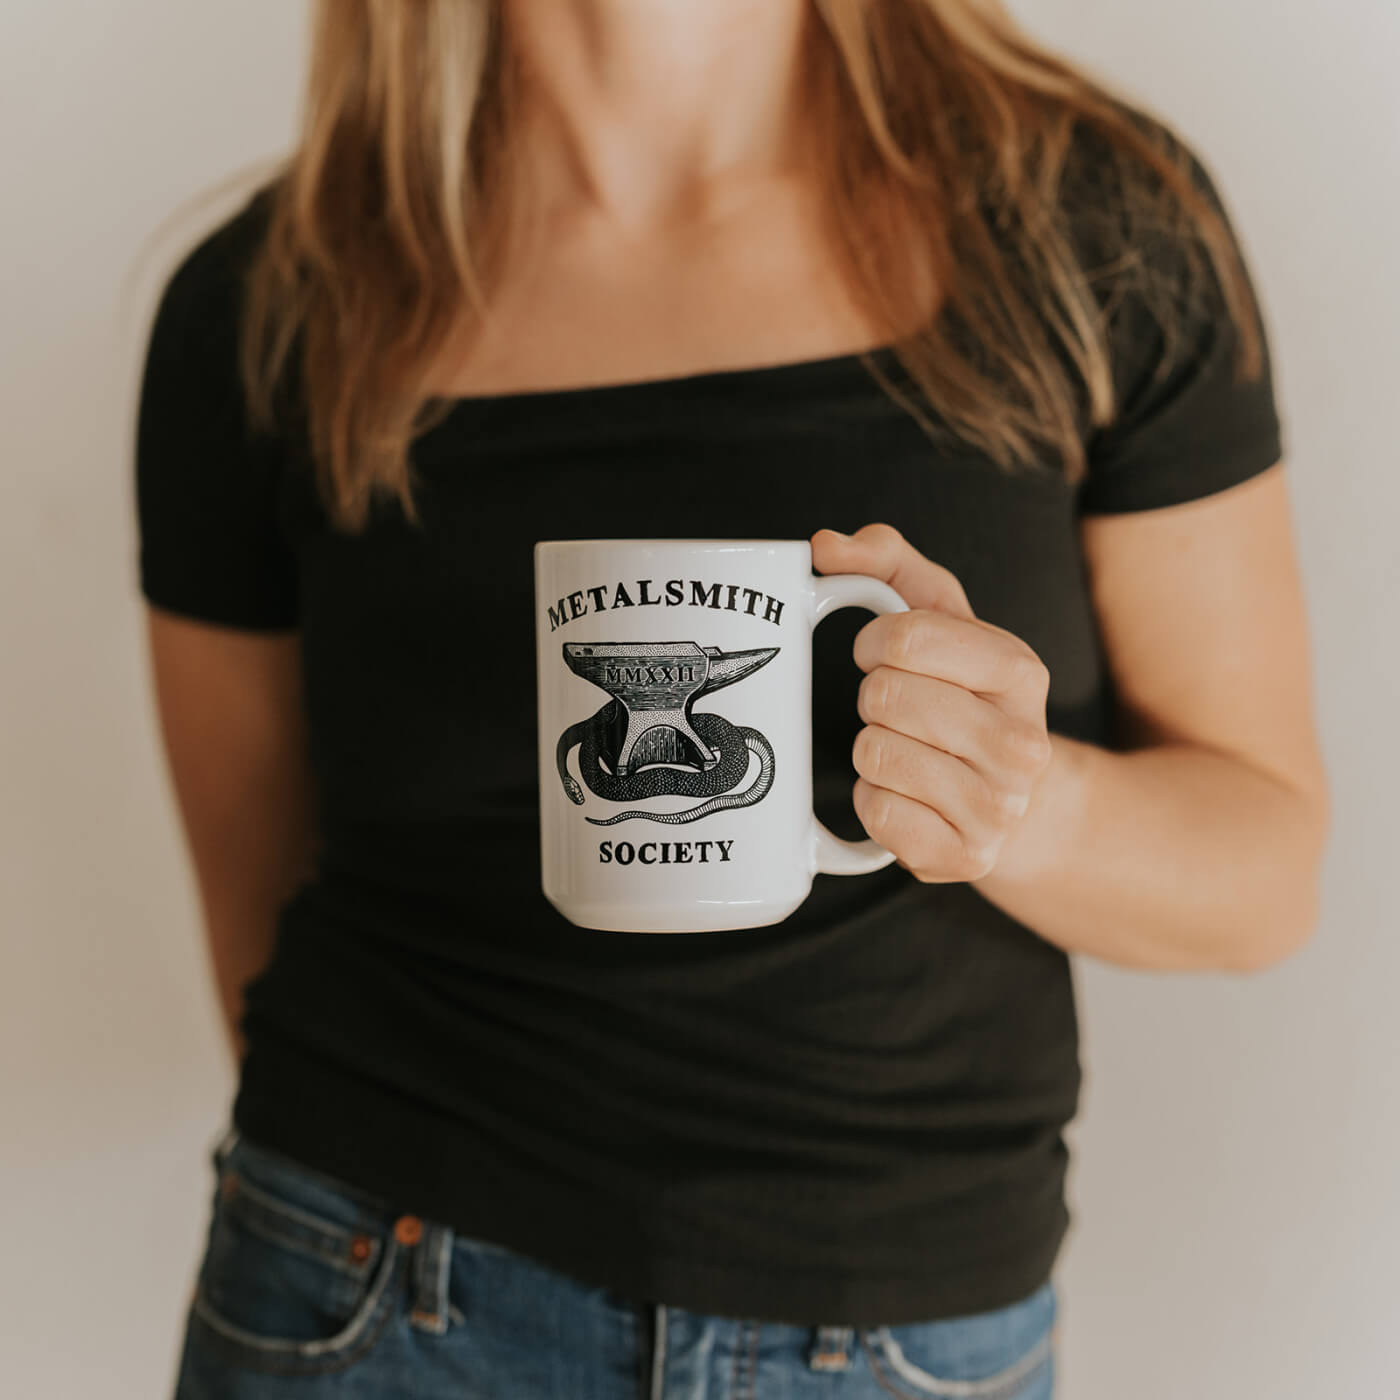
Printful allows you to design all types of products ranging from framed prints to mugs to apparel and when your customer places an order through your online shop Printful ships directly to them. That means you don't need to invest in inventory which is huge! I have been using Printful for over four years to sell Metalsmith Society merch directly to members of our community and that support has allowed me to continue to share free educational content (like this blog post ;)
The first step is signing up for a Printful account. Go ahead, I'll wait lol.
Signing up is completely free, as is creating your products and making them available in your store. You only pay Printful when you make a sale, which I love.
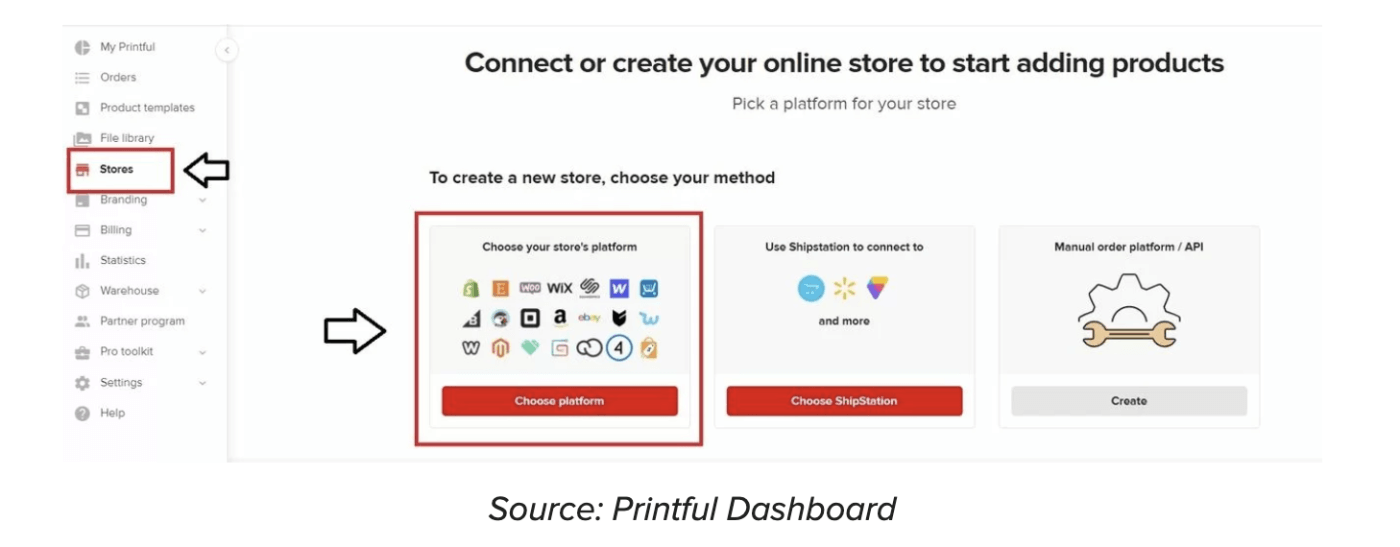
Next you connect to your ecommerce platform. Printful works with 20+ including the most popular options Etsy, Shopify, Squarespace and Wix.
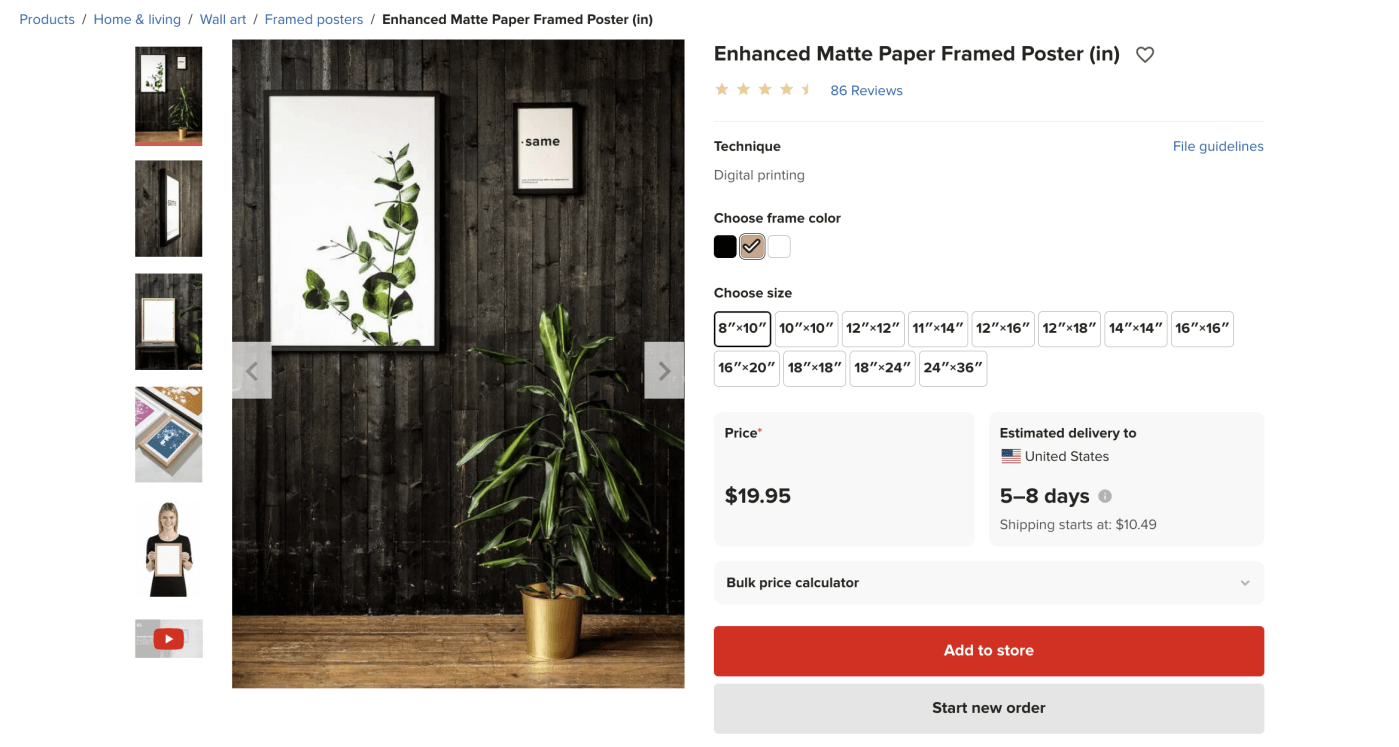
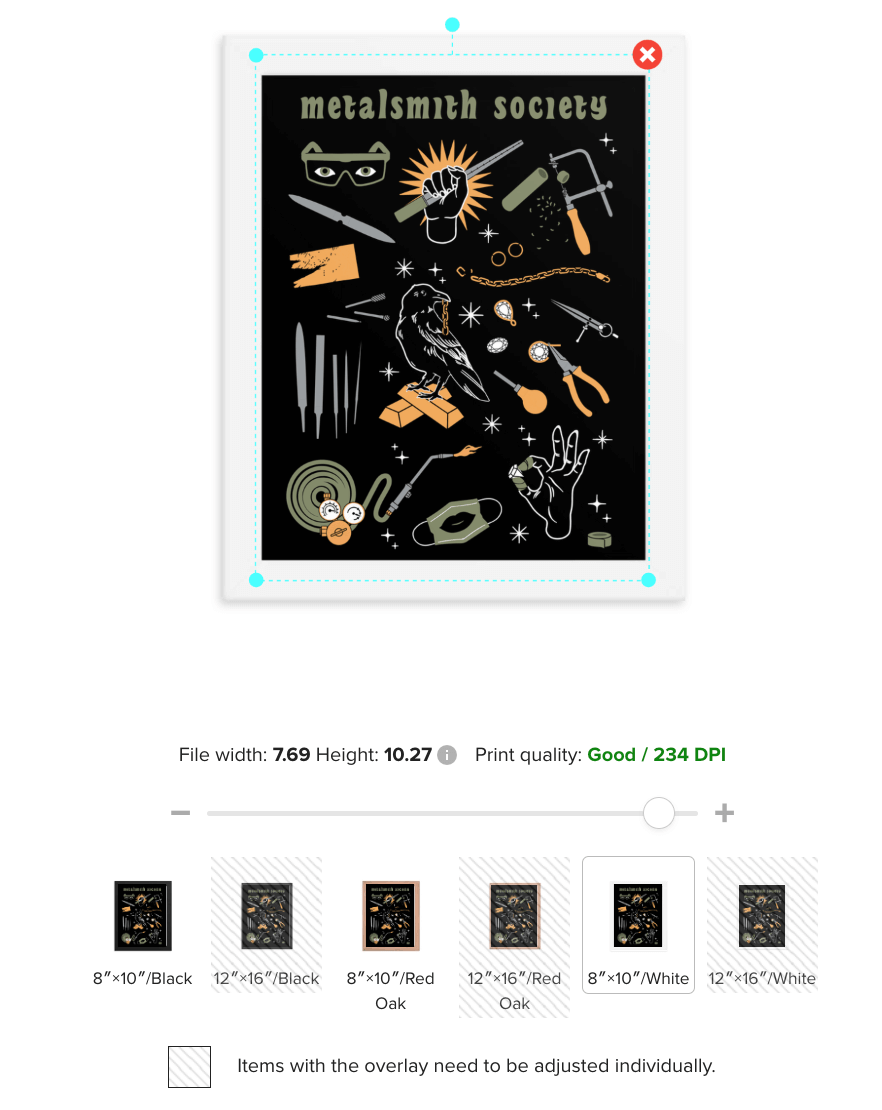
Now the fun part, you can begin by adding your first product to your store. I am going to walk you through creating a framed poster which can be found in the Home & Living section of products.
As you can see in the image below there are multiple size options and frame color options too. In the example of a framed poster I don't need to offer every size to my customer. That amount of choices can be overwhelming. When it comes to apparel I do offer every size but not every shirt color, some have over 30 options!
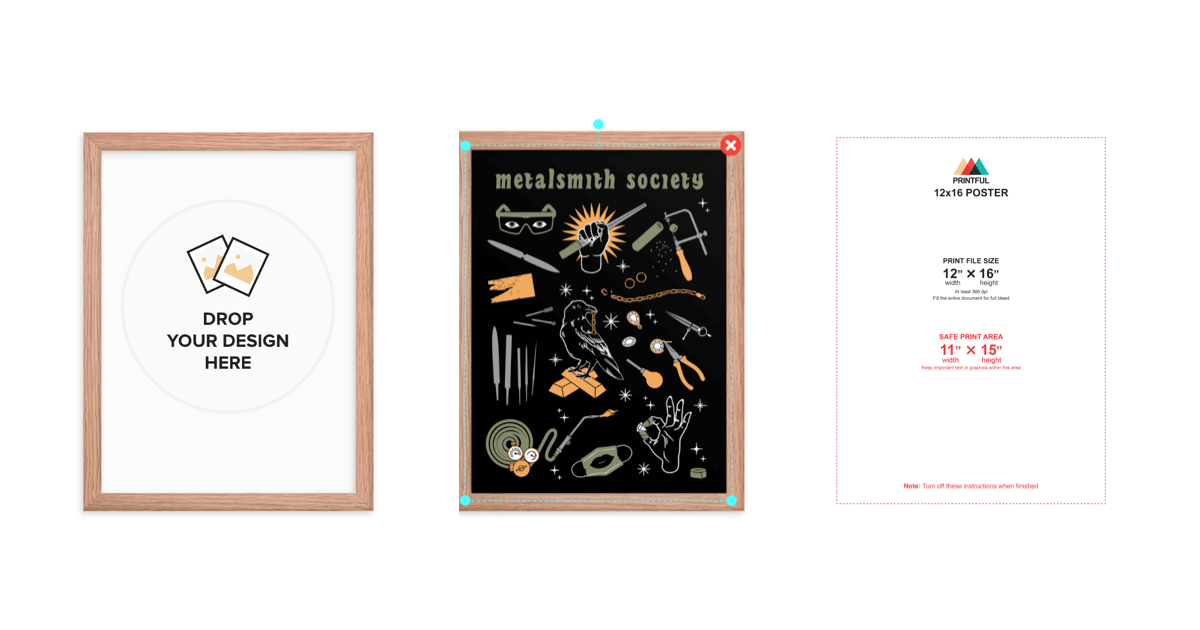
Next you upload a JPEG or PNG file and you will see it placed on the product. You do need to make sure you upload a quality image, if you need more help on that I direct you to Printful's article "Everything You Need to Know to Prepare the Perfect Print File."
Getting your file right is one of the most important steps but the good news is you put in the work upfront and it will be good forever! Each product has "Print File Templates" that are available to download and use and I highly recommend them. What I do is I upload the template into Photoshop and then place the artwork, remove the guidelines and save as a PNG. If you are like "Corkie, HOLD UP I DON'T HAVE PHOTOSHOP"...here are 13 free Photoshop alternatives. Did I think as a jeweler I would have to learn Photoshop, photography, social media and running a website?!? No, but I have to wear all the hats and if I can figure it out so can you! I found and watched many tutorials on YouTube.
Next check if any of the variants you selected require adjusting. In my example I had to manually adjust the 8" x 10" variant because a little strip of white was visible with my initial file!
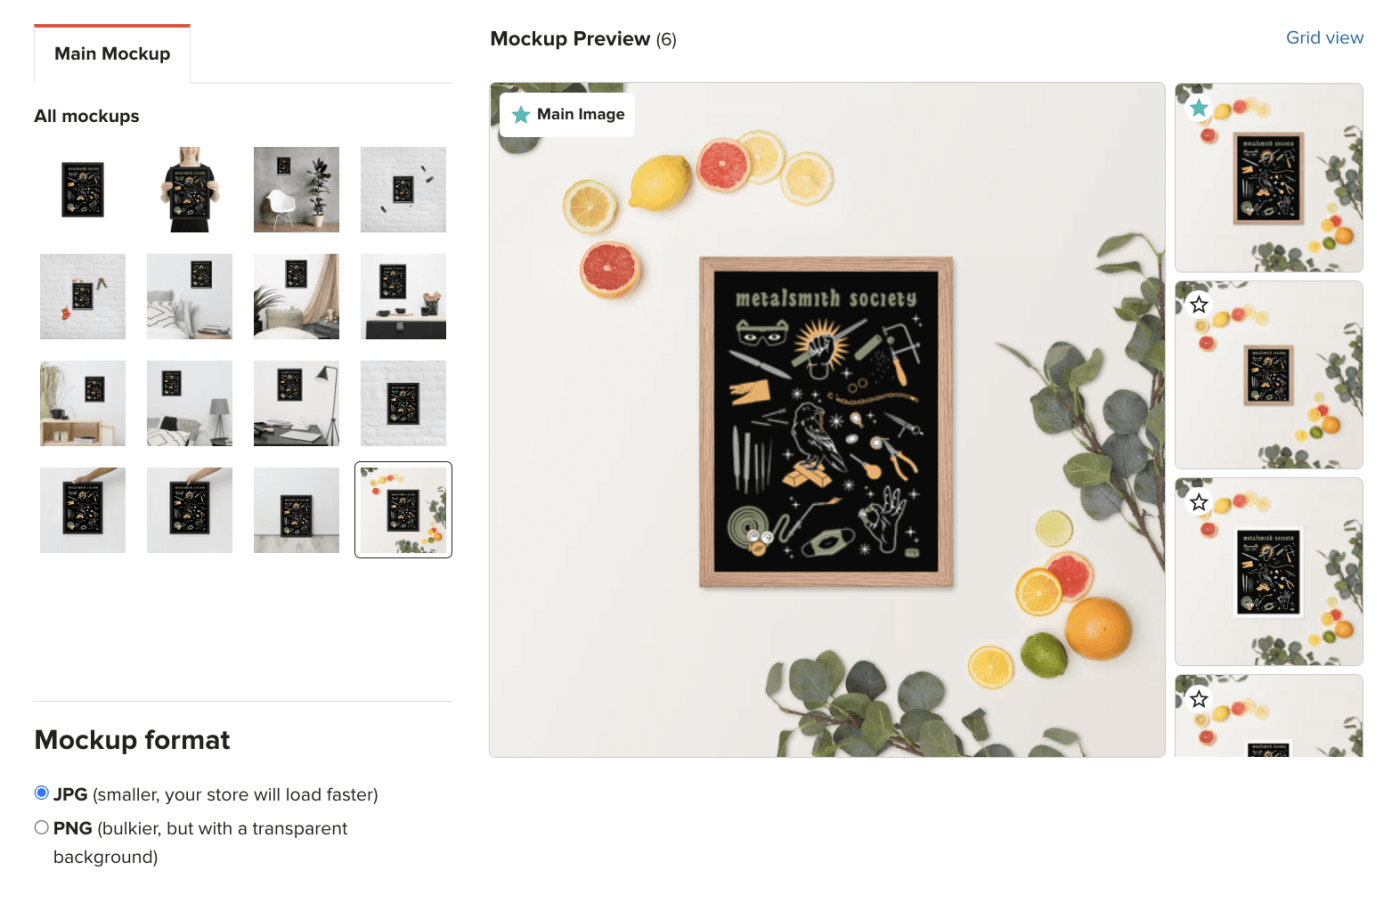
Next you "Proceed To Media" this part is so fun! You get to pick the images for your website. If you are just starting out these images are great, your product images will all look consistent and professional in your shop!
I recommend ordering a sample to ensure the quality of your product before making it available in your store. I also highly recommend having photographs taken of your merch IRL. Printful does an amazing job with their mock images but nothing beats having real photos.
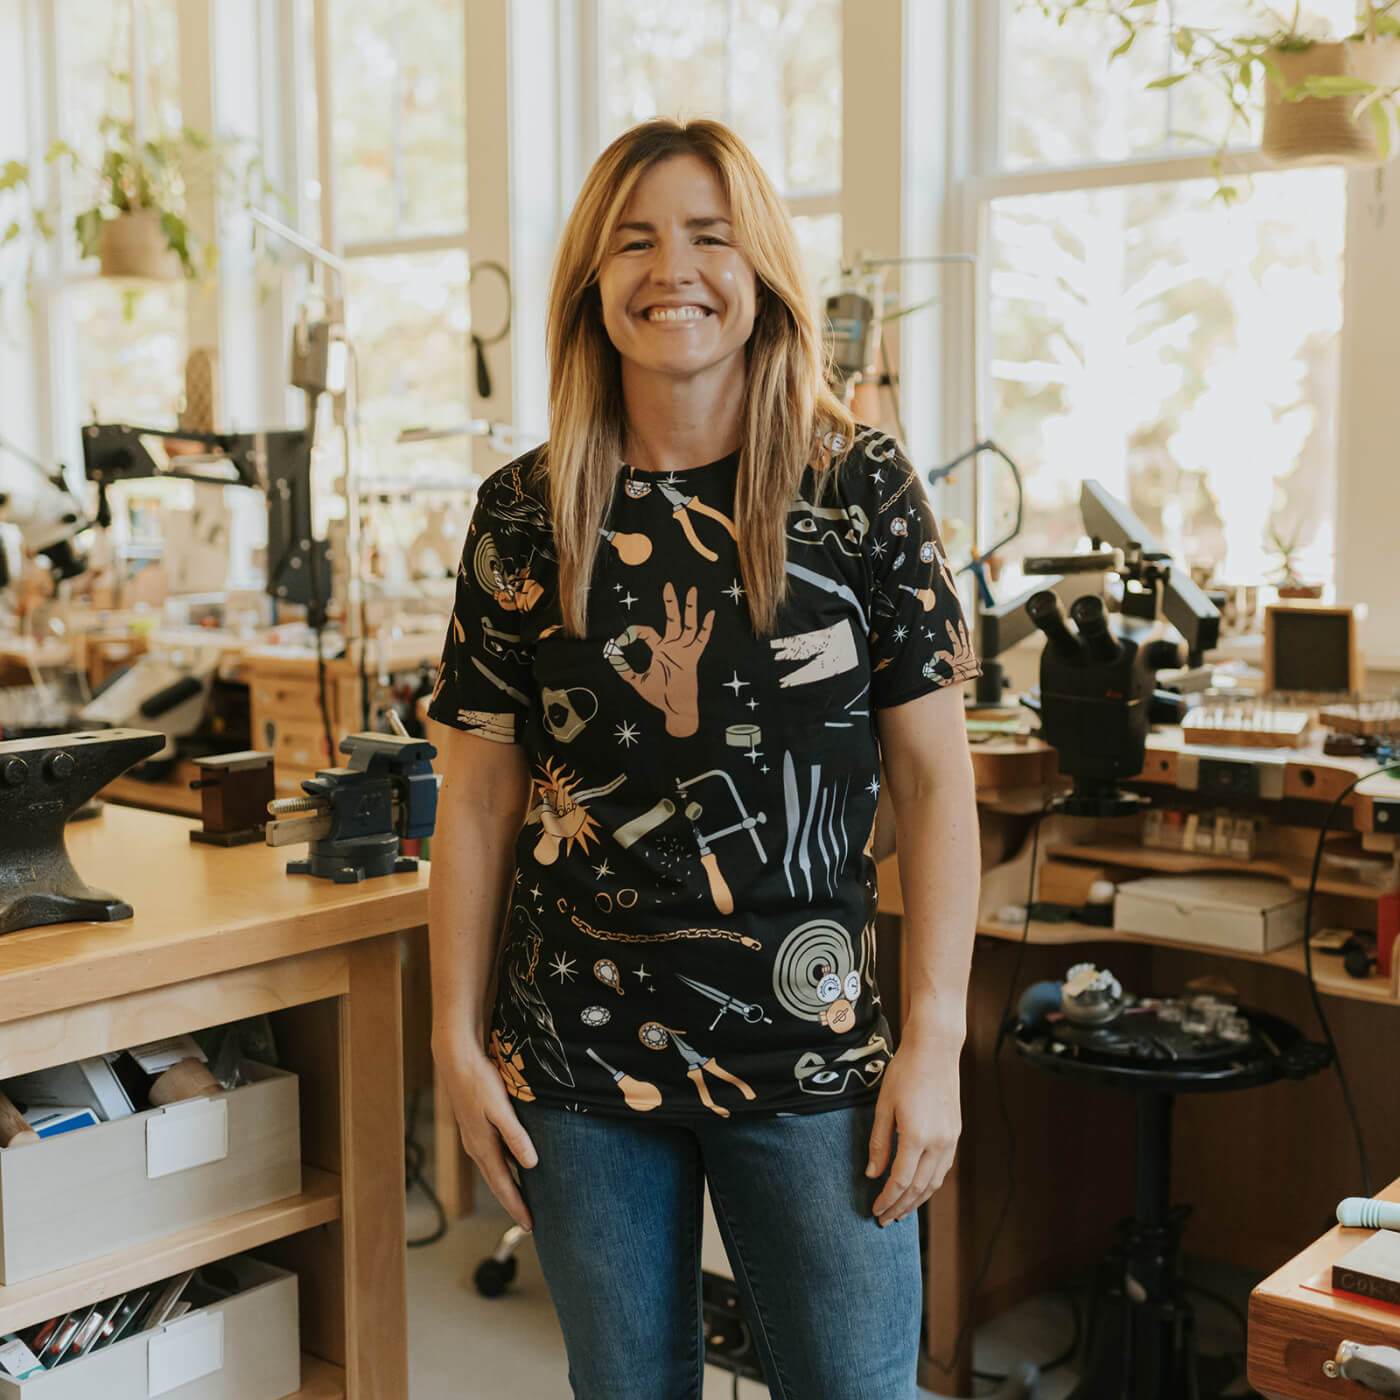
You can see with this raglan shirt I sell that I have a photo taken by a photographer and mock images generated by Printful to show off other color variants!
You now will write your product description and this will automate directly to your store along with the product images. Printful will automate the description and you can modify it. I recommend keeping product descriptions simple but be sure to include information people are most interested in. What size options are there, if it's apparel people want to know what material it is. Perhaps there is a selling point worth mentioning, for example I have shirts that are made with 100% recycled fabric.
The very last step is pricing and this is a critical step. It has to be mentioned that drop shipping comes at a cost, so you need to make sure you are pricing so that you are making a profit. Another consideration is that Printful charges you tax in orders from 45 states within the US. The only way to be exempt is to submit a resale certificate but I only have that for the state I live in, so therefore I do incur the cost of the tax on many orders. As long as your margins are appropriate it should workout. To read more on taxes visit Printful's blog here.
Once you have submitted your product I recommend heading over to your online store to check it out and make any further edits. Experts suggest having 10-15 products in your online store but don't rush the process, create a goal to get your first five products listed and start promoting! The best part about Printful is you can try selling a variety of products and if something doesn't do well you simply remove from your store and try something different.
ADDITIONAL TIPS FOR RUNNING A SUCCESSFUL PRINTFUL ONLINE STORE:
- Before selecting products always read the reviews, sometimes that shirt that costs a bit more is worth it in terms of quality!
- As mentioned before always order samples so you know exactly what your customers are recieving.
- When you use Printful you don't have inventory, no inventory means exchanges and returns come out of your pocket. Be VERY clear about your return policies. You can read and copy mine here.
- Occasionally Printful makes a mistake, crooked print, the wrong item etc. have your customer document with photos and reach out to support. They typically refund or reship which is awesome.

